2M2/2M3
1-5-6
1-5-3 Fuser section
(1) Detaching and refitting the fuser unit
Procedure
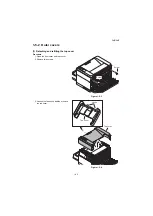
1. Remove the top cover (see page 1-5-3).
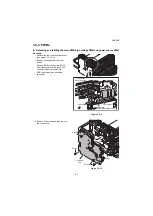
2. Remove connector from the fuser
heater.
Remove two connectors from the main
PWB.(25/26 ppm model only)
*: 20-ppm model has only one connector.
Figure 1-5-7
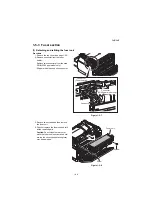
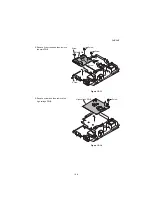
3. Remove two screws and then remove
the fuser unit.
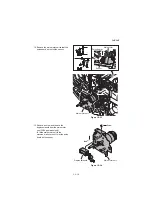
4. Check or replace the fuser unit and refit
all the removed parts.
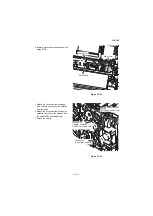
Caution:
Do not close the rear cover
while the fuser unit is not installed, oth-
erwise, the cover-open detecting lever
may be damaged.
Figure 1-5-8
Connector
(25/26 ppm model only)
Connector
Connector
(Fuser heater)
Screw
Screw
Fuser unit
Summary of Contents for FS-1040
Page 1: ...SERVICE MANUAL Published in March 2012 842M3110 2M3SM060 First Edition FS 1040 FS 1060DN ...
Page 3: ...Revision history Revision Date Replaced pages Remarks ...
Page 4: ...This page is intentionally left blank ...
Page 10: ...This page is intentionally left blank ...
Page 14: ...2M2 2M3 This page is intentionally left blank ...
Page 66: ...2M2 2M3 1 4 20 This page is intentionally left blank ...
Page 100: ...2M2 2M3 2 1 14 This page is intentionally left blank ...
Page 130: ......
Page 131: ...2012 ...


