
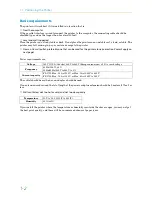

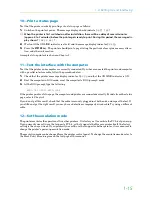


1.4. Setting Up and Interfacing
1-7
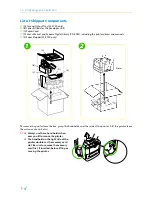
1.4.
Setting Up and Interfacing
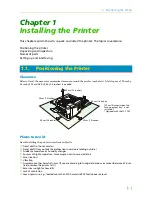
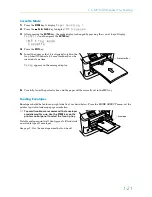
Before you can use the printer for the first time, you must set up the printer by installing the printer compo-
nents and interfacing with the computer. The steps to be followed in setting up are:
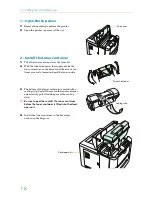
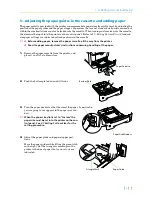
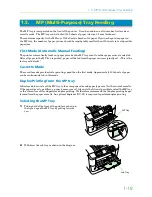
1.
Open the top cover.
2.
Install the toner container.
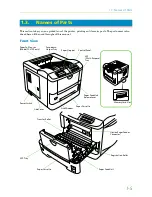
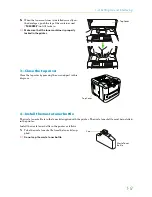
3.
Close the top cover.
4.
Install the waste toner bottle.
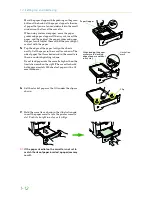
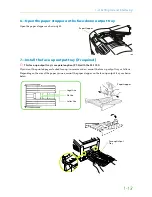
5.
Adjusting the paper guides in the cassette and adding paper.
6.
Open the paper stopper on the face-down output tray.
7.
Install the face-up output tray (if required).
8.
Connect the printer to the computer.
9.
Attach the power cord.
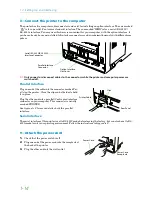
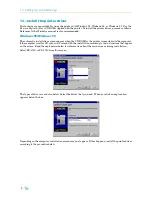
10.
Print a status page.
11.
Test the interface with the computer.
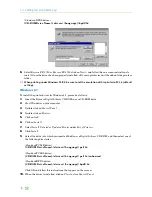
12.
Set the emulation mode.
13.
Install the printer driver.


