


Document Box
OPERATION GUIDE
6-3
6
NOTE:
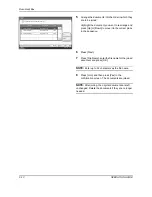
If user login administration is enabled, "Owner"
and "Permission" are also displayed. Refer to
Creating
new Custom Boxes when user login administration is
enabled on page 3-48
.
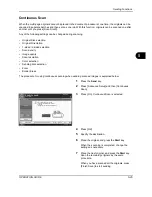
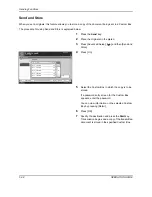
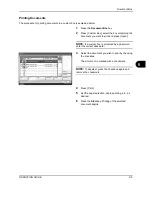
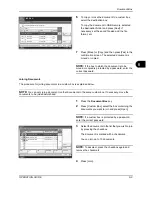
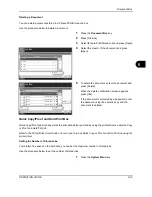
5
Check the details you have entered and then press
[Register]. The Custom Box is created.
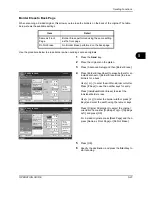
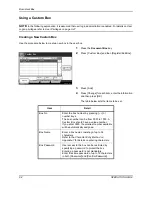
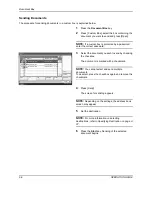
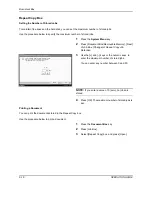
Setting the document deletion time
Sets the time when documents stored in a custom box are deleted.
The procedure for using Auto File Deletion Time is explained below.
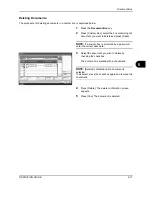
1
Press the
System Menu
key.
2
Press [Document Box/Removable Memory], [Next]
of
Custom Box
, [Next] of
Default Setting
and then
[Change] of
Auto File Deletion Time
.
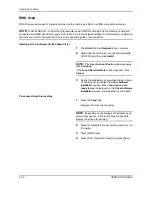
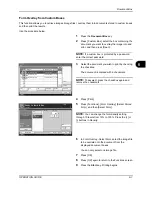
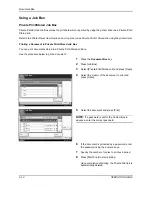
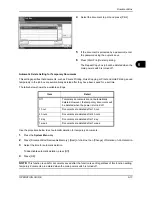
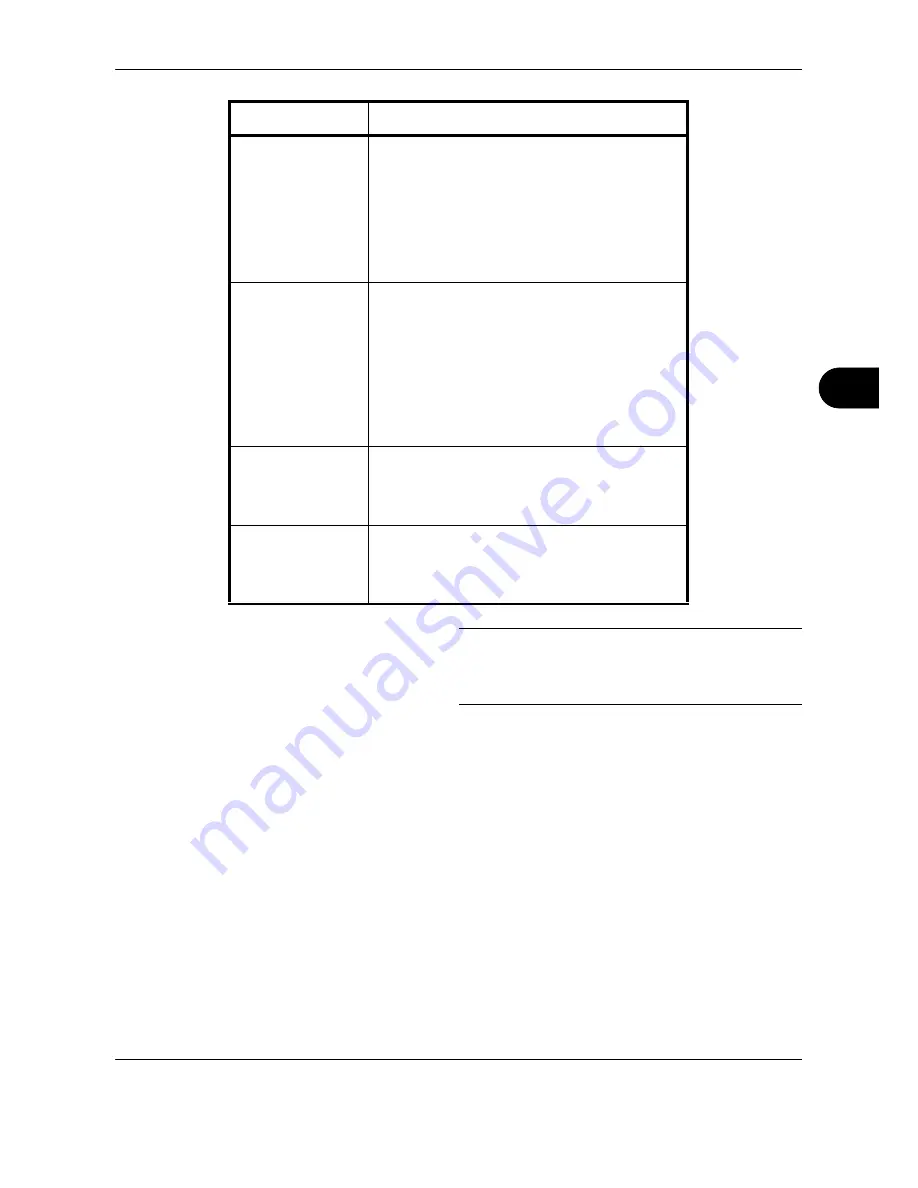
Usage Restriction
To preserve the hard disk capacity, the storage
capacity for a box can be restricted.
To enable a capacity restriction enter a value for
the storage capacity of the Custom Box in
megabytes by pressing [-, +] or number keys.
You can enter a limit between 1 and 30,000.
(Changes according to the number of created
custom boxes.)
Auto File Deletion
Automatically deletes stored documents after a
set period of time.
Press [On] to enable automatic deletion and
then use [+] and [-] or the numeric keys to enter
the number of days for which documents are
stored.
You can enter any number between 1 and
31 day(s). To disable automatic file deletion,
press [Off].
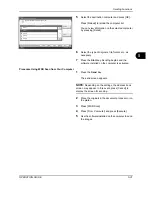
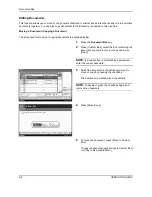
Overwrite Setting
Specifies whether or not old stored documents
are overwritten when new documents are stored.
To overwrite old documents, press [Permit].
To retain old documents, press [Prohibit].
Delete after Printed
Automatically delete document from the box
once printing is complete. To delete the
document, press [On]. To retain the document,
press [Off].
Item
Detail
Summary of Contents for TASKalfa 250ci
Page 72: ...Preparation before Use 2 32 OPERATION GUIDE ...
Page 244: ...Document Box 6 24 OPERATION GUIDE ...
Page 264: ...Status Job Cancel 7 20 OPERATION GUIDE ...
Page 412: ...Troubleshooting 10 30 OPERATION GUIDE 5 Press the indicated position to close left cover 1 ...
Page 444: ...Management 11 32 OPERATION GUIDE ...
Page 447: ...OPERATION GUIDE Appendix 3 Key Counter FAX Kit Expansion Memory ...
Page 486: ......
Page 487: ......


