2JZ/2JX/2JV/2H7-5
1-3-118
U410
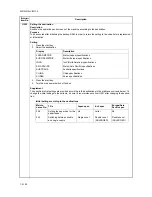
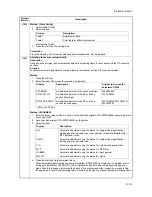
Adjusting the halftone automatically
Description
Carries out processing for the data acquisition that is required in order to perform either automatic adjustment
of the halftone or the ID correction operation. Also the color table is changed when an offset occurs.
Purpose
Performed when the quality of reproduced halftones has dropped. Also when an offset occurs, the setting of
color table is changed to table2.
Method
1. Press the start key.
2. Select the item.
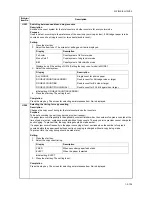
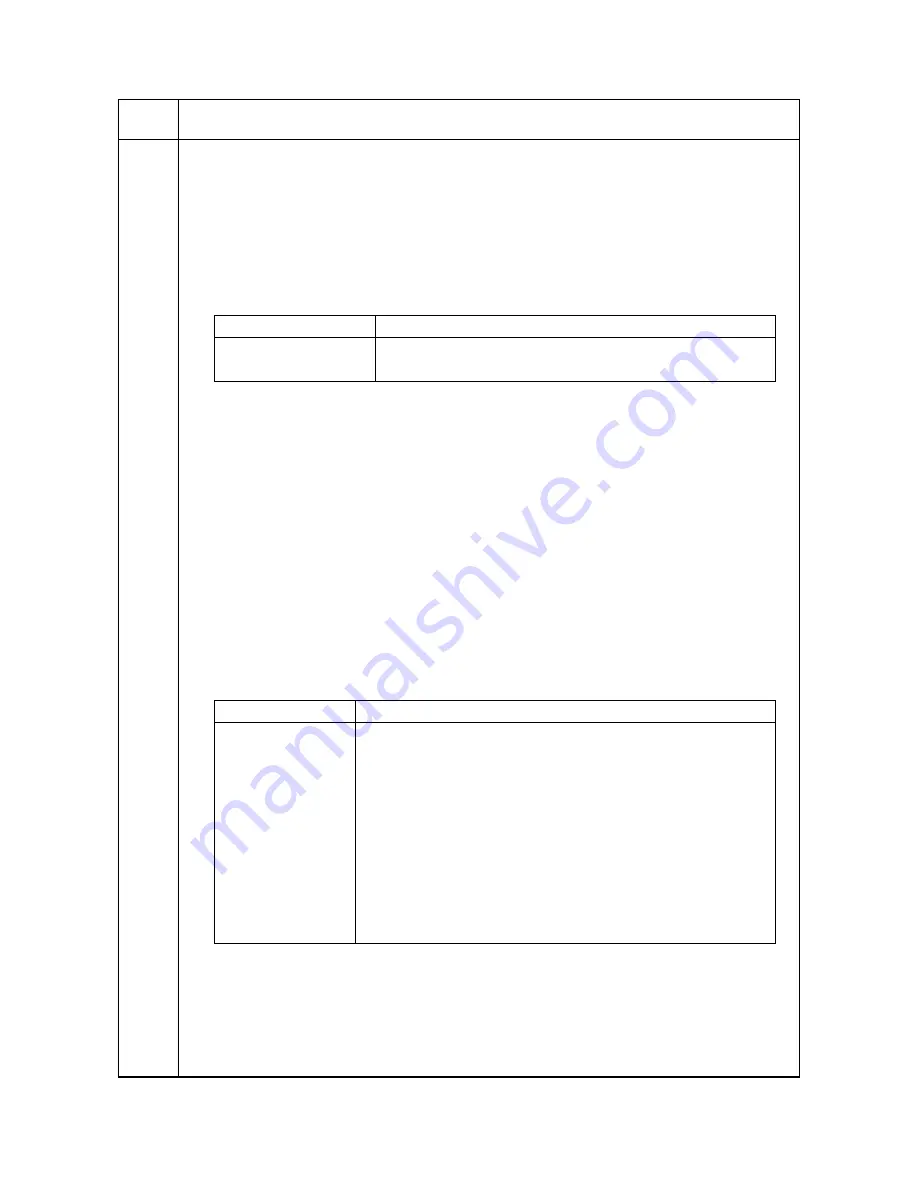
Method: [Continuous Adjustment]
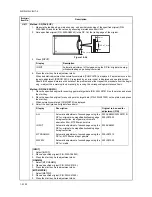
1. Select [Continuous Adjustment].
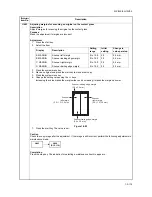
2. Press the start key. A test pattern 1 is outputted.
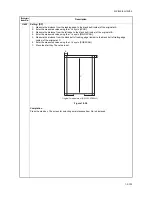
3. Place the output test pattern 1 as the original.
Place approximately 20 sheets of white paper on the test pattern 1 and set them.
4. Press the start key.
Adjustment is made (first time).
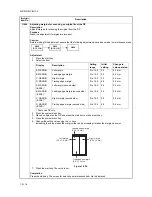
5. A test pattern 2 is outputted. Place the output test pattern 2 as the original.
Place approximately 20 sheets of white paper on the test pattern 2 and set them.
6. Press the start key.
Adjustment is made (second time).
7. A test pattern 3 is outputted. Place the output test pattern 3 as the original.
Place approximately 20 sheets of white paper on the test pattern 3 and set them.
8. Press the start key.
Adjustment is made (third time).
9. When normally completed, [ALL COMP.] is displayed.
If a problem occurs during auto adjustment, error code is displayed.
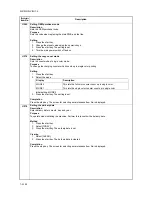
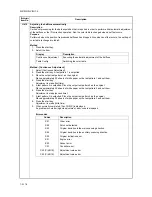
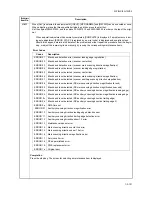
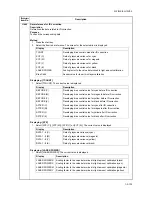
Error codes
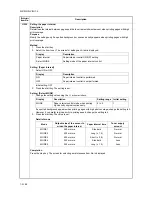
Maintenance
item No.
Description
Display
Description
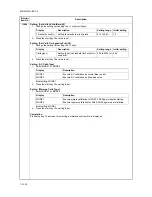
Continuous Adjustment
Executing the automatic adjustment of the halftone
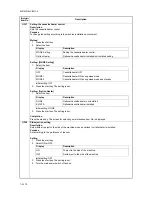
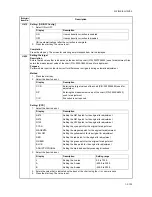
Table Config
Switching the color table
Codes
Description
S01
Order error
S02
Patch not detected
S03
Original deviation in the main scanning direction
S04
Original deviation in the auxiliary scanning direction
S05
Original inclination error
E01
Engine error
E02
Sensor error
C01
Controller error
C02 (C/M/Y/K)
Adjustment value error
C03 (C/M/Y/K)
Adjustment value error
Summary of Contents for TASKalfa 250ci
Page 4: ...This page is intentionally left blank ...
Page 10: ...This page is intentionally left blank ...
Page 14: ...2JZ 2JX 2JV 2H7 This page is intentionally left blank ...
Page 296: ...2JZ 2JX 2JV 2H7 1 4 78 This page is intentionally left blank ...
Page 348: ...2JZ 2JX 2JV 2H7 1 5 52 This page is intentionally left blank ...
Page 354: ...2JZ 2JX 2JV 2H7 1 6 6 This page is intentionally left blank ...
Page 378: ...2JZ 2JX 2JV 2H7 2 1 24 This page is intentionally left blank ...
Page 388: ...2JZ 2JX 2JV 2H7 2 2 10 This page is intentionally left blank ...
Page 390: ...2JZ 2JX 2JV 2H7 1 2 3 2 Power source PWB ...
Page 395: ...2JZ 2JX 2JV 2H7 1 2 3 7 Engine PWB ...
Page 412: ...2JZ 2JX 2JV 2H7 1 2 3 24 Main PWB ...
Page 430: ...2JZ 2JX 2JV 2H7 1 2 3 42 Feed PWB 40 40 50 40 ppm model Feed PWB 25 25 30 30 ppm model ...
Page 450: ...2JZ 2JX 2JV 2H7 2 4 8 ...
Page 493: ...INSTALLATION GUIDE FOR PAPER FEEDER ...
Page 503: ...INSTALLATION GUIDE FOR 3000 SHEETS PAPER FEEDER ...
Page 558: ...INSTALLATION GUIDE FOR CENTER FOLDING UNIT ...
Page 572: ...INSTALLATION GUIDE FOR MAILBOX ...
Page 580: ...INSTALLATION GUIDE FOR HOLE PUNCH UNIT ...
Page 592: ...INSTALLATION GUIDE FOR JOB SEPARATOR ...
Page 602: ...INSTALLATION GUIDE FOR FAX System ...
Page 619: ...INSTALLATION GUIDE FOR DT 710 ...
Page 622: ...INSTALLATION GUIDE FOR DUCT UNIT ...
Page 625: ......
Page 626: ......

