


2KN/2KP
1-5-63
(5) Detaching and refitting the fuser thermostat 1 and 2
Follow the procedure below to check or replace the fuser thermostat 1 and 2.
Caution
Use the specified thermostat 1 and 2 for replacement.
Procedure
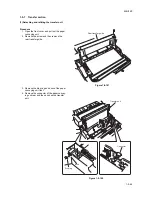
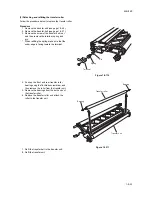
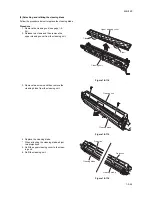
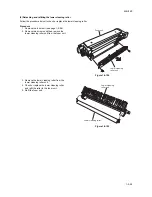
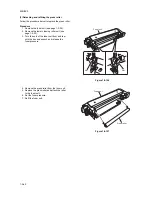
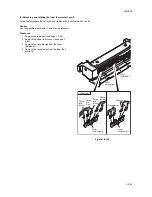
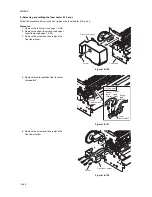
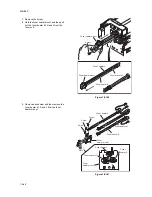
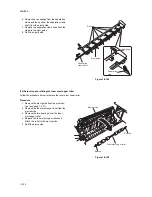
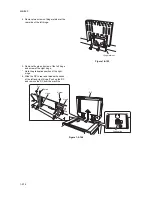
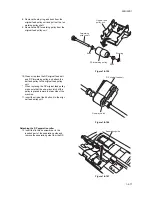
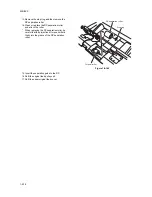
1. Remove the fuser unit (see page 1-5-58).
2. Remove the upper fuser cover (see page 1-
5-60).
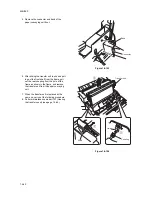
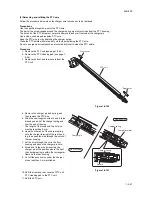
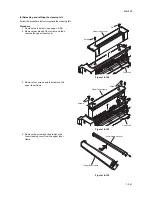
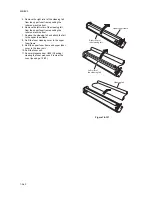
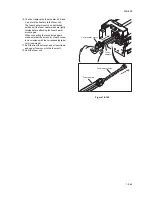
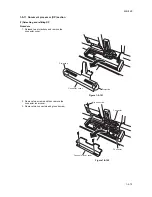
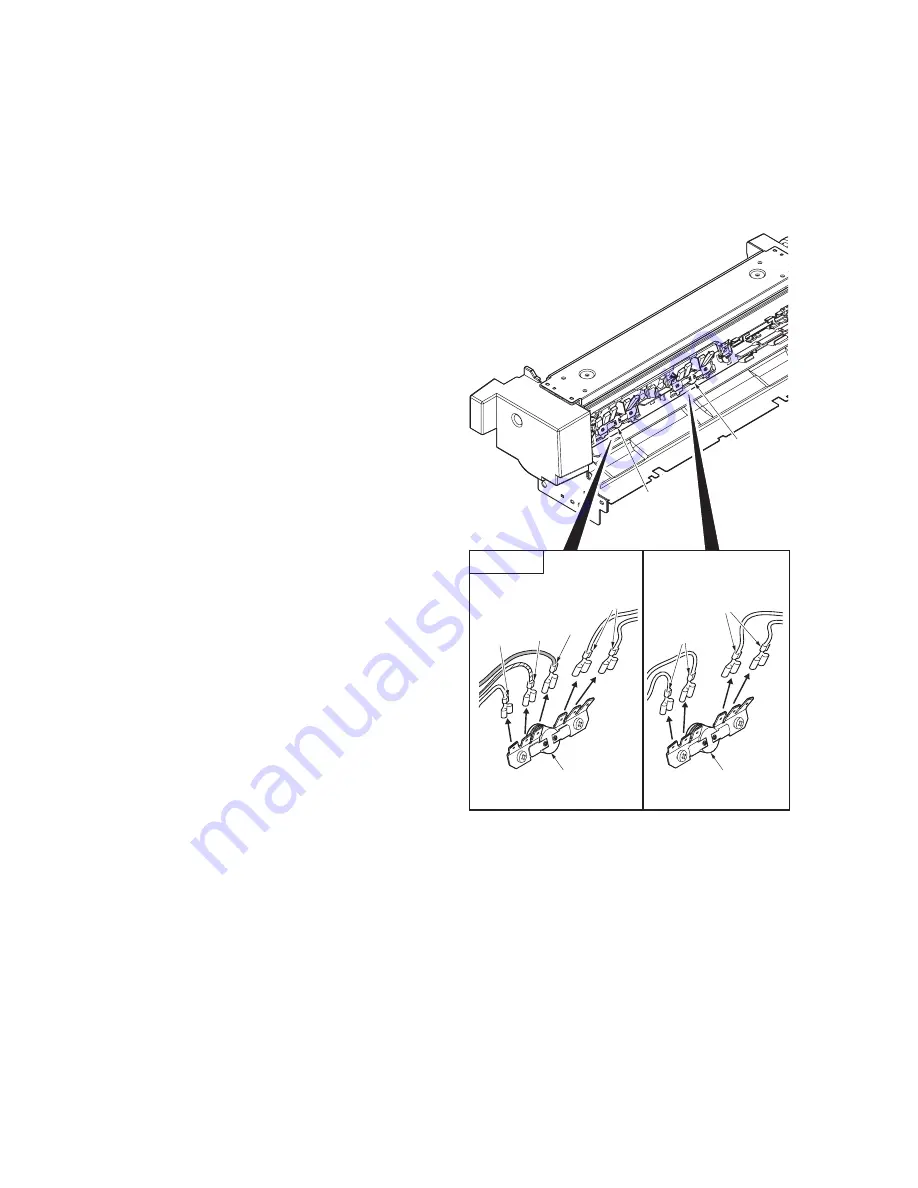
3. Remove four receptacles from the fuser
thermostat 1.
4. Remove five receptacles from the fuser ther-
mostat 2.
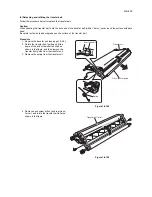
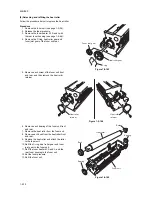
Figure 1-5-132
( ):Wire color
Fuser
thermostat 1
Fuser
thermostat 1
Fuser
thermostat 2
Fuser
thermostat 2
Recep-
tacle
(White)
Recep-
tacle
(Red)
Recep-
tacle
(Black)
Recep-
tacles
Receptacles
Receptacles
Summary of Contents for TASKalfa 620
Page 1: ...SERVICE MANUAL Published in August 2009 842KP112 2KPSM062 Rev 2 TASKalfa 620 820 ...
Page 4: ...This page is intentionally left blank ...
Page 10: ...This page is intentionally left blank ...
Page 144: ...2KN 2KP 1 3 106 This page is intentionally left blank ...
Page 308: ...2KN 2KP 1 5 88 This page is intentionally left blank ...
Page 412: ...2KN 2KP 2 3 60 This page is intentionally left blank ...
Page 435: ...1 1 INSTALLATION GUIDE INSTALLATION GUIDE FOR SIDE FEEDER ...
Page 442: ...INSTALLATION GUIDE FOR LARGE SIZE SIDE FEEDER ...
Page 460: ...INSTALLATION GUIDE FOR DOCUMENT FINISHER ...
Page 475: ...INSTALLATION GUIDE FOR CENTERFOLD UNIT ...
Page 490: ...INSTALLATION GUIDE FOR MULTI JOB TRAY ...
Page 501: ...INSTALLATION GUIDE FOR PUNCH UNIT ...
Page 512: ...INSTALLATION GUIDE FOR STOPPER GUIDE ...
Page 515: ...INSTALLATION GUIDE FOR PRINTING SYSTEM ...
Page 518: ...INSTALLATION GUIDE FOR SCAN SYSTEM ...
Page 520: ......
Page 521: ......


