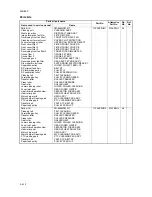

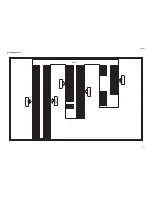


1
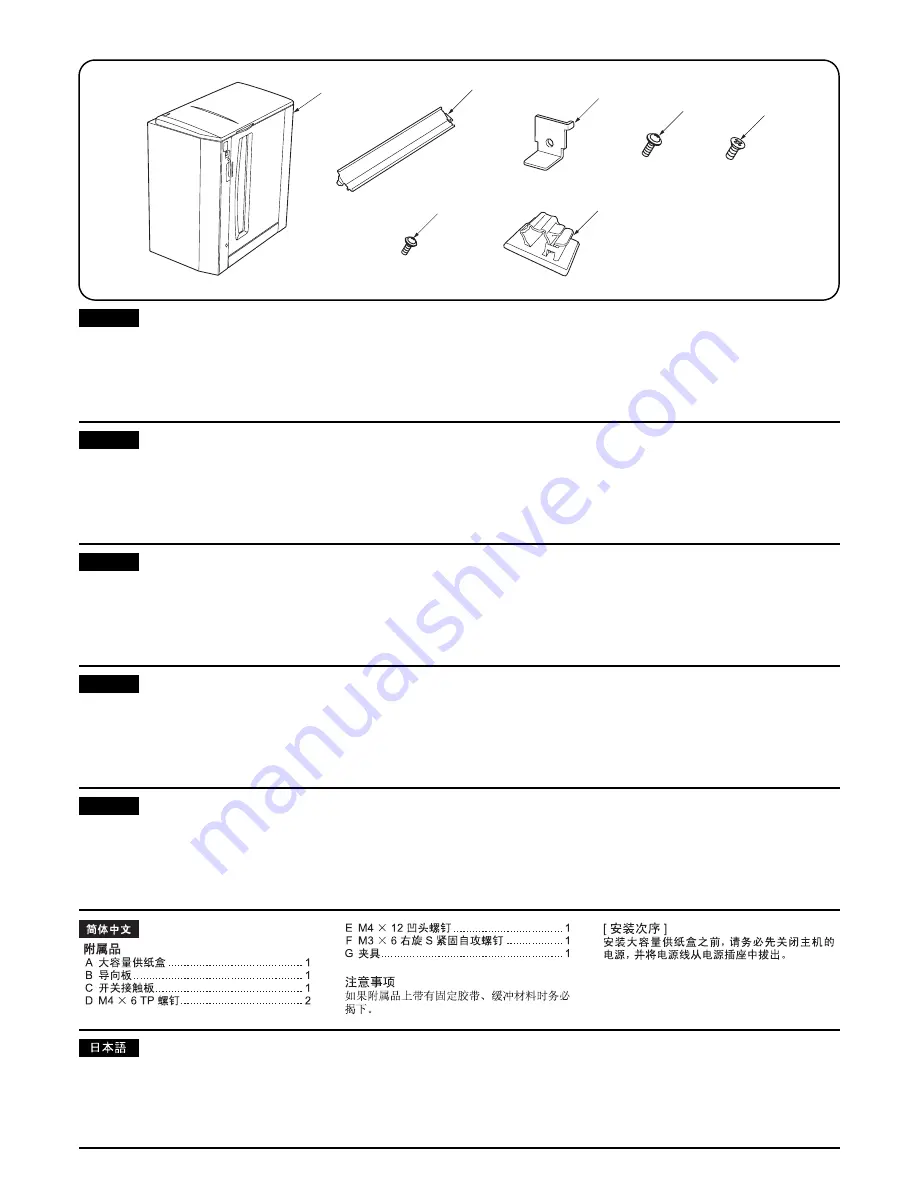
B
A
C
D
E
F
G
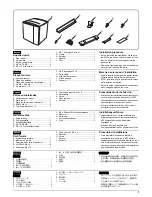
同梱品
A 大容量デッキ........................ 1
B ガイド板上.......................... 1
C スイッチ当たり板.................... 1
D ビス M4 × 6 TP ...................... 2
E ビス M4 × 12 皿 ..................... 1
F ビス M3 × 6 タップタイト S ........... 1
G クランプ ........................... 1
注意事項
同梱品に固定テープ、緩衝材が付いている場合
は必ず取り外すこと。
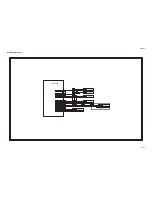
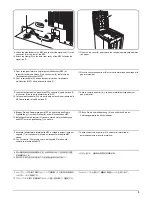
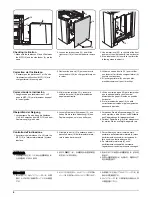
[ 取付手順 ]
大容量デッキ(以下デッキ)を設置するとき
は、必ず複写機本体のメインスイッチを OFF に
し、電源プラグを抜いてから作業すること。
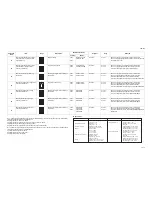
Supplied parts
A Large paper deck..................................... 1
B Guide plate .............................................. 1
C Switch contact plate................................. 1
D M4
×
6 TP screws .................................... 2
E M4
×
12 dish screw.................................. 1
F M3
×
6 Tap Tight S screw ........................ 1
G Clamp ...................................................... 1
Precautions
Be sure to remove any tape and/or cushioning
material from supplied parts.
Procedure
Before installing the large capacity deck
(deck), make sure the copier’s main power
switch is turned off and that the power cord is
unplugged from the power outlet.
Pièces fournies
A Grand plateau à papier ........................... 1
B Plaque de guidage................................... 1
C Plaque de contact de l’interrupteur.......... 1
D Vis TP M4
×
6 .......................................... 2
E Vis plates M4
×
12 ................................... 1
F Vis S taraudées M3
×
6............................ 1
G Câble ...................................................... 1
Précautions
Veillez à retirer les morceaux de bande adhé-
sive et/ou les matériaux de rembourrage des
pièces fournies.
Procédure
Avant d’installer le grand plateau à papier
(plateau), veiller à mettre le copieur hors
tension et à débrancher le cordon
d’alimentation de la prise.
Partes suministradas
A Tabla grande de papel ............................. 1
B Placa guía................................................ 1
C Placa de contacto del interruptor ............. 1
D Tornillos TP M4
×
6.................................. 2
E Tornillo de plato M4
×
12.......................... 1
F Tornillos de ajuste TP M3
×
6 S ............... 1
G Abrazadera ............................................. 1
Precauciones
Asegúrese de despegar todas las cintas y/o
material amortiguador de las partes suminis-
tradas.
Procedimiento
Antes de instalar la tabla grande de papel
(tabla), asegúrese de que el principal
interruptor de alimentación de la copiadora
esté desconectado y de que el cable de
alimentación no esté enchufado en el
receptáculo de la pared.
Gelieferte Teile
A Großes Papierdeck.................................. 1
B Führungsplatte......................................... 1
C Schaltkontaktplatte .................................. 1
D M4
×
6 TP Schrauben.............................. 2
E M4
×
12 Flachkopfschraube .................... 1
F M3
×
6 Passstift-Verbundschrauben........ 1
G Klammer .................................................. 1
Vorsichtsmaßnahmen
Entfernen Sie Klebeband und/oder Dämp-
fungsmaterial vollständig von den mitgeliefer-
ten Teilen.
Vorgang
Bevor Sie mit der Installation des
Großraummagazins (Deck) beginnen, stellen
Sie sicher, dass der Hauptschalter des
Kopierers ausgeschaltet und das Netzkabel
aus der Steckdose gezogen ist.
Parti fornite
A Cassettone .............................................. 1
B Piastra guida............................................ 1
C Piastra di contatto interruttore.................. 1
D Vite M4
×
6 TP ........................................ 2
E Viti piatta M4
×
12 TP .............................. 1
F Viti con testa a croce S M3
×
6 . .............. 1
G Morsetto................................................... 1
Precauzioni
Accertarsi di rimuovere tutti i nastri adesivi e/o
il materiale di imbottitura dalle parti fornite.
Procedura
Prima di installare un cassettone a grande
capacità (cassettone), assicurarsi che
l’interruttore principale della fotocopiatrice sia
spento e che il cavo di alimentazione non sia
inserito nella presa.
Italiano
Deutsch
Español
Français
English
Summary of Contents for TASKalfa 620
Page 1: ...SERVICE MANUAL Published in August 2009 842KP112 2KPSM062 Rev 2 TASKalfa 620 820 ...
Page 4: ...This page is intentionally left blank ...
Page 10: ...This page is intentionally left blank ...
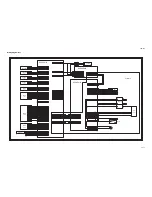
Page 144: ...2KN 2KP 1 3 106 This page is intentionally left blank ...
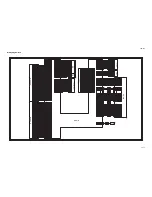
Page 308: ...2KN 2KP 1 5 88 This page is intentionally left blank ...
Page 412: ...2KN 2KP 2 3 60 This page is intentionally left blank ...
Page 435: ...1 1 INSTALLATION GUIDE INSTALLATION GUIDE FOR SIDE FEEDER ...
Page 442: ...INSTALLATION GUIDE FOR LARGE SIZE SIDE FEEDER ...
Page 460: ...INSTALLATION GUIDE FOR DOCUMENT FINISHER ...
Page 475: ...INSTALLATION GUIDE FOR CENTERFOLD UNIT ...
Page 490: ...INSTALLATION GUIDE FOR MULTI JOB TRAY ...
Page 501: ...INSTALLATION GUIDE FOR PUNCH UNIT ...
Page 512: ...INSTALLATION GUIDE FOR STOPPER GUIDE ...
Page 515: ...INSTALLATION GUIDE FOR PRINTING SYSTEM ...
Page 518: ...INSTALLATION GUIDE FOR SCAN SYSTEM ...
Page 520: ......
Page 521: ......


