
THE FINEST RADIO CONTROL MODELS
R
※製品改良のため、予告なく仕様を変更する場合があります。
Specifications are subject to be changed without prior notice! Technische nderungen sind ohne vorherige AnkŸndigungen mšglich!
Les sp cifications peuvent changer sans pr avis!
El fabricante se reserva el derecho de introducir modificaciones en los kits sin previo aviso!
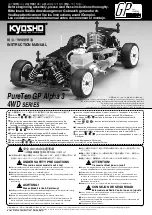
INSTRUCTION MANUAL
組立/取扱説明書
※ご使用前にこの説明書を良くお読みになり十分に理解してください。
Before beginning assembly, please read these instructions thoroughly.
Bitte lesen Sie die Anweisungen vor Gebrauch genau durch.
Veuillez attentivement lire les instructions avant lÕemploi.
Lea cuidadosamente este manual antes de comenzar el montaje.
© 2003 KYOSHO CORPORATION
/禁無断転載複製
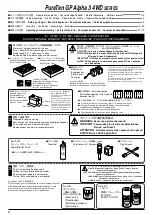
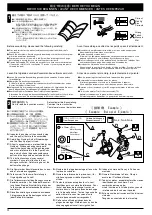
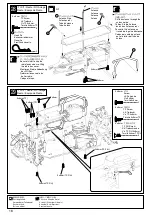
The instruction manual describes assembly and operation of both the
ARR and Readyset versions of the model. It consists of two parts: one
focusing on the Chassis and another on the Body Shell.
Steps through and the Body Manual apply to the ARR version.
Steps , , and the Body Manual apply to the Readyset version.
Diese Anleitung beschreibt die Montage der ARR und der ReadySet
Version. Der erste Teil beschreibt die Montage des Chassis, der zweite
Teil die Montage der Karosserie.
Die Baustufen bis und die Karosserie-Montageanleitung beziehen sich auf die Montage der ARR-Version.
Die Baustufe , , und die Karosserie-Montageanleitung beziehen sich ausschlie§lich auf die ReadySet Version.
la notice contient 2 exemplaires . Un pour le chassis , l'autre pour la carrosserie.
Les deux exemplaires sont valables pour les chassis ARR et Readyset.
Les etapes de a ainsi que la notice de la carrosserie concernent la
version ARR.
L' tape , , et la notice de la carrosserie sont destin es aux versions
Readyset.
El manual de instrucciones consta de dos partes, una para el chasis y la otra para
la carroceria. Y estos manuales son validos para las versiones ARR y Readyset.
Los pasos al y el manual de la carroceria son para la version ARR.
Los pasos , , y el manual de la carrocer’a corresponden a la versi—n
Readyset.
この説明書は、シャシー編とボディ編で構成され
ARR
と
readyset
は共通です。
ARR
は、
〜
とボディ編までを組立ててください。
readyset
は、
、
、
とボディ編までを組立ててください。
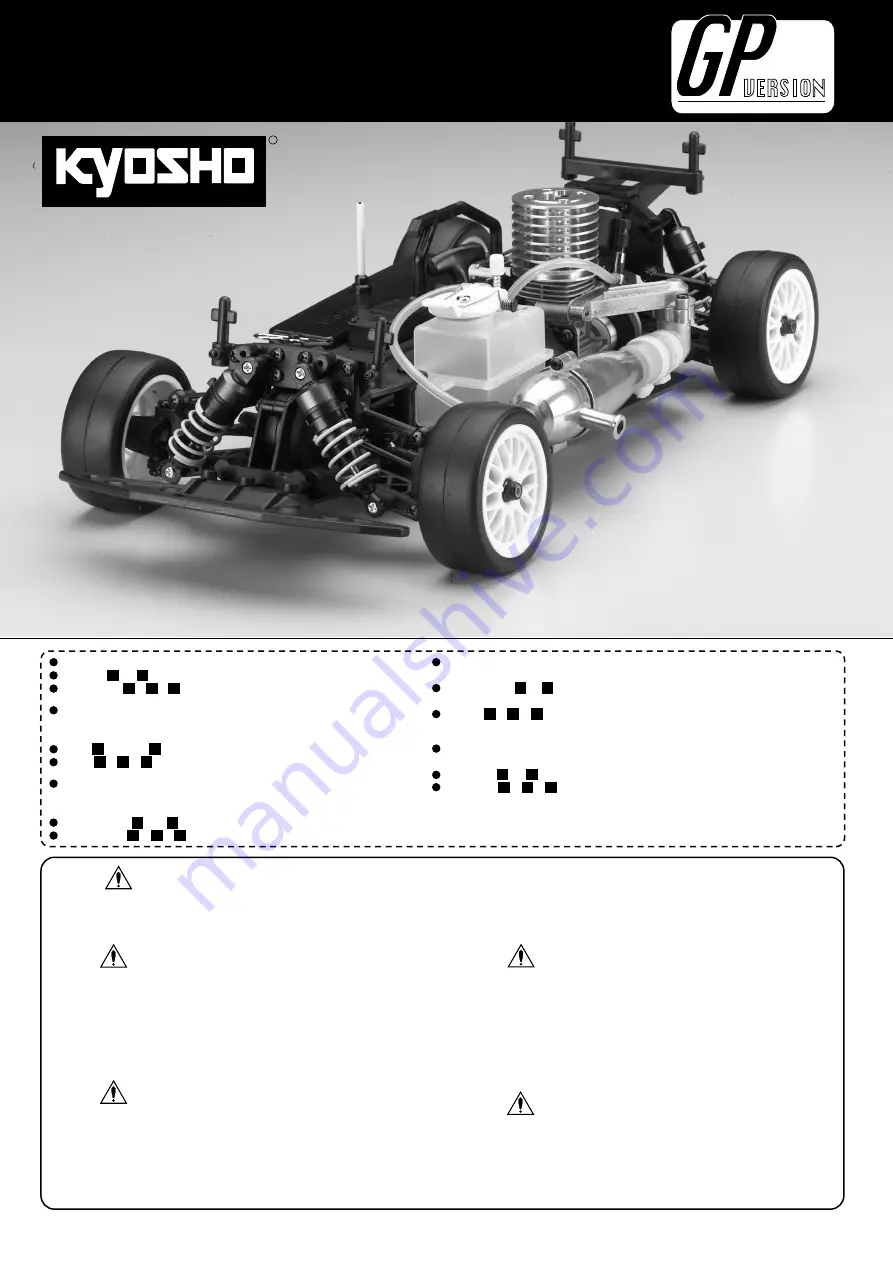
※写真のタイヤ/ホイールは仕様により異なります。
*
The tires and wheels shown in the pictures change, depending on the type of body shell being used.
*Die zeichnerische Darstellung der Felgen und Reifen kann von dem Lieferumfang abweichen,
da dieses je nach verwendeter Karosserie unterschiedlich sind.
*
Pneus et jantes peuvent varier en fonction des modeles.
*
Los neumaticos y llantas de los dibujos cambian segun el tipo de carroceria.
PureTen GP Alpha 3
4WD
SERIES
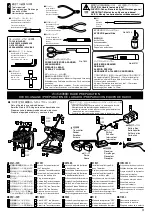
安全のための注意事項
この無線操縦模型は玩具ではありません!
●小さい部品があるので、組立て作業は幼児の手がとどかない所で必ずおこなっ
てください。
●動かして楽しむ場所は、万一の事故を考えて安全を確認してから、責任をもっ
てお楽しみください。
●組立てた後も、説明書がいつでも見られるように大切に保管してください。
●この商品は高い性能を発揮するように設計されています。組立てに不慣れな方は、模
型を良く知っている人にアドバイスを受け確実に組立ててください。
UNDER SAFETY PRECAUTIONS
This radio control model is not a toy!
●
First-time builders should seek the advice of experienced modelers before beginning
assembly and if they do not fully understand any part of the construction.
●
Assemble this kit only in places out of childrenÕs reach!
●
Take enough safety precautions prior to operating this model. You are responsible for this
modelÕs assembly and safe operation!
●
Always keep this instruction manual ready at hand for quick reference, even after completing
the assembly.
ACHTUNG!
Dieses Modell ist kein Spielzeug!
●
AnfŠnger sollten mšglichst Rat bei Modellbaukundigen einholen, um das Modell richtig
zusammenzubauen und gefahrlos bedienen zu kšnnen.
●
Bauen Sie dieses Modell nur au§er Reichweite von Kindern zusammen!
●
Treffen Sie genŸgend Sicherheitsvorkehrungen, bevor Sie Ihr Modell bedienen! Sie
alleine tragen die Verantwortung fŸr Ihr Modell und dessen gefahrlose Bedienung!
●
Bitte bewahren Sie diese Dokumentation zur spŠteren Verwendung auf.
ATTENTION!
Ce mod le nÕest pas un jouet!
●
Si vous tes d butant dans le mod le r duit, prenez conseils aupr s de mod listes
con-firm s afin dÕutiliser votre mod le dans des conditions optimales.
●
Assemblez ce kit en dehors de la port e de jeunes enfants!
●
Prenez des pr cautions lors de lÕutilisation. Vous seul tes responsable des
volutions de votre mod le. La soci t KYOSHO ou son distributeur ne peuvent
en aucun cas tre tenus responsables des accidents pouvant survenir lors de
lÕutilisation de ce mod le!
●
Gardez cette notice ˆ port e de main afin de vous y r f rer rapidement.
CONSEJOS DE SEGURIDAD
Este modelo de Radio Control no es un juguete
●
Los no inicados en este hobby deber‡n ser aconsejados por expertos antes de
comenzar el montaje de este modelo.
●
Realice el montaje en un lugar fuera del alcance de los ni–os.
●
Siempre extreme las medidas de seguridad. Usted es el œnico responsable del
funcionamiento de su modelo.
●
Mantenga este manual a mano.
GAS
POWERED
24
33
10
28
33
28
33
10
28
33
10
28
33
10
28
33
10
24
33
33
24
24
33
24
33