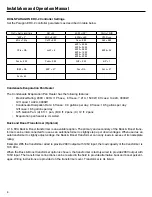

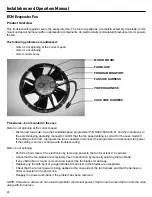


Installation and Operation Manual
14
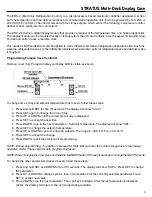
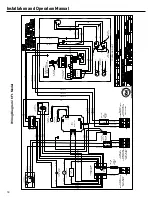
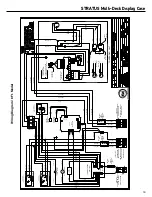
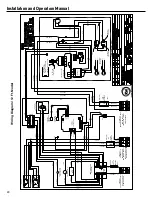
Refrigeration Piping Coupling Connection Instructions
The couplings on the ends of the pre-charged line sets are self-sealing when installed properly. Follow these instruc-
tions carefully. An EPA Certified Type II or higher technician must perform these steps.
Initial Connections
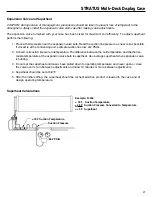
1.
Remove the protector caps and plugs. Wipe the seats and threaded surfaces with a clean cloth to remove
any possible foreign matter.
2.
Thoroughly lubricate the threads, O-rings, diaphragms, and all internal coupling surfaces with polyol ester
(POE) refrigerant oil.
CAUTION: Lubricating is very important. Couplings will leak without lubrication.
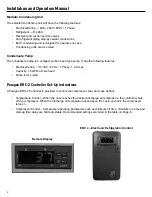
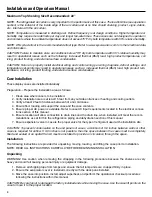
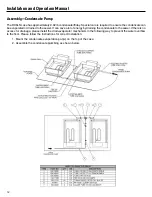
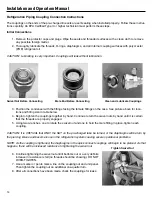
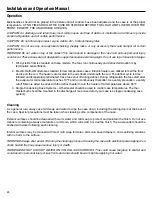
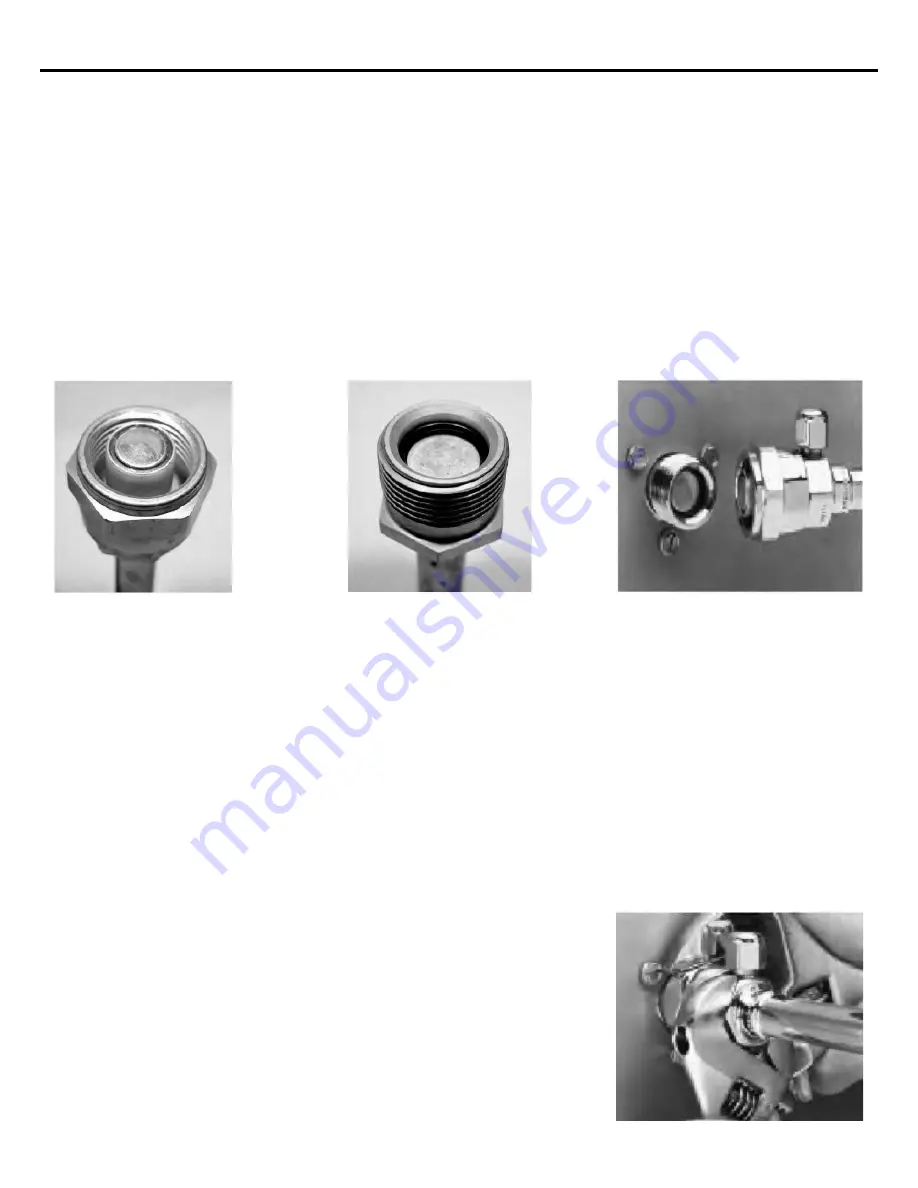
Swivel Nut Before Connecting
Male End Before Connecting
Clean and Lubricate Couplings
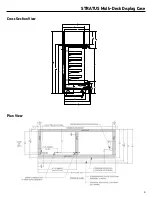
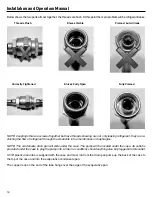
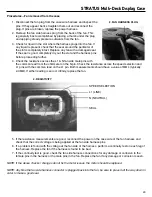
3. Position the condenser with the fittings facing the female fittings on the case. See picture above for loca-
tions and fitting size in table below.
4. Begin to tighten the couplings together by hand. Continue to turn the swivel nuts by hand until it is certain
that the threads are properly engaged.
5.
Using two wrenches, one to rotate the swivel nut and one to hold the male fitting in place, tighten each
coupling.
CAUTION: It is CRITICAL that ONLY the NUT on the pre-charged tube be turned, or the diaphragms will be torn by
the piercing knives and become loose in the refrigeration system causing severe operational problems.
NOTE: As the coupling is tightened, the diaphragms in the quick connect couplings will begin to be pierced. As that
happens, there will be increased resistance to tightening the swivel nut.
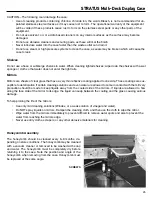
6.
Continue tightening the swivel nut until it bottoms out or a very definite
increase in resistance is felt (no threads should be showing). DO NOT
OVER-TIGHTEN.
7.
Use a marker or pen to mark a line on the coupling nut and unit panel.
Then tighten the coupling nut an additional one-quarter turn.
8. After all connections have been made, check the couplings for leaks.
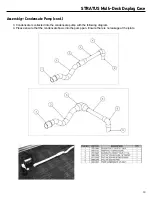
Tighten Swivel Nut