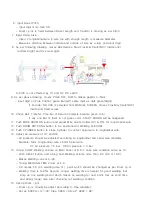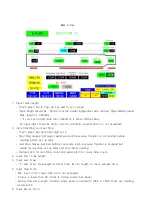
7. Input Spigot Size.
- Insert 2 longitudinal wire in wire die with enough length to measure diameter.
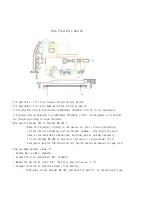
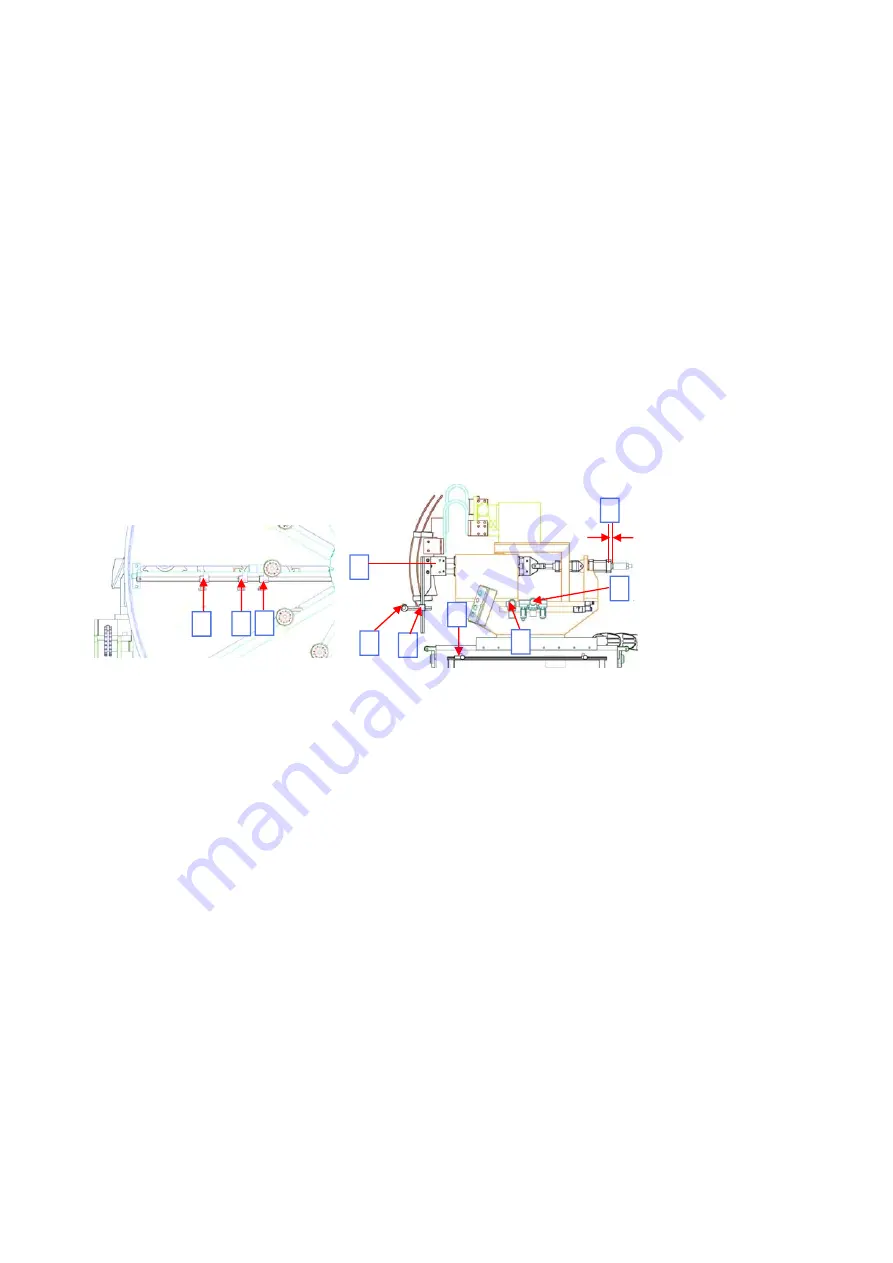
- Reduce Bell at desired diameter, and move P/X Switch#3 and fix screw tight.
8.
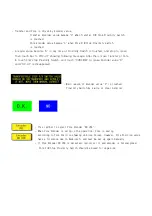
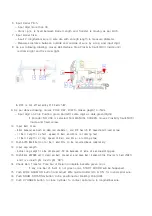
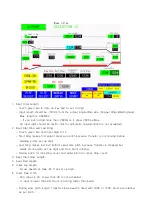
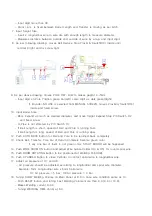
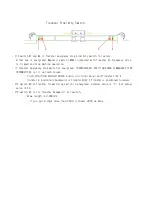
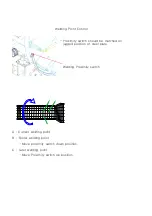
As per above drawing, moves POLE F/W, B/W to makes gap(A) 4~5mm.
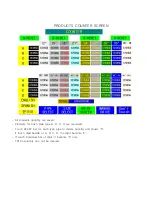
- Input digit on Pole Position green bar(Left) same digit as dark green(Right)
※ If Encoder NO USE is selected from MANUAL SCREEN, moves Proximity Switch(#6)
inside and fixed screw.
9. Input Barrel Size.
- BELL Expand as much as desired diameter, and move Spigot Expand Stop P/X Switch #2
and fixed screw.
- Measures distance between outside and outside of wire by a tap, and input digit.
10. Input Bell Size.
- BELL Expand as much as desired diameter, and P/X Switch #1 moved and fixed screw.
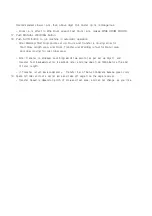
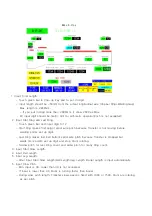
12. Push AUTO BACK button for Bell and Pole to be returned back completely.
13. Check Bell, Transfer, Pole bar of Return Complete became green color.
※ If any one bar of them in not green color, START ERROR will be happened.
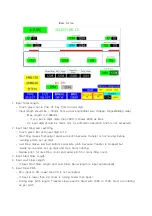
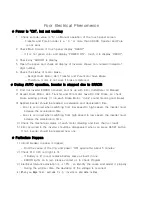
14. Push WIRE DRUM ON button and adjust Wire Guide Holder (#4 & #5) for round spiral wire.
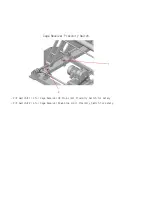
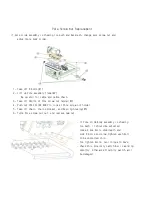
15. Push DRUM ROTATING button to be positioned at Welding Point(#B).
16. Push CYLINDER button to close Cylinder to contact spiral wire to longitudinal wire.
17. Adjust air pressure of #7 and #8.
- Air pressure should be adjusted according to longitudinal and spiral wire diameter.
Example: 5mm Longitudinal wire x 6mm Spiral wire
#7 Air pressure = 5 bar #8 Air pressure = 3 bar
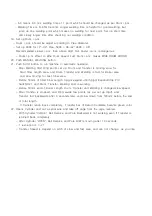
18. Tuning SLOW Welding Volume on Main Panel at 8.0 in case wire condition same as 14.
- Push RESET button and tuning Fast Welding Volume more than 8.0 (9.0 or 10.0).
- Makes Welding current 0~30.
- Tuning WELDING TIME Volume at 6.0
- 6.0 means 6.0 m/s welding time of 1 point which should be changed as per Drum r.p.m.
- Welding Time is 0~65m Second. Longer welding time is helpful for good welding, but
jump up one welding point which makes no welding for next point. Set up short time
A
1
2 3
B
4
5
8
6
7
Summary of Contents for KN-1248-G3
Page 3: ......
Page 4: ......
Page 5: ......
Page 6: ......
Page 54: ......
Page 55: ......
Page 57: ......
Page 61: ......
Page 62: ......
Page 63: ......
Page 64: ......
Page 65: ......
Page 66: ......
Page 67: ......
Page 68: ......
Page 69: ......
Page 71: ......
Page 73: ......
Page 75: ......
Page 77: ......
Page 78: ......
Page 79: ......
Page 80: ......
Page 81: ......
Page 82: ......
Page 90: ...MANUAL OF WIRE CUTTING MACHINE MODEL KN 2CT ...
Page 107: ......
Page 108: ......
Page 109: ......
Page 110: ......
Page 111: ......
Page 112: ......
Page 113: ......

