Rigging procedures
3.
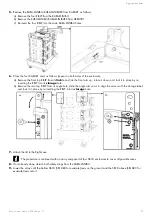
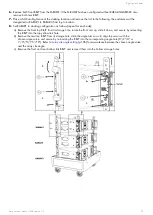
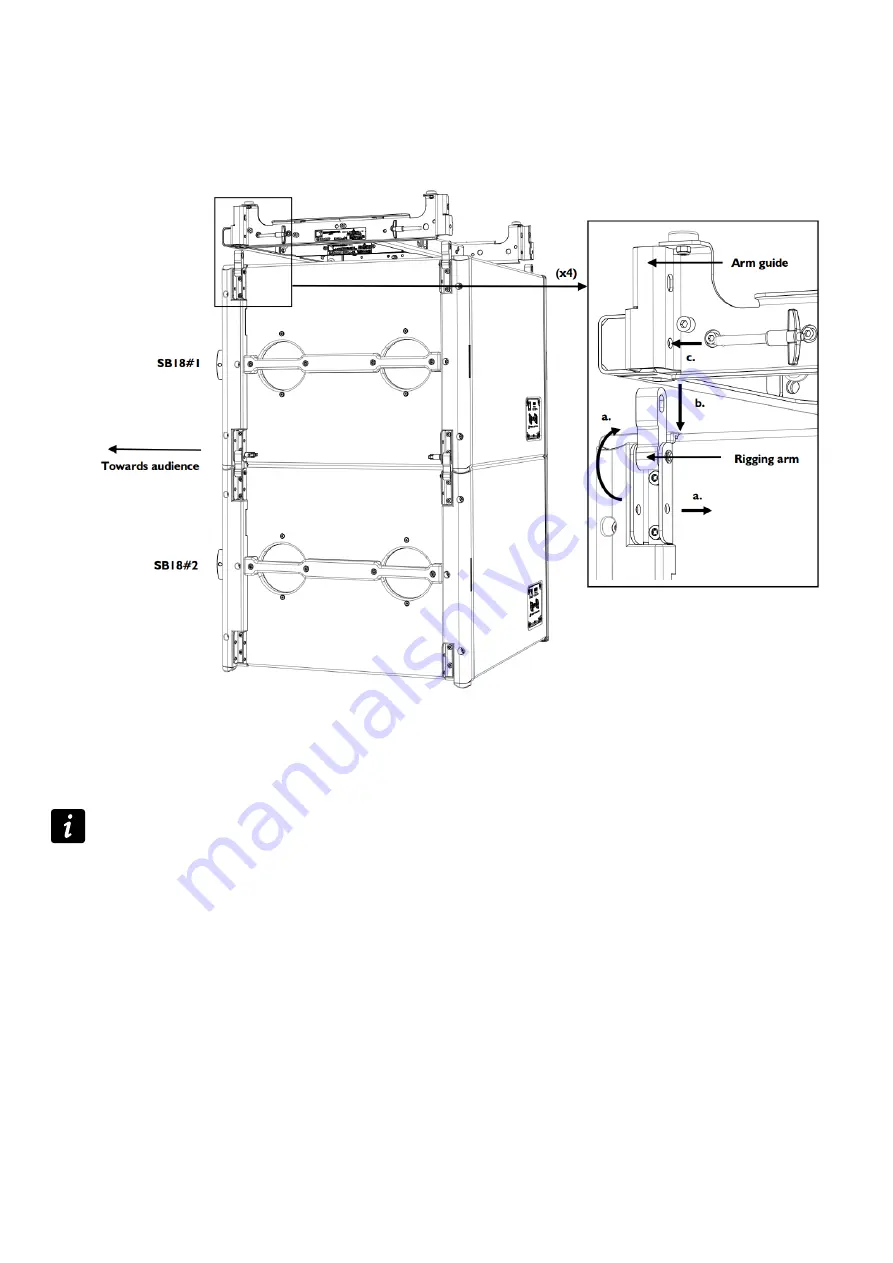
Attach the KARA-MINIBU/KARA-MINIBUEX to SB18#1 as follows:
a) Remove the four top T-BLP from the SB18#1 and turn the four link arms up.
b) According to the chosen conguration (see
(p.192)), position the KARA-
MINIBU/KARA-MINIBUEX above SB18#1 and lower it sliding the SB18#1 link arms into the KARA-MINIBUEX
arm guides.
c) Re-insert the four T-BLP into the KARA-MINIBUEX link points and the SB18#1 link arms.
4.
Attach the motor hook(s) or stinger(s) to the shackle(s) and raise the array to a height of 1.3 m/4.3 ft.
5.
If the array is intended to be an SB18/Kara mixed array, directly go to step
(p.83).
If the array is intended to be an SB18 standalone array, attach two additional SB18 enclosures (hereafter called SB18#3
and SB18#4) under the array by applying step
(p.81) and then continue the procedure from step
(p.82)
below.
Orient all SB18 composing the array towards the audience to obtain an omnidirectional acoustic pattern
or turn one SB18 out of four from front to rear to obtain a cardioid acoustic pattern (refer to the
). As an example, the following gures show a cardioid SB18 array.
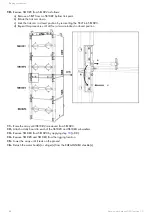
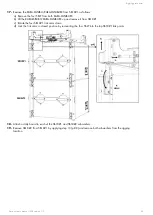
6.
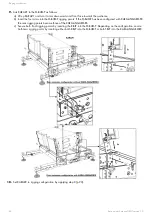
Attach SB18#3 to SB18#2 as follows:
a) While aligning the four link points between SB18#2 and SB18#3, lower the array onto SB18#3.
b) Remove a T-BLP from SB18#3.
c) Rotate the link arm up.
d) Secure the link arm to SB18#2 by re-inserting the T-BLP into the SB18#2 bottom link point.
e) Repeat the last three steps until all four arms are secured to SB18#2.
82
Kara owner's manual (EN) version 1.0


