18
8.
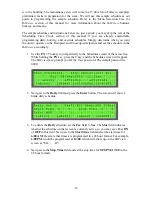
Press the link key corresponding to the
Next
field on the screen. This will take
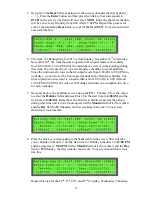
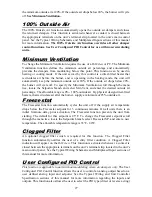
you to Holiday Schedule 2. Set the start time for Holiday Schedule 2 to
12:00 PM
and the stop time to
5:00 PM
. Set the
Month
field to
11
(November) and the
Day
field to
19
(Monday, the first weekday that week). Your screen should now look
like this:
Repeat this step for the 20
th
, 21
st
, 22
nd
, and 23
rd
(Tuesday, Wednesday, Thursday,
and Friday) using Holiday Schedules 3 through 10, then proceed to the next step.
9.
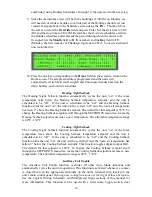
Since the maintenance crew will be in the building at 5:00 AM on Monday, we
will need an override schedule to override part of the Holiday schedule we just
created. Navigate back to the Schedules screen using the
FN + 7
hotkey. Move
the cursor to select the
Override
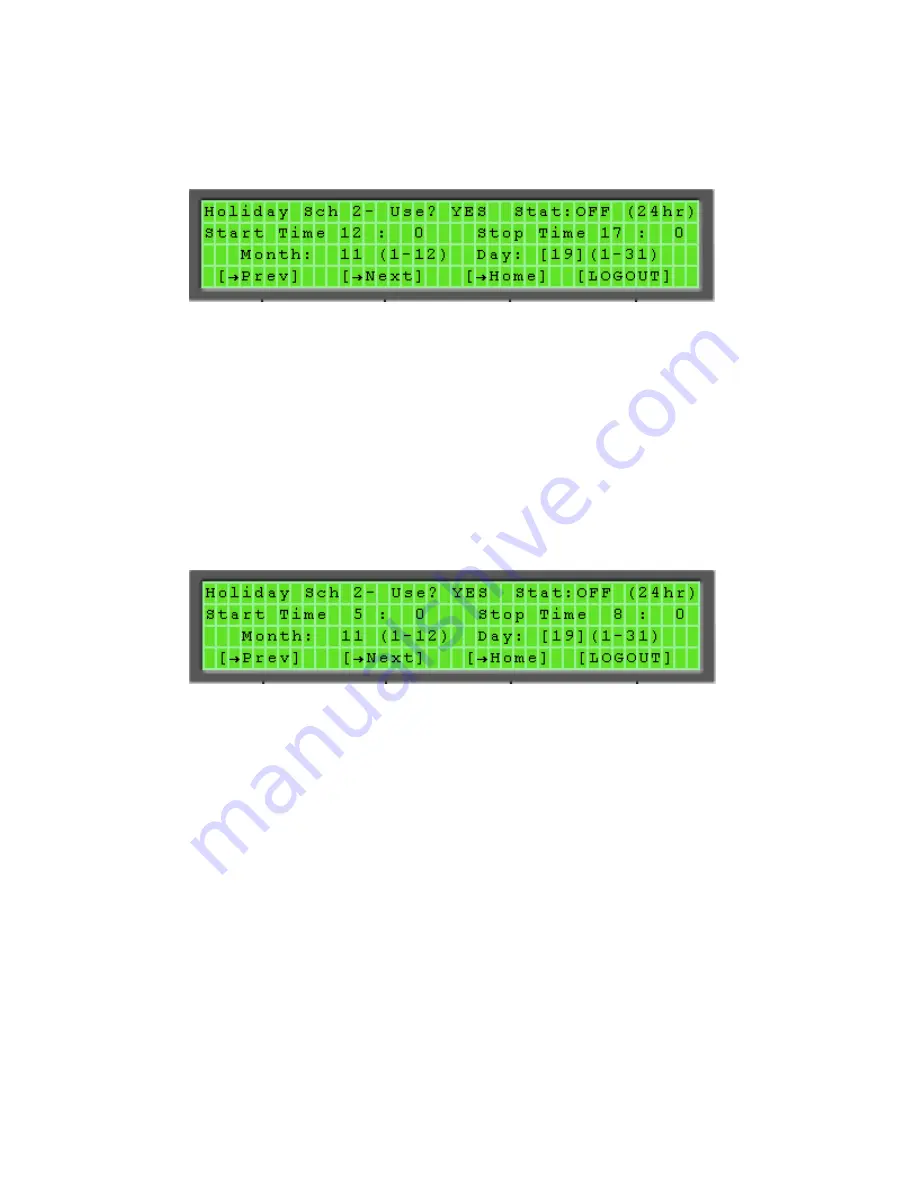
field and press Enter. Set the start time to 5:00
AM and the stop time to 8:00 AM. Remember, the Override schedules override
the Holiday schedules and represent the period during which the unit is to be On.
Set the
Month
field to
11
(November) and the
Day
field to
19
(Monday, the first
weekday of Thanksgiving week in 2012). Your screen should now look like this:
10.
Press the link key corresponding to the
Home
field on the screen to return to the
Home screen. The sample schedule is programmed and the units will
automatically switch between On and Off modes based on the daily, holiday, and
override schedules.
Auxiliary Unit Enable
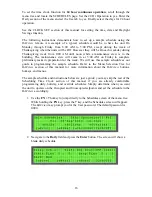
The Auxiliary Unit Enable function overrides the time clock function and automatically
cycles the unit into operation. This function is activated whenever a contact is closed
between the appropriate terminals on the unit’s terminal strip located in the unit’s main
control panel. See the Typical Wiring Schematic and Multiplexed Input sections of this
manual for more information. This function can be used with a twist timer, toggle switch,
door switch, exhaust fan interlock, or any other dry contact to override the time clock
schedule.


