QUESTIONS:
Should you have any questions during the final assembly of your new bicycle, please call our product 4/4/11
specialists at 800-226-7552 any day between 8:00 a.m. and 10:00 p.m. Eastern. pg.
3
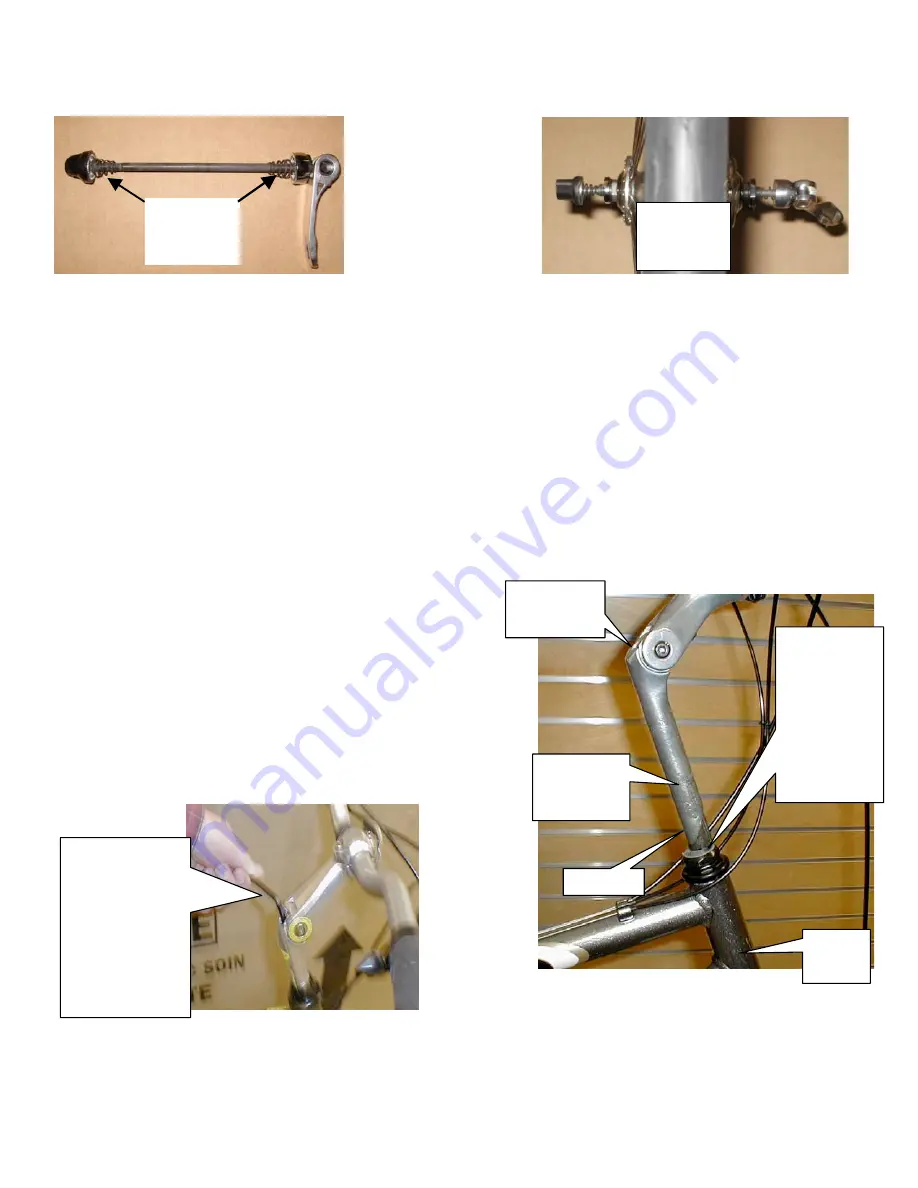
Correct quick-release tensioning:
1. Turn the lever to the open position so that the curved part faces away from the bicycle.
2. While holding the lever in one hand, tighten the adjusting nut until it stops.
3. Pivot the lever towards the closed position. When the lever is halfway closed, there must be firm resistance to turn it
beyond that point. If resistance is not firm, open the lever and tighten the adjusting nut in a clockwise direction.
4. Continue to pivot the lever all the way to the closed position so that the curved part faces the bicycle.
Note:
If you can fully close the quick release without wrapping your fingers around the fork for leverage, and the lever
does not leave a clear imprint in the palm of your hand, the tension is insufficient. Open the lever, turn the adjustment
nut and try again. Continue until quick release lever closes properly. Reconnect the brake cable as explained above.
Please also refer to the Owner’s Manual for additional information.
2.
INSTALL HANDLEBAR AND STEM.
Required tool – 6mm Allen wrench.
If there is a protective plastic cap on the end of the stem, remove and
discard it before inserting into the head tube. Insert handlebar stem
into head tube. You may need to loosen the stem bolt slightly.
Make sure to insert stem past the “minimum insertion line,” and then
adjust to desired height. Before tightening, align stem and handlebar
with the front wheel.
The stem
bolt works
by drawing
this wedged
piece up
until it locks
the stem in
place.
Minimum
insertion
line
Head
tube
Stem bolt
head
Tighten and
loosen the stem
bolt with a
6mm Allen
wrench. Turn
clockwise to
tighten counter
clockwise to
loosen
Stem
Correctly
installed
skewer
Note
direction
of springs


