SignalShark User Manual
164
2.
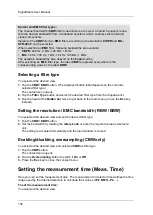
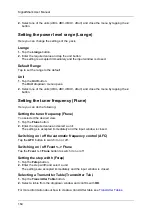
Select one of the units (dBm, dBV, dBmV, dBuV) and close the menu by tapping the
x
button.
Setting the power level range (Lrange)
Here you can change the settings of the y-axis.
Lrange
1.
Tap the
Lrange
button.
2.
Enter the required value and tap the unit button.
The setting is accepted immediately and the input window is closed.
Default Range
Tap to set the range to the default.
Unit
1.
Tap the
Unit
button.
The
Unit
dropdown menu opens.
2.
Select one of the units (dBm, dBV, dBmV, dBuV) and close the menu by tapping the
x
button.
Setting the tuner frequency (Ftune)
Here you can do the following:
Setting the tuner frequency (Ftune)
You selected the desired view.
1.
Tap the
Ftune
button.
2.
Enter the required value and select a unit.
The settings is accepted immediately and the input window is closed.
Switching on / off the automatic frequency control (AFC)
Tap the
AFC
button to switch it on or off.
Switching on / off Fcent <–> Ftune
Tap the
Fcent <–> Ftune
button to switch it on or off
Setting the step width (Fstep)
1.
Tap the
Fstep
button.
2.
Enter the step width and select a unit.
The settings are accepted immediately and the input window is closed.
Selecting a Transmitter Table (Transmitter Tab.)
1.
Tap the
Transmitter Table
button.
2.
Select a table from the dropdown window and confirm with
OK
.
For more information about how to create a transmitter table see
Summary of Contents for Narda SignalShark
Page 1: ...User Manual Version 2019 07 ...
Page 2: ......
Page 14: ......
Page 15: ...15 Online Help Version 2019 07 ...
Page 16: ......
Page 31: ...Introduction 31 Figure Loop antenna frequency range 9 kHz to 30 MHz ...
Page 32: ......
Page 38: ......
Page 44: ......
Page 60: ......
Page 66: ......
Page 74: ......
Page 88: ......
Page 104: ......
Page 118: ......
Page 132: ......
Page 158: ......
Page 198: ......
Page 204: ......
Page 214: ......
Page 226: ......


