17
Quick Start
Connecting to power supply system
Before the first use, the batteries of the SignalShark have to be charged.
The AC connection is not recommended for general use, as the measurement
characteristics can be significantly affected by the presence of the power supply cable in
the electromagnetic field when the SignalShark is operated with the AC adapter / charger
connected to it.
To charge the batteries:
1
Put the batteries into the battery compartment.
2
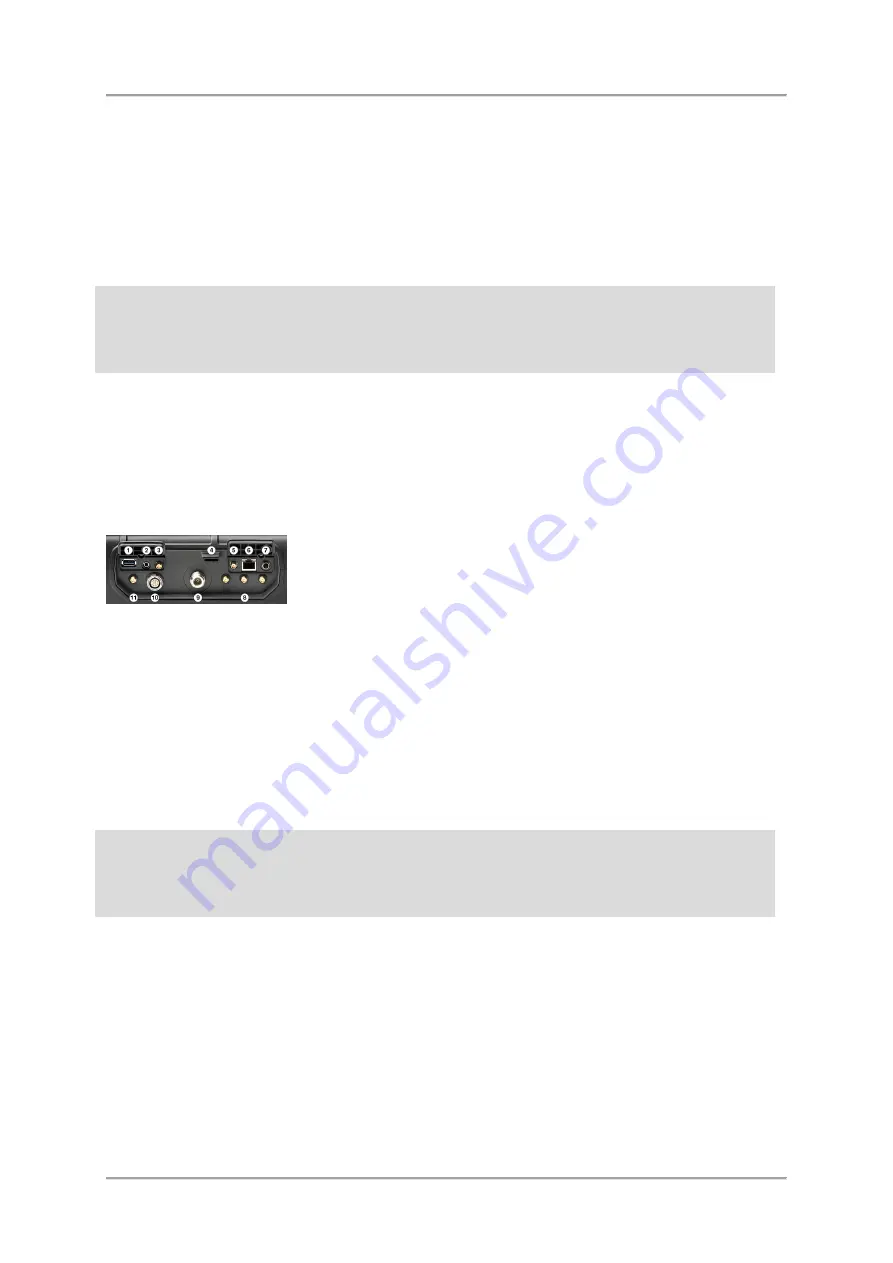
Connect the AC adapter / charger to socket No.
7
on the top side panel (see picture
below).
When the charge cycle is completed the charge LED on the keypad lights up green, the
battery symbol on the screen shows a full battery and the AC adapter / charger switches
to trickle charge mode.
See also:
Connecting to power supply system
Before the first use, the batteries of the SignalShark have to be charged.
The AC connection is not recommended for general use, as the measurement
characteristics can be significantly affected by the presence of the power supply cable in
the electromagnetic field when the SignalShark is operated with the AC adapter / charger
connected to it.
To charge the batteries:
1
Put the batteries into the battery compartment.
2
Connect the AC adapter / charger to socket No.
7
on the top side panel (see picture
below).
When the charge cycle is completed the charge LED on the keypad lights up green, the
battery symbol on the screen shows a full battery and the AC adapter / charger switches
to trickle charge mode.
Summary of Contents for Narda SignalShark
Page 1: ...User Manual Version 2019 07 ...
Page 2: ......
Page 14: ......
Page 15: ...15 Online Help Version 2019 07 ...
Page 16: ......
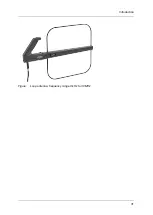
Page 31: ...Introduction 31 Figure Loop antenna frequency range 9 kHz to 30 MHz ...
Page 32: ......
Page 38: ......
Page 44: ......
Page 60: ......
Page 66: ......
Page 74: ......
Page 88: ......
Page 104: ......
Page 118: ......
Page 132: ......
Page 158: ......
Page 198: ......
Page 204: ......
Page 214: ......
Page 226: ......

