SignalShark User Manual
46
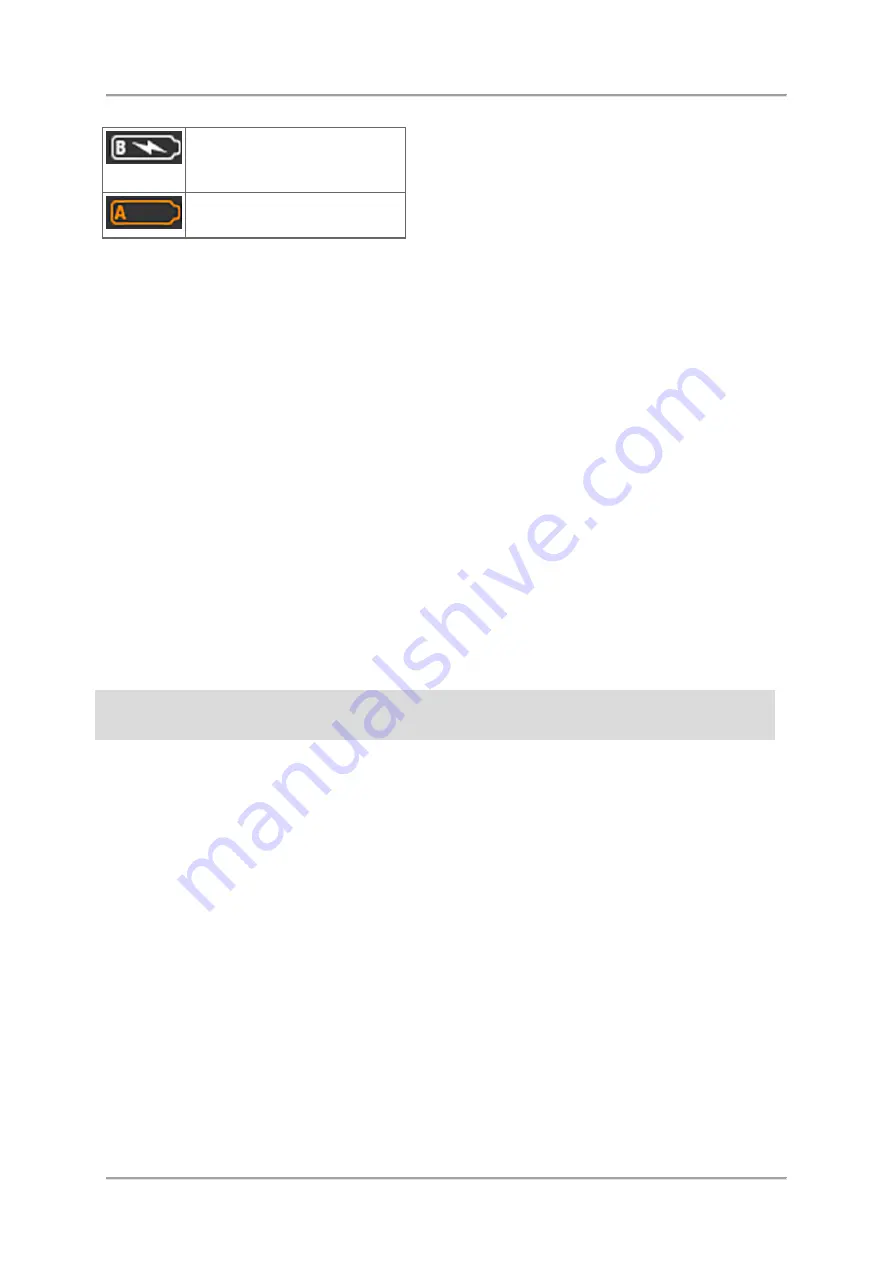
The AC adapter / charger is
connected and battery B is
charging.
Charge status is less than
10%: icon is blinking in red.
Charging the batteries
You must use the AC adapter / charger provided or the optionally available external charger
to recharge the batteries.
•
Charging time with both batteries charging in the device: approx. 4.2 hours (nominal)
•
Charging time with external charger: approx. 3 hours (nominal)
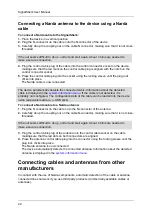
To start the charge cycle when charging in the device:
The AC line voltage must be the same as the operating voltage of the AC adapter / charger.
1.
Connect the AC adapter / charger to the DC input / charge socket of the SignalShark.
2.
Connect the AC adapter / charger to the AC line.
The charge cycle starts.
The Charge LED on the keypad lights up red and the battery symbol on the screen shows
the charging arrow during the charge cycle.
When the charge cycle is completed the charge LED on the keypad lights up green, the
battery symbol on the screen shows a full battery and the AC adapter / charger switches
to trickle charge mode.
Changing the batteries
Observe the safety instructions for handling batteries given in the document
General
Safety Information
provided with this product.
Hot swappable features
The device is equipped with two batteries, but it can also be operated with only one battery.
Therefore it is possible to change one battery, while the other one supplies the device with
power.
To change the batteries:
During operation, change batteries one after another only to avoid unintentional switch-off of
the device!
1.
Push lock
(1)
downwards to open the battery compartment cover.
2.
Pull out the battery using the tab
(2)
.
3.
Hold the tab on the new battery pack and slide the battery pack into the compartment.
4.
Put the battery compartment cover back in place and snap it into position.
Summary of Contents for Narda SignalShark
Page 1: ...User Manual Version 2019 07 ...
Page 2: ......
Page 14: ......
Page 15: ...15 Online Help Version 2019 07 ...
Page 16: ......
Page 31: ...Introduction 31 Figure Loop antenna frequency range 9 kHz to 30 MHz ...
Page 32: ......
Page 38: ......
Page 44: ......
Page 60: ......
Page 66: ......
Page 74: ......
Page 88: ......
Page 104: ......
Page 118: ......
Page 132: ......
Page 158: ......
Page 198: ......
Page 204: ......
Page 214: ......
Page 226: ......


