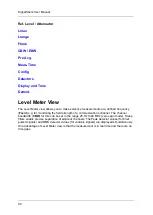
Level Meter View
97
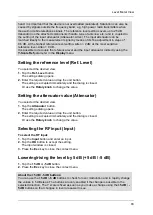
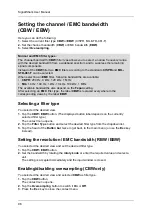
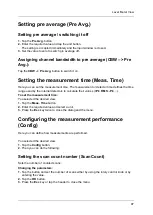
Setting pre average (Pre Avg.)
Setting pre average / switching it off
1.
Tap the
Pre Avg.
button.
2.
Enter the required value and tap the unit button.
The setting is accepted immediately and the input window is closed.
3.
Set the value to zero to switch pre average off.
Assigning channel bandwidth to pre average (CBW –> Pre
Avg.):
Tap the
CBW –> Pre Avg.
button to switch it on.
Setting the measurement time (Meas. Time)
Here you can set the measurement time. The measurement or detector time defines the time
range used by the internal detectors to calculate their values (
+Pk
,
RMS
,
-Pk
, ...).
To set the measurement time:
You selected the desired view.
1.
Tap the
Meas. Time
button.
2.
Enter the required value and select a unit.
3.
Press the
Esc
key twice to close the dialog and the menu.
Configuring the measurement performance
(Config)
Here you can define how measurements are performed.
You selected the desired view.
1.
Tap the
Config
button.
2.
Then you can do the following:
Setting the scan count number (Scan Count)
Sets the number of counted scans.
Changing the parameters:
1.
Tap the button and set the number of scans either by using the rotary control knob or by
entering the value.
2.
Tap the
OK
button.
3.
Press the
Esc
key or tap the header to close the menu.
Summary of Contents for Narda SignalShark
Page 1: ...User Manual Version 2019 07 ...
Page 2: ......
Page 14: ......
Page 15: ...15 Online Help Version 2019 07 ...
Page 16: ......
Page 31: ...Introduction 31 Figure Loop antenna frequency range 9 kHz to 30 MHz ...
Page 32: ......
Page 38: ......
Page 44: ......
Page 60: ......
Page 66: ......
Page 74: ......
Page 88: ......
Page 104: ......
Page 118: ......
Page 132: ......
Page 158: ......
Page 198: ......
Page 204: ......
Page 214: ......
Page 226: ......


