

Page | 3
Page | 2
S P E C I F I C AT I O N S
• Your thermometer and hygrometer (sensors) have been
pre-calibrated and should not need adjustment.
• Before manually adjusting your sensors, allow the clock to sit for at
least 2 hours in the same location.
• To manually adjust your sensors, gently turn the temperature or
humidity sensor adjustment on the back of the clock until desired
setting is reached.
Thermometer/Hygrometer
P OW E R U P L I G H T E D D I A L
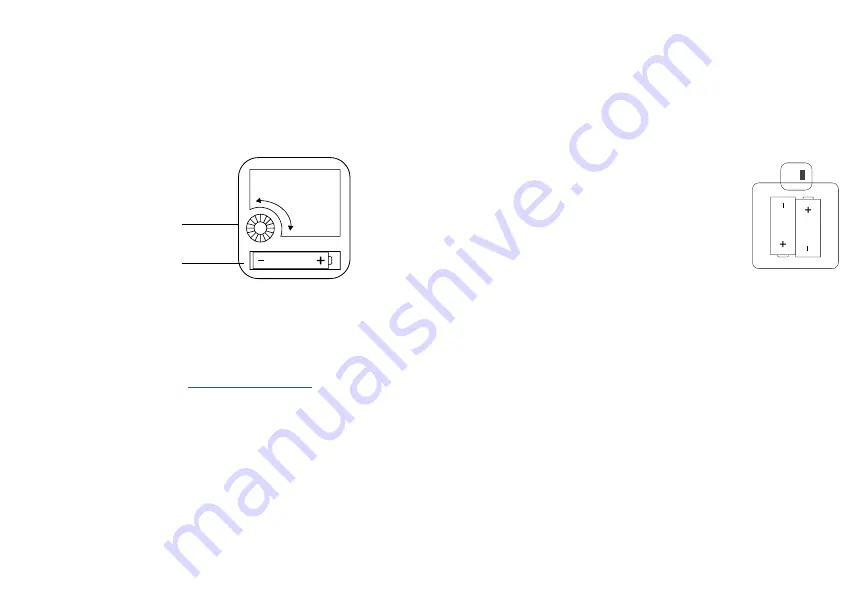
Remove the Lighted Dial Battery Covers and insert 4 D batteries
into the Battery Compartments.
IMPORTANT:
Be sure all batteries are of the same voltage.
Light Sensor Switch
Set to ON to activate the Lighted Dial in dark
conditions. Set to OFF to deactivate this function
all together and conserve batteries.
The Light Sensor is located on the front of the
clock between the six and seven. The light timer
will reset once the clock is exposed to light.
When it gets dark, the Lighted Dial will stay on for
6 hours and then automatically shut off.
ON/OFF Switch
OFF
ON
D
D
Battery Requirements:
1 AA (IEC LR6) required in movement.
4 D (IEC LR20) for Lighted Dial. Batteries not included
Clock Battery Life:
1 Battery - 1 year,
Temperature Range:
-20ºF to 120ºF (-28.8ºC to 48.8ºC)
Humidity Range:
10% to 90% RH
Dimensions:
15.55” L x 3.03” W x 15.55” H
(39.5 cm L x 7.7 cm W x
39.5 cm H)
Note:
The quartz movement will keep the clock running accurately.
If the clock does not operate, or steadily loses time, replace the
battery.
Learn more from our video:
bit.ly/wallclock_setup
POWER UP CLOCK
1. Remove Round Battery Cover to access the clock movement and
battery compartment.
2. Insert 1 AA battery into the movement in the center of the clock.
3. Spin the time set wheel to set the time.
Time Set
Wheel
Battery
Compartment
AA
Made in China - Printed in China


