background image

WIRELESS COLOR WEATHER STATION 

3 | PAGE

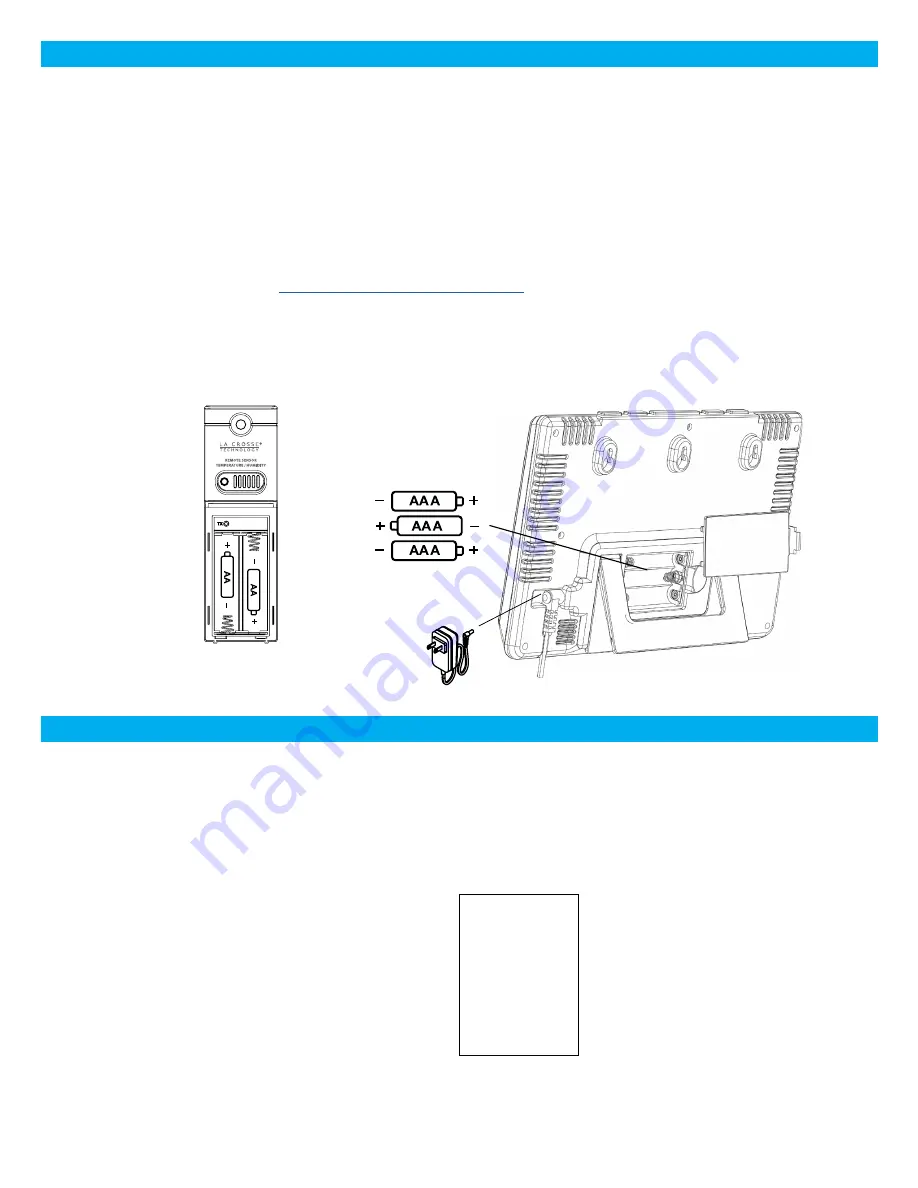
POWER UP

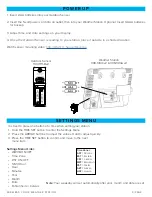
1.  Insert 2-AA batteries into your Outdoor Sensor. 

2. Insert the 5 volt power cord into an outlet, then into your Weather Station. Optional: Insert 3-AAA batteries 

    for backup.

3. Adjust time and date settings on your display.

4. Once the Outdoor Sensor is reading to your station, place it outside in a shaded location.  

Watch sensor mounting video: 

http://bit.ly/TH_SensorMounting

Outdoor Sensor

TX141TH-Bv2

Weather Station

308-1414bv2 & 308-1414wv2

SETTINGS MENU

It is best to press one button at a time when setting your station. 

1.   Hold the TIME SET button to enter the Settings Menu.

2.  Press the ARROW buttons to adjust the values. Hold to adjust quickly.

3.  Press the TIME SET button to confirm and move to the next 

     menu item.

Settings Menu Order:

•   WWVB ON/OFF

•   Time Zone

•   DST ON/OFF

•   12/24 Hour

•   Hour

•   Minutes

•   Year

•   Month

•   Date

•   Fahrenheit or Celsius

Note: 

Your weekday will set automatically after year, month, and date are set.

Time Zones

AST = 

Atlantic

EST = 

Eastern

CST = 

Central

MST = 

Mountain

PST = 

Pacific

AKT


Alaska

HAT = 

Hawaii

Summary of Contents for 308-1414WBV2

Page 1: ...OLOR WEATHER STATION 1 PAGE WIRELESS COLOR WEATHER STATION INSTRUCTION MANUAL MODELS 308 1414WBV2 308 1414WV2 DC 092218 FIND MANUALS FAQS AND MORE UNDER THE SUPPORT TAB HERE bit ly 308 1414bv2 bit ly 308 1414wv2 ...

Page 2: ...m 5 Adjustable Backlight 5 Temperature Alerts 6 Weather Forecast Icons 7 Forecast Tendancy Arrows 7 Heat Index Dew Point 7 MIN MAX Records 8 Sensor Search 8 Change Batteries 8 Sensor Weather Shield 9 We re Here to Help 9 Join the Conversation 9 Care and Maintenance 10 Specifications 10 Warranty Info 11 FCC Statement ...

Page 3: ...r Sensor TX141TH Bv2 Weather Station 308 1414bv2 308 1414wv2 SETTINGS MENU It is best to press one button at a time when setting your station 1 Hold the TIME SET button to enter the Settings Menu 2 Press the ARROW buttons to adjust the values Hold to adjust quickly 3 Press the TIME SET button to confirm and move to the next menu item Settings Menu Order WWVB ON OFF Time Zone DST ON OFF 12 24 Hour ...

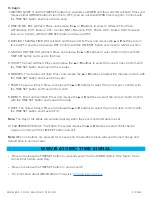
Page 4: ...es 6 MINUTES The minutes will flash Press and release the or buttons to adjust the minutes Confirm with the TIME SET button and move to the year 7 YEAR The year will flash Press and release the or buttons to select the correct year Confirm with the TIME SET button and move to the month 8 MONTH The month will flash Press and release the or buttons to select the correct month Confirm with the TIME S...

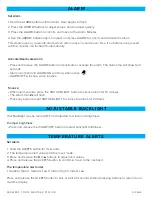
Page 5: ...ALARM OFF will show when inactive Snooze When alarm sounds press the SNOOZE LIGHT button to silence alarm for 10 minutes The Alarm Icon Zz will flash Press any button except SNOOZE LIGHT to silence the alarm for 24 hours ALARM ADJUSTABLE BACKLIGHT Your Backlight may be turned OFF and adjusted to 2 levels of brightness To adjust brightness Press and release the HI LOW OFF button to adjust backlight...

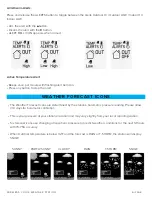
Page 6: ...n to stop the alert WEATHER FORECAST ICONS The Weather Forecast Icons are determined by the station s barometric pressure reading Please allow 7 10 days for barometric calibration This is your pressure at your stations location and may vary slightly from your local reporting station Six forecast icons use changing atmospheric pressure to predict weather conditions for the next 12 hours with 70 75 ...

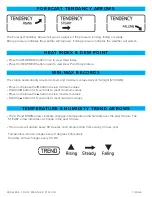
Page 7: ...cally resets minimum and maximum values daily at midnight 12 00 AM Press and release the button to view minimum values Hold the button for 5 seconds to reset minimum values Press and release the button to view maximum values Hold the button for 5 seconds to reset maximum values TEMPERATURE HUMIDITY TREND ARROWS The UP and DOWN arrows indicate changes in temperature and humidity over the past 3 hou...

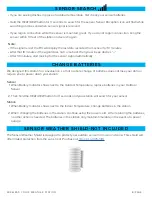
Page 8: ...nt of a power outage SENSOR SEARCH If you are seeing dashes in place of outdoor temperature first check your sensor batteries Hold the HEAT DEW button for 3 seconds to search for the sensor Sensor Reception icon will flash while searching and be solid when sensor signal is received If you regain connection while the sensor is mounted great If you do not regain connection bring the sensor within 10...

Page 9: ...ial media outlets WE RE HERE TO HELP JOIN THE CONVERSATION CARE AND MAINTENANCE Do not mix old and new batteries Do not mix Alkaline Standard Lithium or Rechargeable batteries Always purchase the correct size and grade of battery most suitable for intended use Replace all batteries of a set at the same time Clean the battery contacts and also those of the device prior to battery installation Ensur...

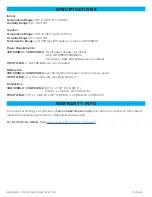
Page 10: ...e 40 F to 140 F 40 C to 60 C Humidity Range 10 99 RH Transmission Range over 330 feet 100 meters in open air RF 433MHz Power Requirements 308 1414Bv2 308 1414Wv2 5 volt power adapter included AC6 GPU280500150WA00 Optional 3 AAA LR6 Batteries not included TX141TH Bv3 2 AA LR6 Batteries not included Battery Life 308 1414Bv2 308 1414Wv2 over 36 months with power cord as primary power TX141TH Bv3 over...

Page 11: ...r an experienced radio TV technician for help This device must not be co located or operating in conjunction with any other antenna or transmitter Operation is subject to the following two conditions 1 This device may not cause harmful interference and 2 This device must accept any interference received including interference that may cause undesired operation Caution The manufacturer is not respo...

Reviews: