background image

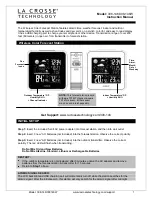
Model: 308-146/308146W                       www.lacrossetechnology.com/support                          7 
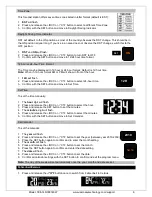
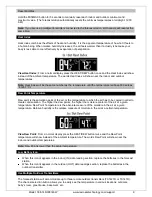
 

Alarm Set 

 
Hold the ALARM button for 5 seconds to enter the alarm time set mode. 
1.  The alarm hour digit will flash. 
2.  Press and release the +/RCC or -/°C/°F button to select the hour.  
3.  Press and release the SET button to set the minutes. The minute digits 

will flash. 

4.  Press and release the +/RCC or -/°C/°F button to select the minutes. 
5.  Confirm with the SET button and exit. 
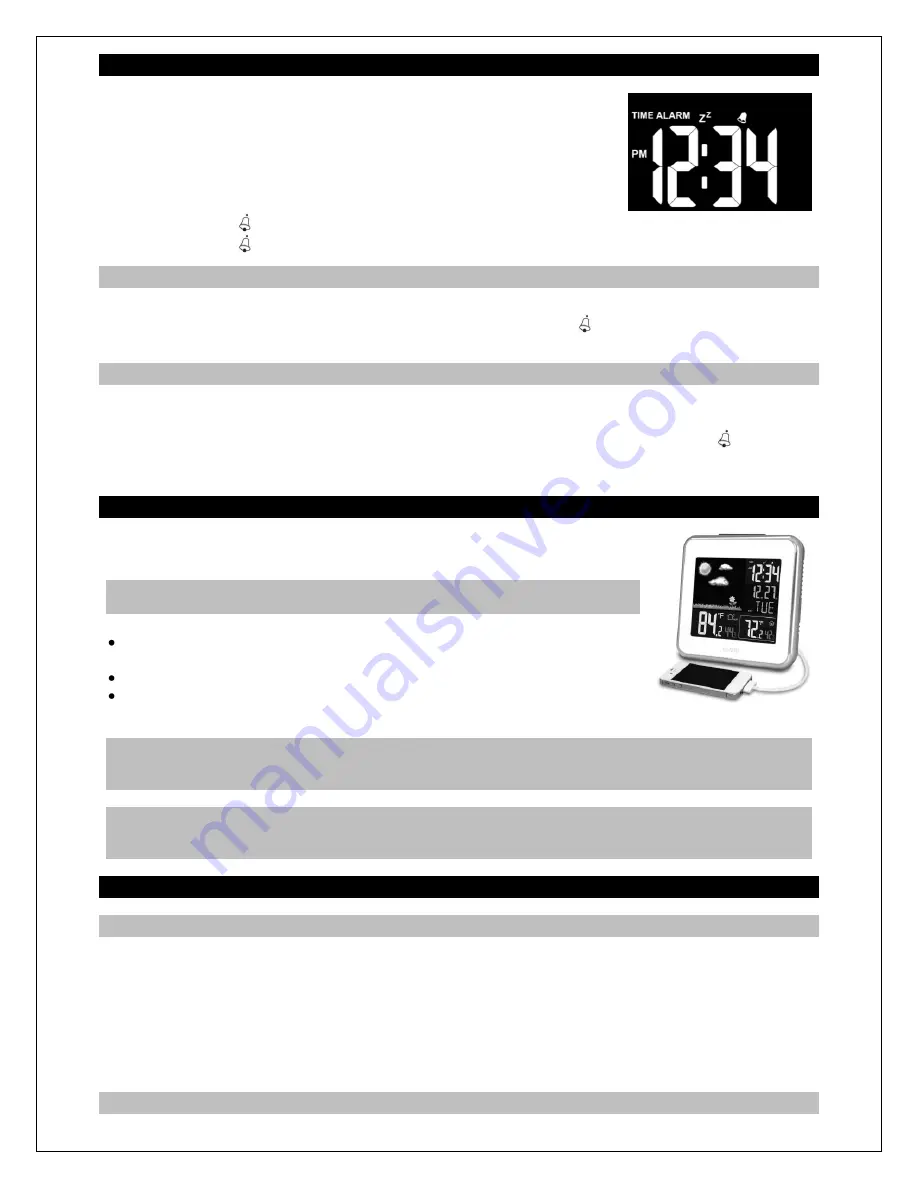
6.  The alarm icon   will show above the minutes indicating the alarm is active. 

7.  The alarm icon    will flash when the alarm is sounding.      


Deactivate Alarm 


1.  Press and release the ALARM button once to show Alarm Time.  

2.  Press and release the ALARM button to deactivate the Alarm. The   alarm icon will disappear 

indicating the alarm is no longer active.  


Snooze 


1.  When the alarm sounds, press the SNOOZE/LIGHT button to trigger snooze alarm for 10 minutes.  

The snooze icon Zz will flash when the snooze feature is active. 

2.  To stop alarm for one day, press ALARM button, while in snooze mode. The alarm icon   will remain 

solid. 

Note

: When the alarm sounds, it continues for 2 minutes and then shuts off completely.   
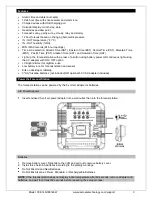
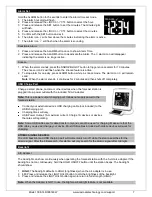
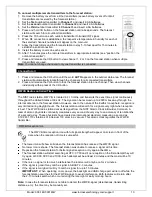
 

USB Charge Port 


Charge a smart phone, camera or other devices when the forecast station is 
plugged into a power outlet with the included 5V AC adapter.


Note: 

This is a power-output charging port. It does not supply power to the 

forecast station.  


Connect your external device’s USB charging cable (not included) to the 
USB charging port.  


Charging times will vary. 


USB Power Output: 1A maximum current. Charge 1A devices or devices 
that are self-regulating. 
 

Note: 

Some USB cables are for data transfer only and cannot be used for charging. Make sure that the 

USB cable you use will charge your device. Most USB cables included with mobile devices will work for 
charging.


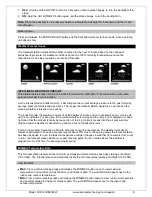
ATOMIC SIGNAL SEARCH: 

The LCD backlight and USB charging port will momentarily turn off while the station searches for the 
atomic signal. After the initial search, this station will only search for the atomic signal after midnight. 
 

Backlight 

 
A/C Adapter 
 
The backlight can show continuously when operating the forecast station with the 5-volt a/c adapter. If the 
backlight is not on continuously, hold the HOLD ON/OFF button until the station beeps. The backlight 
should show. 
 
1. 

HIGH:

 The backlight defaults to HIGH (brightness) when the a/c adapter is in use. 

2. 

LO:

 Press and release the LIGHT HI/LO button to dim the brightness of the backlight.   

3.  Press and release the LIGHT HI/LO button again to return to full strength (HIGH). 
 

Note:

 When the Adapter is NOT in use, the High/Low backlight feature is not available. 


Summary of Contents for 308-146

Page 1: ...batteries not included into the outdoor transmitter Observe the correct polarity The red LED will flash when transmitting Do Not Mix Old and New Batteries Do Not Mix Alkaline Standard Lithium or Recha...

Page 2: ...Fahrenheit Celsius 6 Alarm Set 7 Deactivate Alarm 7 Snooze Alarm 7 USB Charge Port 7 Backlight 7 A C Power Adapter 8 Batteries 8 Weather Forecast Icon 8 Min Max Temperature Data 8 View Min Max 8 Rese...

Page 3: ...g the AC adapter with ON OFF option LCD light dimmer for nighttime use Low battery icon for forecast station and sensor Sits on desktop or tabletop 3 AA Alkaline batteries not included OR optional 5 0...

Page 4: ...shows on the forecast station move the outdoor transmitter outside to a shaded location within range of the forecast station Install Batteries in the TX14TH Transmitter 1 Slide the battery cover down...

Page 5: ...arch for remote transmitter LIGHT HI LO HOLD ON OFF Dim backlight for night time Turn continuous backlight ON or OFF a c adapter LIGHT SNOOZE top Activates backlight when using only batteries Trigger...

Page 6: ...F button to select 24 hour time 3 Confirm with the SET button and move to Set Time Set Time To set the time manually 1 The hour digit will flash 2 Press and release the RCC or C F button to select th...

Page 7: ...orecast station is plugged into a power outlet with the included 5V AC adapter Note This is a power output charging port It does not supply power to the forecast station Connect your external device s...

Page 8: ...tter or worse and not necessarily sunny or rainy as each icon indicates For example if the current weather is cloudy and the rainy icon is displayed it does not mean that the product is faulty because...

Page 9: ...oint Temperature Dew point is the saturation point of the air or the temperature to which the air has to be cooled in order to create condensation The higher the dew points the higher the moisture con...

Page 10: ...United States at 60 kHz The signal can be received up to 2 000 miles away through the internal antenna in the forecast station However due to the nature of the Earth s Ionosphere reception is very li...

Page 11: ...on may change without prior notice Improper use or unauthorized opening of housing will void the warranty If the forecast station does not work properly change the batteries and or check the a c cord...

Page 12: ...the front of the back facing Ft Collins Colorado Specifications Indoor Temperature Range 32 F to 122 F 0 C to 50 C Humidity Range 19 97 RH Interval About every 30 seconds Outdoor Temperature Range 40...

Page 13: ...e FCC Rules Operation is subject to the following two conditions 1 This device may not cause harmful interference and 2 the device must accept any interference received including interference that may...

Reviews: