background image

 1.

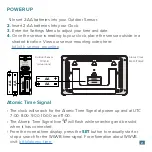
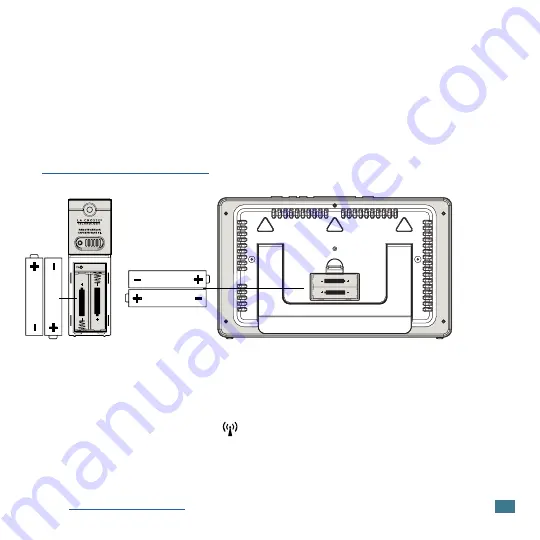
 Insert 2-AA batteries into your Outdoor Sensor.

2.

 Insert 2-AA batteries Into your Clock.

3.

 Enter the Settings Menu to adjust your time and date.

4.

 Once the sensor is reading to your clock, place the sensor outside in a 

    shaded location. View our sensor mounting video here: 
    

bit.ly/th_sensor_mounting

2

POWER UP

Atomic Clock

513-1417CHv2

Outdoor Sensor

TX141-B

(all versions)

Atomic Time Signal

AA

AA

AA

AA

• The clock will search for the Atomic Time Signal at power up and at UTC 
   7:00, 8:00, 9:00, 10:00, and 11:00. 
• The Atomic Time Signal Icon      will flash while searching and be solid 
   when it has connected.
• From the normal time display, press the 

SET

 button to manually


start or 

   stop a search for the WWVB time signal. For information about WWVB 
   visit: 

bit.ly/atomic_time.

Summary of Contents for 513-1417CHv2

Page 1: ...SET UP GUIDE MODEL 513 1417CHv2 Atomic Digital Wall Clock...

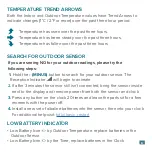
Page 2: ...h_sensor_mounting 2 POWER UP Atomic Clock 513 1417CHv2 Outdoor Sensor TX141 B all versions Atomic Time Signal AA AA AA AA The clock will search for the Atomic Time Signal at power up and at UTC 7 00 8...

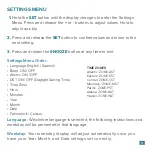
Page 3: ...ings Menu Press and release the or buttons to adjust values Hold to adjust quickly 2 Press and release the SET button to confirm values and move to the next setting 3 Press and releas the SNOOZE butto...

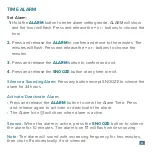
Page 4: ...he alarm Icon will flash while snoozing Note The alarm will sound with increasing frequency for two minutes then shut off automatically if not silenced Set Alarm 1 Hold the ALARM button to enter alarm...

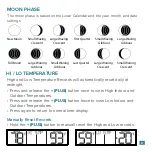
Page 5: ...Waxing Crescent Large Waning Gibbous Small Waxing Crescent HI LO TEMPERATURE High and Low Temperature Records will automatically reset daily at midnight Press and release the PLUS button once to view...

Page 6: ...INUS button to search for your outdoor sensor The Reception Indicator will begin to animate 2 If after 3 minutes the sensor still isn t connected bring the sensor inside next to the display and remove...

Page 7: ...rnings ca gov If you require additional assistance get in touch with our friendly customer support team based in La Crosse WI Self Help bit ly 513 1417chv2_support Online bit ly contact_techsupport Ph...

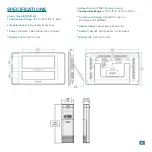
Page 8: ...s Power 2 AA IEC LR6 batteries not included Battery Life Over 12 months Outdoor Sensor TX141 B all versions Temperature Range 40 F to 140 F 40 C to 60 C Transmission Range Over 330 ft open air 100 met...

Page 9: ...ng electronic mechanical or chemical process without the written permission of the publisher This booklet may contain errors or misprints The information it contains is regularly checked and correctio...

Page 10: ...BLE YOUR WARRANTY Scan Here Scan the QR Code or visit bit ly 513 1417chv2_register to register your product and double the standard 1 year warranty for free by opting to recieve occasional product ema...

Reviews: