

6 |
P a g e
Add-on Sensor:
1. Install batteries Temperature & Humidity sensor.
2. Hold the + (PLUS) button until the Reception Indicator starts to animate. This will
start a search for your sensor. Press the TX button on the sensor.
3. Your sensor should connect within the next few minutes.
View Add-on Sensor:
•
Press the button to view Add-on Sensor readings, Time, Desired Time, or Indoor
Temperature & Humidity.
WHAT DOES A READING OF “HI” OR “LO” MEAN?
•
If your outdoor temperature reading shows “HI” or “LO”, check that your
good.
•
Overpowered or underpowered batteries can cause this reading.
•
If batteries are good, replace the outdoor sensor.
•
If your temperature is fine but your humidity is reading “HI” or “LO” or dashes, your
humidity may be below 10% Relative Humidity. Your sensor does not read below 10%
humidity.
WHAT DOES “
NO
” MEAN?
•
If a sensor loses connection to the clock for any reason, the clock will show
NO
after 30
minutes.
•
The clock will search for 3 minutes every hour to reconnect with sensor.
•
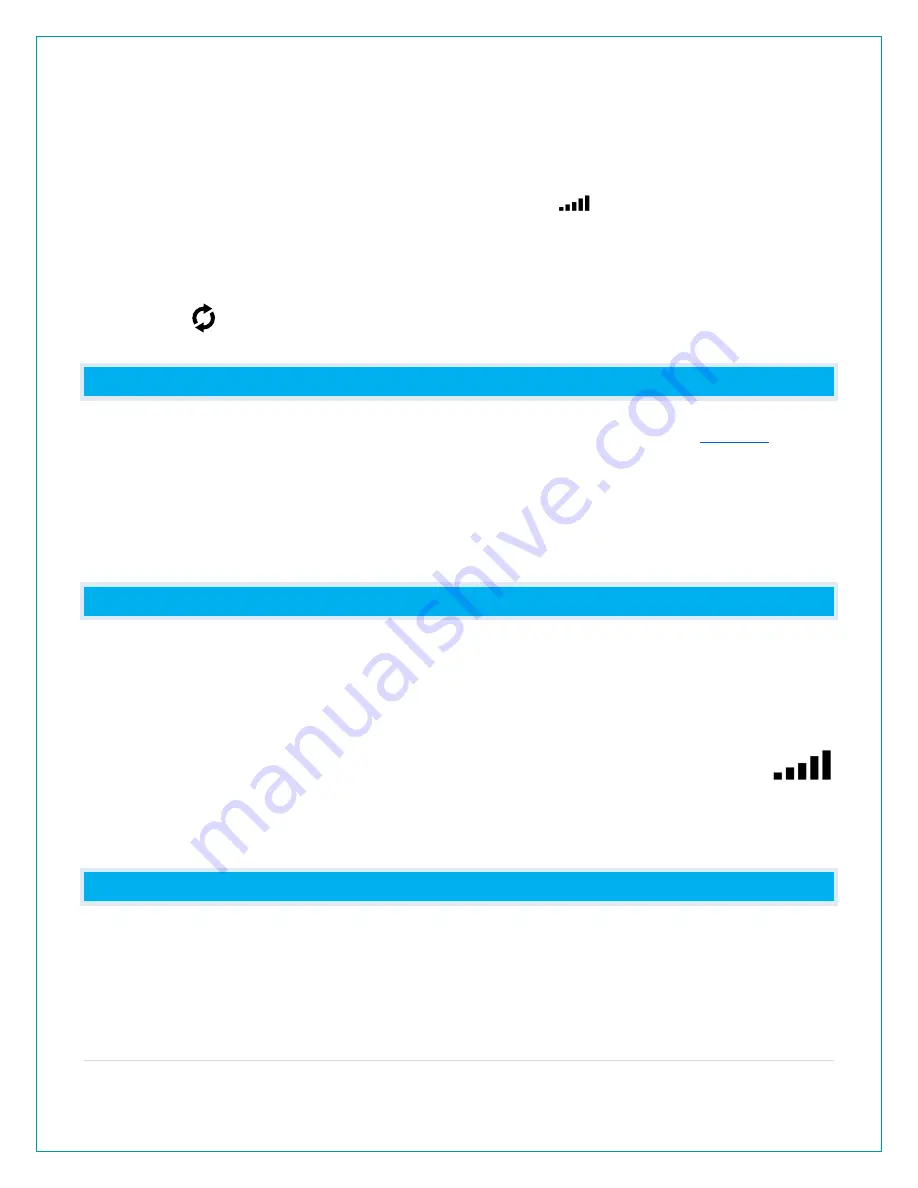
Hold the
+ (PLUS)
button to search for the sensors in the Outdoor Area
•
Icon will flash while searching for sensor. Outdoor area will show dashes during
the search. When sensor is received the icon will be solid.
•
If no sensor received, icon disappears after 3 minutes of searching if sensor is
not found.
•
NO
will again show in the outdoor sensor area.
FACTORY RESET: HOW DO I FACTORY RESET MY CLOCK?
To factory reset your clock:
1.
Remove batteries and press any button 20 times.
2.
Reinsert batteries.