
La Crosse Technology, Ltd.
Page 4
Manually Store Preset Stations:
1. Press the
button to listen to the radio. ON will show briefly.
2. Press the or
button to select station.
3. Hold SET/MEM until P01 flashes to store as Preset 1.
4. Repeat steps 2 and 3 to set up to 20 Preset Stations.
Note: You can change preset stations with the above instructions.
Listen to Preset Stations:
1. Press the
button to listen to the radio.
2. Press SET/MEM then or
to select Preset Stations.
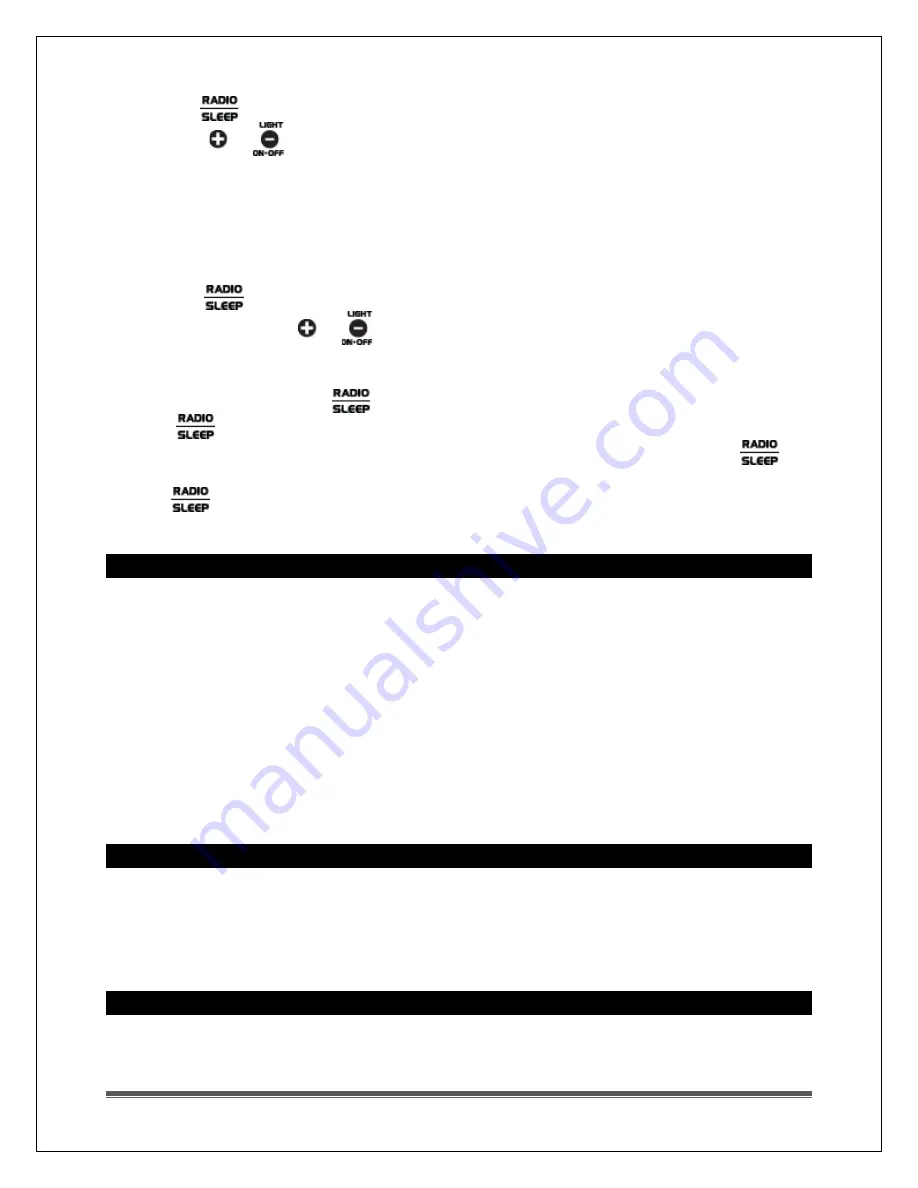
Radio Sleep Timer:
1.
When the radio is on, hold
the sleep time “05” (5 minutes) will show.
2.
Press
repeatedly to select minutes from 05, 10,15, 30, 45, 60, 75, 90 or OFF.
3.
The clock radio reverts to the time display automatically in a few seconds. Hold
to see the sleep time remaining.
4.
Press
to deactivate the radio and the sleep function before the sleep time has
elapsed.
USB Charge Port
Tip: This is a power-output charging port. It does not provide power to the alarm clock.
Charge a smart phone, camera or other devices when the alarm clock is plugged into a
power outlet with the included 5V adapter.
•
Connect your external device’s USB charging cable (not included) to
•
the USB charging port.
•
Charging times will vary.
•
USB Power Output: 2A maximum current.
•
Charge 2A devices or devices that are self- regulating.
Remark: USB charging will shortly turn off when the clock searches for the atomic time
signal. Charging will resume after WWVB reception is completed.
Backup Battery
•
The backup battery does not power the alarm or display the time.
•
The backup battery will keep the time and settings in the event of a power outage.
•
A fresh CR2032 battery could backup your clock for around 1 week.
Clock Has Distorted Display


