19
FCC Statement
Canada Statement
California Residents
This equipment has been tested and found to comply with the limits for a Class B digital device, pursuant to part
15 of the FCC Rules. These limits are designed to provide reasonable protection against harmful interference in a
residential installation. This equipment generates, uses and can radiate radio frequency energy and, if not installed
and used in accordance with the instructions, may cause harmful interference to radio communications. However,
there is no guarantee that interference will not occur in a particular installation. If this equipment does cause
harmful interference to radio or television reception, which can be determined by turning the equipment off and
on, the user is encouraged to try to correct the interference by one or more of the following measures:
•
Reorient or relocate the receiving antenna.
•
Connect the equipment into an outlet on a circuit different from that to which the receiver is connected.
•
Increase separation between equipment & receiver.
•
Consult the dealer or an experienced radio/TV technician for help.
This device must not be co-located or operating in conjunction with any other antenna or transmitter.
Operation is subject to the following two conditions:
(1) This device may not cause harmful interference, and (2) This device must accept any interference received,
including interference that may cause undesired operation.
This device complies with CNR Industry Canada
license-exempt devices.
Operation is subject to the following two conditions:
(1) This device may not cause interference; and
(2) This device must accept any interference,
including interference that may cause undesired
operation of the device.
Designed in La Crosse, Wisconsin
•
Made in China
•
Printed in China
•
DC 042619
This product can expose you to chemicals including
styrene, which is known in the State of California to
cause cancer.
WARNING:
APPENDIX
20
Having Trouble? We’re here to help.
SUPPORT
For detailed product videos, manuals, and more, visit our support website:
www.lacrossetechnology.com/support
Make sure you have your product’s model number handy (
C80994
)
Phone Number:
1.877.408.2678
Representatives are available Monday-Friday, 8:00am to 6:00pm CST
Follow La Crosse Technology on Youtube,
Facebook, Twitter, and Instagram.
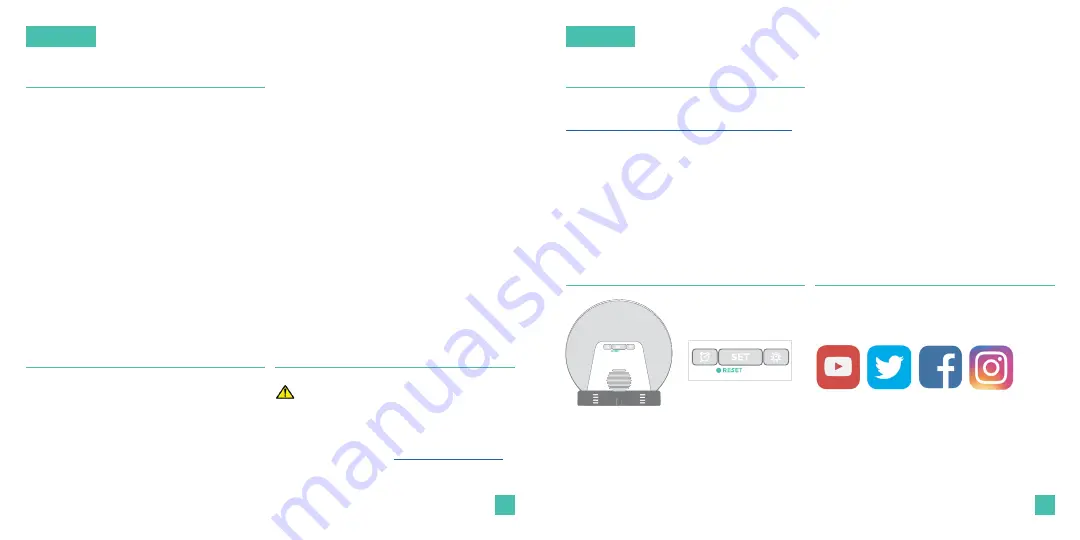
Factory Reset
Stay in Touch
If you’re still experiencing issues, use a pen
or paper clip to press the factory
RESET
button on the back of the clock.
Ask questions, watch set up videos, and
provide feedback on our social media outlets.
Need Additional Support? Call our Friendly Customer Support Representatives


