

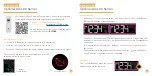

4.
Your time alarm is now activated,
indicated by the icon on the LCD.
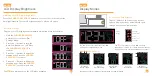
1.
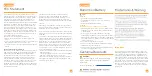
Hold the
ALARM
button on the
top of the clock to enter the Alarm
Settings Menu.
2.
Use the
+/-
buttons to set your
desired time. Press the
ALARM
button to confirm.
3.
Next, use the
+/-
buttons to set
your desired snooze duration (5
to 120 minutes). Press the
ALARM
button to confirm and exit the Alarm
Settings Menu.
07
Time Alarm
08
Time Alarm
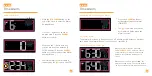
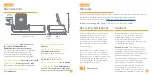
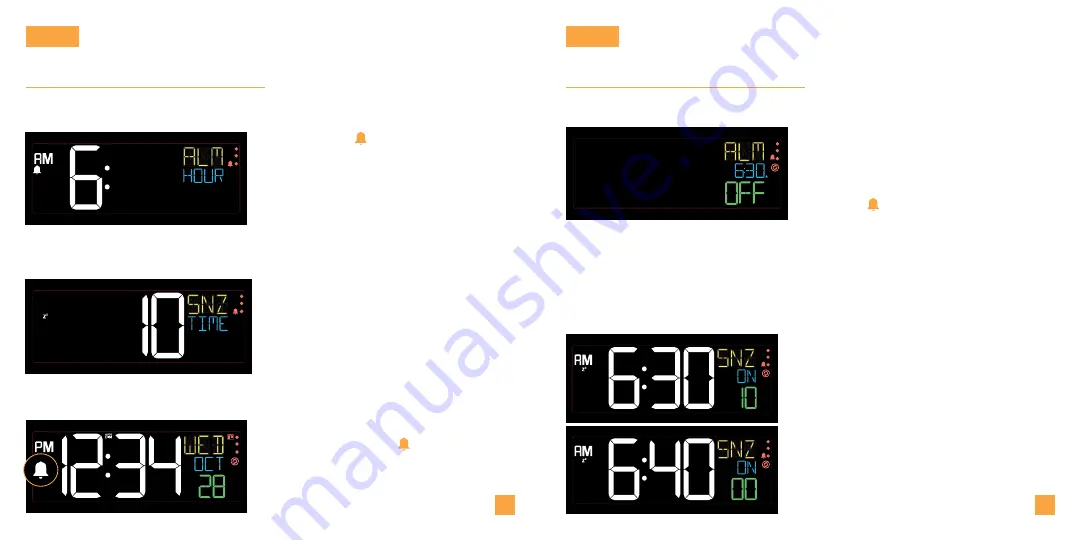
Ascending Alarm
Snooze Duration Countdown
The alarm will increase in frequency over a 2-minute period. After the 2-minute
time frame, the alarm will stop if not snoozed or turned off.
When your alarm sounds, press the
SNOOZE/BACKLIGHT
button to snooze
your alarm for your preselected snooze
duration. A countdown will appear on
screen.
When the snooze time reaches “00,” the
alarm will sound again. The snooze feature
can be repeated as many times as desired.
Setting the Alarm
ALARM
ALARM
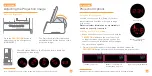
Activating & Deactivating the Alarm
1.
2.
Press the
ALARM
button to
activate/deactivate the alarm
(ON/OFF).
The icon will appear on the
normal time display when the
alarm is active.


