


15
Optional Add-On Sensor
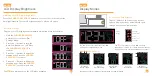
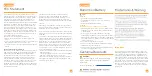
Lost Connection
ADD-ON SENSOR
•
The Sensor Reception Icon will disappear from the bottom right of the LCD
and the clock will search for up to 3 minutes every hour to try to reestablish the
connection.
•
To manually reconnect, hold the
+
button on the top of the clock to search for
the sensor.
•
Dashes will show while searching for the sensor and the icon will flash for
up to 3 minutes or until the sensor is connected.
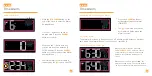
•
If the sensor loses connection to the clock for any reason, the clock will show
NO after 30 minutes of disconnection.
16
outdoor
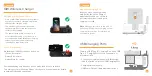
Optional Add-On Sensor
Purchase Your Add-On Sensor at
(or scan QR Code)
:
You can purchase an add-on Thermo-Hygro Sensor to get real-time
temperature and humidity data, straight from your backyard.
Search for the compatible sensor using the alarm
clock’s model number (
C75709
).
ADD-ON SENSOR
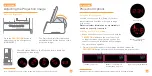
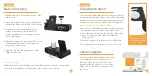
Add-On Sensor Set Up
1.
2.
3.
Insert 2 “AA” Batteries into the sensor battery compartment.
Hold the
+
button on the clock to search for the sensor.
Press the
TX
button inside the sensor battery compartment to transmit a signal.
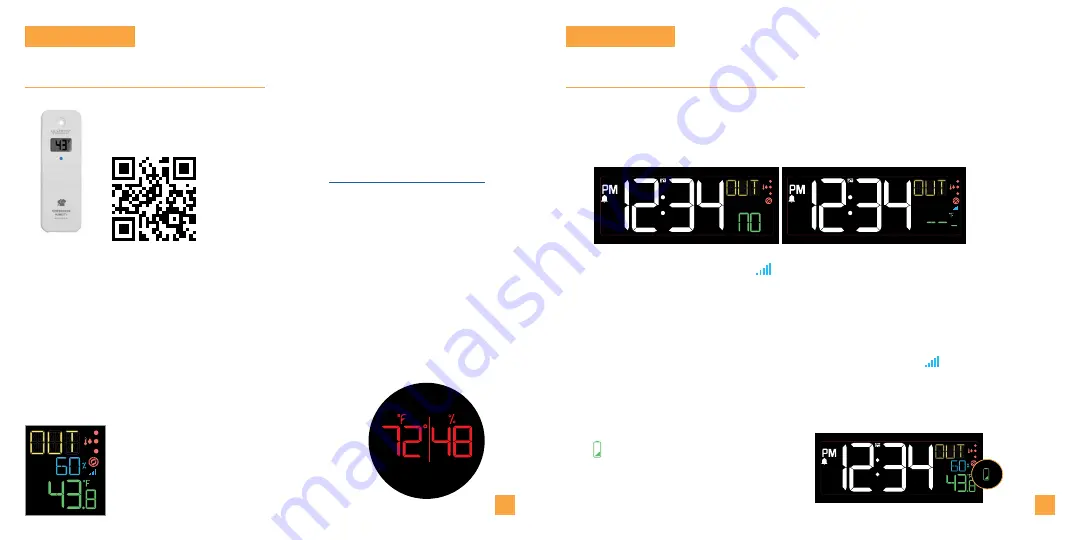
The sensor’s data should then be viewable on your LCD
and as an option to be projected.
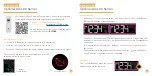
Projection Image
Outdoor
Temp/Humidity
The icon will appear when the sensor
batteries needs to be replaced.
Low Battery


