background image


52 

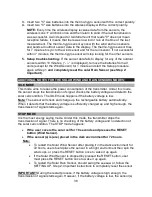
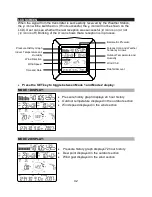
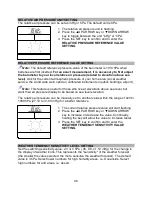
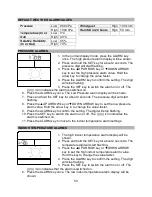
7.  Press and hold the SET key for about 2 seconds. The temperature digit will start 

flashing.  

8.  Press the ▲UP ARROW key or ▼DOWN ARROW key to set the low outdoor 

temperature alarm value. Hold the arrow key in to change the value faster. 

9.  Press the ALARM key to confirm the setting. The digit will stop flashing.  
10. Press the SET key to switch the alarm on or off. The (((

))) icon indicates the 

alarm is switched on. 

11. Press the ALARM key to move to the outdoor humidity alarm settings. 


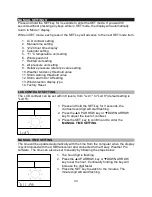
OUTDOOR HUMIDITY ALARMS  


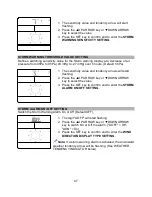
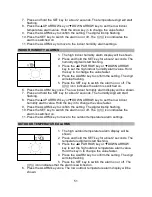
1.  The high outdoor humidity alarm display will be shown. 
2.  Press and hold the SET key for about 2 seconds. The 

humidity digit will start flashing. 

3.  Press the ▲UP ARROW key or ▼DOWN ARROW 

key to set the high outdoor humidity alarm value. Hold 
the key in to change the value faster. 

4.  Press the ALARM key to confirm the setting. The digit 

will stop flashing.  

5.  Press the SET key to switch the alarm on or off. The 

(((

))) icon indicates the alarm is switched on. 

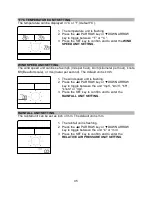
6.  Press the ALARM key once. The low outdoor humidity alarm display will be 

shown. 

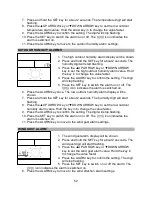
7.  Press and hold the SET key for about 2 seconds. The humidity digit will start 

flashing. 

8.  Press the ▲UP ARROW key or ▼DOWN ARROW key to set the low outdoor 

humidity alarm value. Hold the key in to change the value faster. 

9.  Press the ALARM key to confirm the setting. The digit will stop flashing.  
10. Press the SET key to switch the alarm on or off. The (((

))) icon indicates the 

alarm is switched on. 

11. Press the ALARM key to move to the wind gust alarm settings. 
 

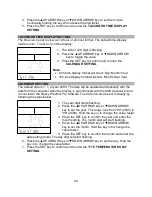
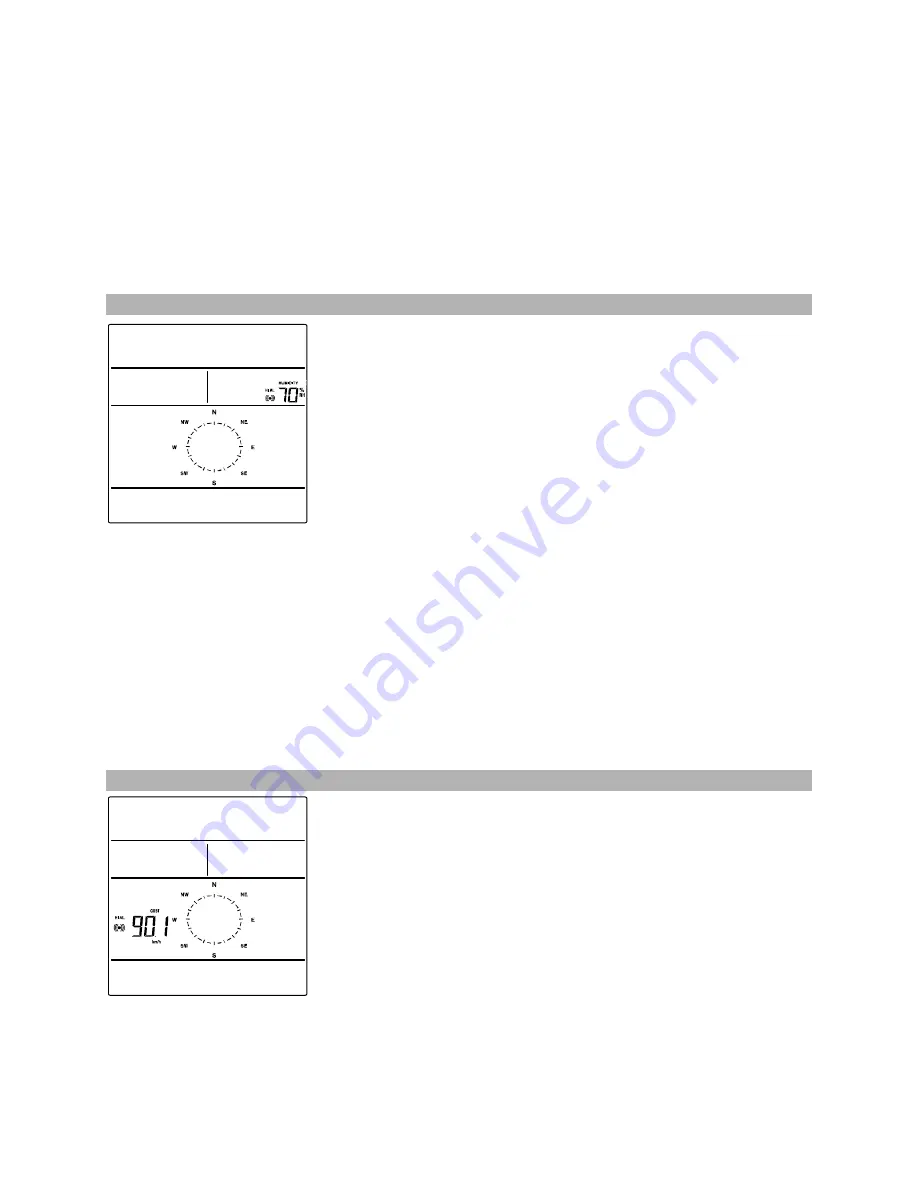
WIND GUST ALARM  


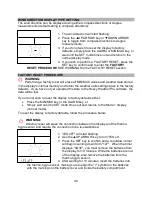
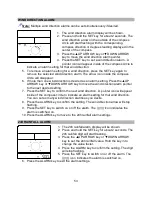
1.  The wind gust alarm display will be shown. 


2.  Press and hold the SET key for about 2 seconds. The 

wind gust digit will start flashing. 

3.  Press the ▲UP ARROW key or ▼DOWN ARROW 

key to set the wind gust alarm value. Hold the key in 
to change the value faster. 

4.  Press the ALARM key to confirm the setting. The digit 

will stop flashing.  

5.  Press the SET key to switch on or off the alarm. The 

(((

))) icon indicates the alarm is switched on. 

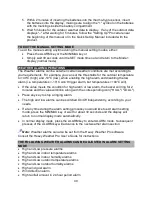
6.  Press the ALARM key to move to the wind direction alarm settings. 


Summary of Contents for WS-2801-IT

Page 1: ...ITIONAL NOTES FOR THE SOLAR WIND AND RAIN SENSORS MODES 38 IDLE MODE 38 STOP MODE 38 MOUNTING THE SENSORS AND PLACEMENT OF THE WIRELESS DISPLAY 39 WIND SENSOR 40 RAIN SENSOR 40 THERMO HYGRO SENSOR 40 HEAVY WEATHER PC SOFTWARE 40 FUNCTION KEYS 41 SET KEY 41 UP ARROW KEY 41 DOWN ARROW KEY 41 ALARM KEY 41 MIN MAX KEY 41 LCD SCREEN 42 MODE 1 DISPLAY 42 MODE 2 DISPLAY 42 MANUAL SETTINGS 43 LCD CONTRAST...

Page 2: ...IT THE MANUAL SETTING MODE 49 WEATHER ALARM OPERATIONS 49 THE FOLLOWING WEATHER ALARMS CAN BE ADJUSTED IN ALARM SETTING MODE 49 DEFAULT WEATHER ALARM VALUES 50 PRESSURE ALARMS 50 INDOOR TEMPERATURE ALARMS 50 INDOOR HUMIDITY ALARMS 51 OUTDOOR TEMPERATURE ALARMS 51 OUTDOOR HUMIDITY ALARMS 52 WIND GUST ALARM 52 WIND DIRECTION ALARM 53 24H RAINFALL ALARM 53 HYSTERESIS 54 WEATHER FORECAST AND WEATHER T...

Page 3: ...INTENANCE 57 SPECIFICATIONS 58 INDOOR TEMPERATURE 58 OUTDOOR TEMPERATURE DEW POINT 58 INDOOR HUMIDITY 58 OUTDOOR HUMIDITY 58 WIND SPEED GUST 58 WIND CHILL DEW POINT 58 RAINFALL 24H TOTAL 59 OUTDOOR DATA RECEPTION 59 AIR PRESSURE 59 TRANSMISSION RANGE 59 POWER CONSUMPTION 59 DIMENSIONS L X W X H 59 LIABILITY DISCLAIMER 59 ...

Page 4: ...ected by your weather station including both indoor and external values sampled by the various weather station sensors You can also review weather history data and analyze trends and tendencies over time using the software s charts and graphing features Download the free Heavy Weather Pro PC software at www lacrossetechnology fr INVENTORY OF CONTENTS Carefully open the package and check that the f...

Page 5: ...Beaufort scale Wind speed direction with LCD compass display 16 steps 22 5 degree MAX records for wind gust with time date of recording Rainfall display in mm inch Rainfall data for total rain last hour last 24h last week last month Weather alarm modes temperature humidity wind gust wind direction air pressure 24h rain and storm warning LCD contrast setting Storage of 1797 sets of weather records ...

Page 6: ...er with hands or other objects Remove the black protective foil on the solar panel and use the provided plastic reset rod to gently press the reset button once in the hole on the bottom of the sensor 2 Twists open the top of the solar rain sensor Remove the securing tape from the seesaw and the black protective cover from the solar panel Swing the seesaw once to wake up the rain sensor The solar r...

Page 7: ...the transmitter Under this mode the sensor stops the transmission of signal checks the battery voltage and detects the solar cell condition The IDLE mode happens if the battery voltage is low Note The sensor will check and charge up the rechargeable battery automatically When it detects that the battery voltage is sufficiently charged up and high enough the transmission of signal starts again STOP...

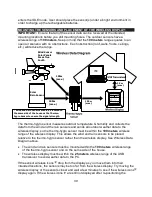
Page 8: ...s allows the wind and rain sensors to be placed relative to the thermo hygro sensor rather than the wireless display See Wireless Data Diagram above The wind and rain sensors must be mounted within the 100 meters wireless range of the thermo hygro sensor and on the same side of the house The wireless display must be within the 25 meters wireless range of the USB transceiver to send weather data to...

Page 9: ...he house Mount the rain sensor at least 0 30 meter off the ground level for optimum wireless transmission The rain sensor should be accessible to allow for period cleaning of debris or insects THERMO HYGRO SENSOR The thermo hygro sensor is weather resistant but not water proof To ensure an extended life of your sensor mount it in a semi covered place out of the elements An ideal location for the t...

Page 10: ...splay of seconds or date in the time display Press to increase the level of different settings in SET mode Stop the alarm during the time alarm or weather alarm ringing Press to reset the MIN MAX record when in MIN MAX display mode Press and hold for 2 seconds to synchronize the Wireless Display to the sensors DOWN ARROW KEY Press to switch the rainfall display mode Total 1h 24h week month Press t...

Page 11: ...e between Mode 1 and Mode 2 display MODE 1 DISPLAY Pressure history graph displays 24 hour history Outdoor temperature displayed in the outdoor section Wind speed displayed in the wind section MODE 2 DISPLAY Pressure history graph displays 72 hour history Dew point displayed in the outdoor section Wind gust displayed in the wind section Indoor Temperature and Humidity Outdoor Temperature and Humid...

Page 12: ...ype 14 Factory Reset LCD CONTRAST SETTING The LCD contrast can be set within 8 levels from Lcd 1 to Lcd 8 default setting is Lcd 5 1 Press and hold the SET key for 3 seconds the contrast level digit will start flashing 2 Press the UP ARROW key or DOWN ARROW key to adjust the level of contrast 3 Press the SET key to confirm and to enter the MANUAL TIME SETTING MANUAL TIME SETTING The time will be u...

Page 13: ... be updated automatically with the date from the computer when the display is synchronized with the USB transceiver and connected to the Heavy Weather Pro software The date can also be set manually by following the steps below 1 The year digit starts flashing 2 Press the UP ARROW key or DOWN ARROW key to set the year The range runs from 00 2000 to 99 2099 Hold the key in to change the value faster...

Page 14: ...ur knots Bft Beaufort scale or m s meter per second The default unit is km h 1 The wind speed unit is flashing 2 Press the UP ARROW key or DOWN ARROW key to toggle between the unit mph km h bft knots or m s 3 Press the SET key to confirm and to enter the RAINFALL UNIT SETTING RAINFALL UNIT SETTING The rainfall unit can be set as inch or mm The default unit is mm 1 The rainfall unit is flashing 2 P...

Page 15: ...is feature is useful for those who live at elevations above sea level but want their air pressure display to be based on sea level elevation The relative air pressure can be manually set to another value within the range of 920 to 1080 hPa 27 10 to 31 90 inHg for a better reference 1 The current relative pressure value will start flashing 2 Press the UP ARROW key or DOWN ARROW key to increase or d...

Page 16: ...sensitivity value and tendency arrows will start flashing 2 Press the UP ARROW key or DOWN ARROW key to select the value 3 Press the SET key to confirm and to enter the STORM ALARM ON OFF SETTING STORM ALARM ON OFF SETTING Switch the Storm Warning Alarm On or Off Default OFF 1 The digit AOFF will start flashing 2 Press the UP ARROW key or DOWN ARROW key to switch On or Off the alarm AOFF Off AON O...

Page 17: ... If you have not yet uploaded the data to the Heavy Weather Pro software the data will be lost If you do not wish to reset the display to factory defaults either Press the MIN MAX key or the ALARM key or Simply wait until the SET mode times out and returns to the Mode 1 display normal mode To reset the display to factory defaults follow the procedure below WARNING A factory reset will erase the co...

Page 18: ... i e temperatures 10 C won t trigger alarm but temperatures 40 C will If the value meets the condition for high alarm or low alarm the buzzer will ring for 2 minutes and the value will blink along with the corresponding icon HI AL LO AL Press any key to stop a ringing alarm The high and low alarms can be switched On Off independently according to your needs If at any time during the alarm setting ...

Page 19: ...e SET key for about 2 seconds The pressure digit will start flashing 8 Press the UP ARROW key or DOWN ARROW key to set the low pressure alarm value Hold the arrow key in to change the value faster 9 Press the ALARM key to confirm the setting The digit will stop flashing 10 Press the SET key to switch the alarm on or off The icon indicates the alarm is switched on 11 Press the ALARM key to move to ...

Page 20: ... is switched on 6 Press the ALARM key once The low indoor humidity alarm display will be shown 7 Press and hold the SET key for about 2 seconds The humidity digit will start flashing 8 Press the UP ARROW key or DOWN ARROW key to set the low indoor humidity alarm value Hold the key in to change the value faster 9 Press the ALARM key to confirm the setting The digit will stop flashing 10 Press the S...

Page 21: ...on or off The icon indicates the alarm is switched on 6 Press the ALARM key once The low outdoor humidity alarm display will be shown 7 Press and hold the SET key for about 2 seconds The humidity digit will start flashing 8 Press the UP ARROW key or DOWN ARROW key to set the low outdoor humidity alarm value Hold the key in to change the value faster 9 Press the ALARM key to confirm the setting The...

Page 22: ... the UP ARROW key or DOWN ARROW key to move the wind direction alarm pointer to the next desired setting 7 Press the SET key to confirm the next wind direction A pointer icon will appear inside of the compass circle to indicate an alarm setting for that wind direction You can set as many wind direction alarms as you desire 8 Press the ALARM key to confirm the setting The wind direction arrow will ...

Page 23: ...udden or significant change in the air pressure the weather icons will update accordingly to represent the change in weather Every time a new average pressure value has been obtained once per minute this value is compared with an internal reference value If the difference between these values is bigger than the selected weather tendency sensitivity the weather icon changes either for worse or for ...

Page 24: ...gether with the weather icons is the weather tendency indicators arrow located on the left and right sides of the weather icons When the indicator points upwards it means that the air pressure is increasing and the weather is expected to improve but when indicator points downwards the air pressure is dropping and the weather is expected to become worse Taking this into account one can see how the ...

Page 25: ... should operate at the same altitude and should not be moved If the unit has been moved for example from the ground floor to the second floor of the house then the readings for the next 48 60 hours should be disregarded Note The bar graph will scroll right to left regularly to prevent LCD burnout WIND DIRECTION AND WIND SPEED MEASUREMENT The current wind direction is indicated by a pointer on the ...

Page 26: ...th the date and time of recording 7 Total rainfall with the date and time of recording RESET THE MINIMUM AND MAXIMUM WEATHER DATA To reset the aforementioned MIN MAX weather data you need to reset each of the data independently 1 Press MIN MAX key to show the desired weather data 2 Press UP ARROW key The stored value will be reset to the current value and current time TOTAL RAINFALL AMOUNT The tot...

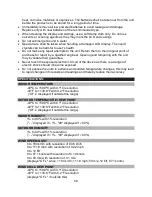
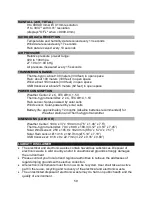
Page 27: ... danger of electric shock should it become exposed Do not expose the units to extreme and sudden temperature changes this may lead to rapid changes in forecasts and readings and thereby reduce their accuracy SPECIFICATIONS INDOOR TEMPERATURE 40ºC to 59 9ºC with 0 1ºC resolution 40 F to 139 8 F with 0 2 F resolution OF L displayed if outside this range OUTDOOR TEMPERATURE DEW POINT 40ºC to 59 9ºC w...

Page 28: ... approximately 12 months Alkaline batteries recommended for Weather station and Thermo hygro transmitter DIMENSIONS L X W X H Weather Center 190 4 x 37 x 190 4mm 7 5 x 1 46 x 7 5 Thermo hygro transmitter 79 4 x 89 8 x 189 3 3 12 x 3 53 x 7 45 Solar Wind sensor 250 x 145 9 x 192 3mm 9 84 x 5 74 x 7 57 Solar Rain sensor Ø 131 6 x 182 7mm Ø 5 19 x 7 19 USB transceiver 81 8 x 9 x 22 7mm 3 22 x 0 35 x ...

Page 29: ...product is designed for use in the home only as indication of the temperature This product is not to be used for medical purposes or for public information The specifications of this product may change without prior notice This product is not a toy Keep out of the reach of children No part of this manual may be reproduced without written authorization of the manufacturer R TTE Directive 1999 5 EC ...

Reviews: