P a g e
| 21
7.
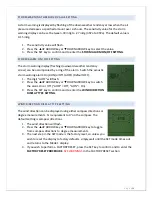
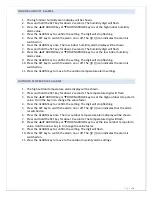
Press the SET key to confirm the next wind direction value. A pointer icon will appear
inside of the compass circle to indicate an alarm setting for that wind direction. You can
set as many wind direction alarms as you desire.
8.
Press the ALARM key to confirm the setting. The digit will stop flashing.
9.
Press the SET key to switch on or off the alarm. The (((
))) icon indicates the alarm is
switched on.
10.
Press the ALARM key to move to the 24-hour rainfall alarm settings.
24 HOUR RAINFALL ALARM
1.
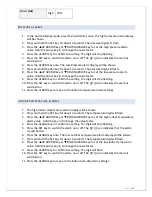
The 24-hour rainfall alarm display will be shown.
2.
Press and hold the SET key for about 2 seconds. The 24-hour rainfall digit will flash.
3.
Press the
▲
UP ARROW key or
▼
DOWN ARROW key to set the 24-hour rainfall alarm
value.
4.
Press the ALARM key to confirm the setting. The digit will stop flashing.
5.
Press the SET key to switch on or off the alarm. The (((
))) icon indicates the alarm is
switched on.
6.
Press the ALARM key to exit the alarm setting mode.
HYSTERESIS
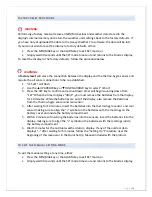
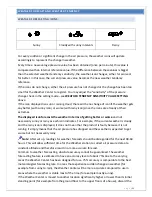
To compensate for fluctuation of the weather data, which may cause the weather alarm to ring
constantly if the measured reading is close to the alarm level, a
hysteresis function has been implemented for each weather
alarm.
For example, if the high temperature alarm is set to 77°F and
the temperature reaches 77°F, the alarm will be activated. If the
temperature then drops to 76.8°F (a change of less than 1.8°F)
and then increases to 77°F again, the data will blink, but no
alarm will be activated.
The temperature would have to drop below 75.2°F (with a pre-
set hysteresis of 1.8°F) so that the alarm can be produced again.
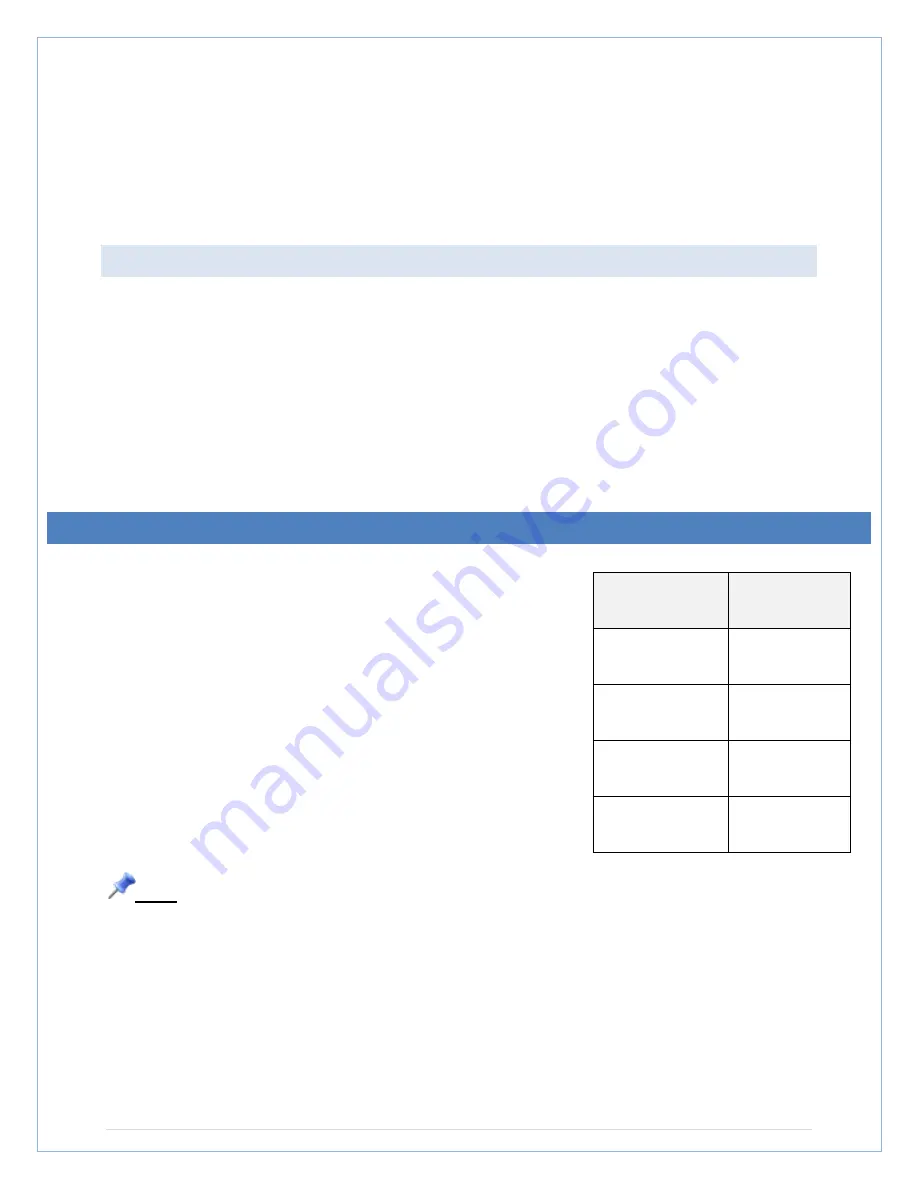
Hysteresis values for the various weather data types are given in
the table.
Note:
The temperature or humidity data will keep flashing even after a weather alarm has
been switched off by a key press. The flashing value indicates that the current weather
condition is out of the pre-set weather alarm limit(s).
Weather data
Hysteresis
Temperature
1.8°F
Humidity
3% RH
Pressure
0.029 inHg
Wind speed
6.2 mph

