


PROGRAM MODE
To
enter the Program Mode hold down the “
SET”
button for
2
seconds, until “-5EST” flashes in the Date LCD. The
Program Mode is laid out in a manner that allows you to
program each function separately, or you can follow the
instructions entirely to program the Atomic Clock.
Complete programming is usually done for the initial set-
up, and will require you to skip step 1 of programming sections III through VIII. Wait approximately 15 seconds for the Atomic Clock to
automatically return to normal operation.
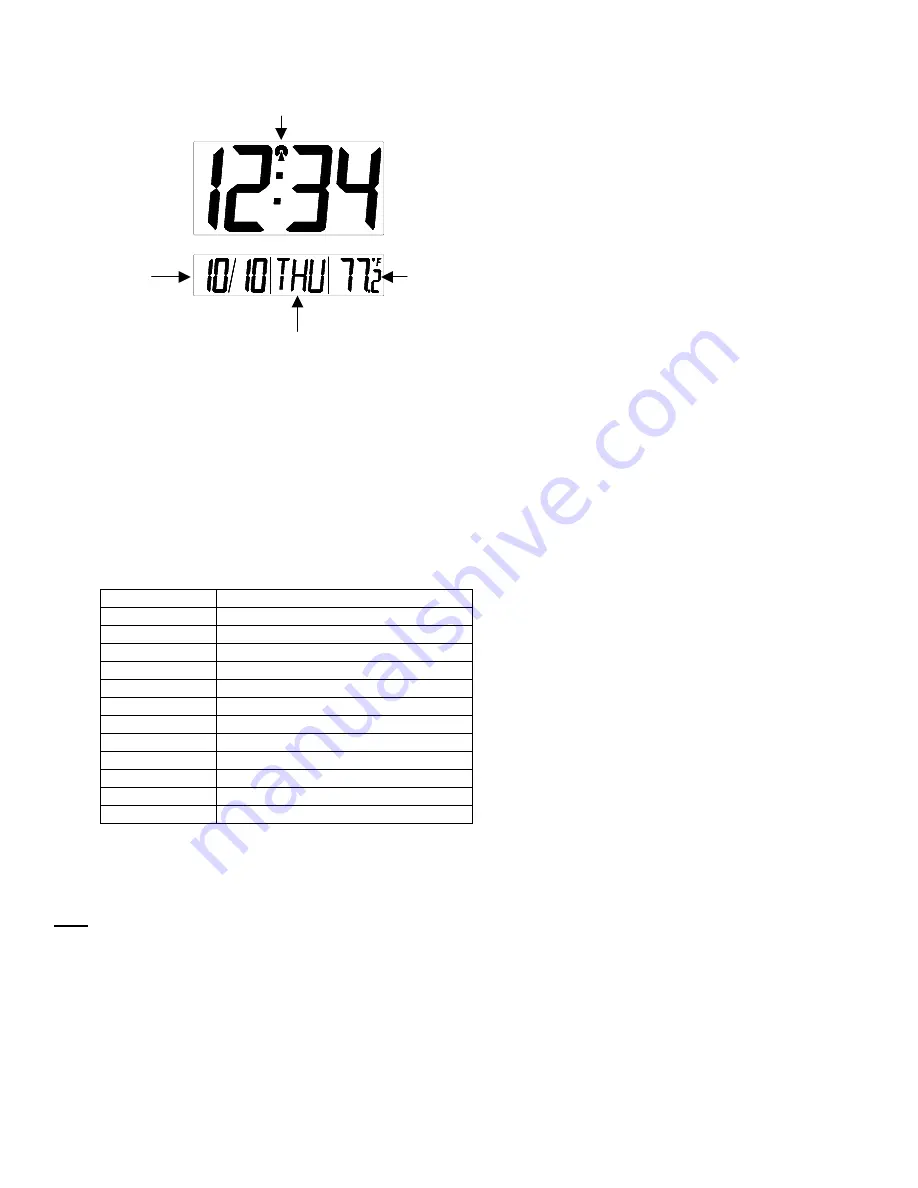
Month/Dat
Indoor
WWVB Tower
Weekday
I) FUNCTION
BUTTONS
There are 2 function buttons located on the backside of the Atomic Clock. The function buttons are labeled:
SET and +.
II) TIME ZONE SETTING
1) Hold down the “
SET”
button for 2 seconds, the default setting “-5EST” will flash in the Date LCD.
2) Press and release the “+” button to select the appropriate time zone. There are 13 time zones to choose from:
-5EST
Eastern Time (default setting)
-6CST Central
Time
-7MST Mountain
Time
-8PST Pacific
Time
-9ALA Alaskan
Time
-10HAW
Hawaiian Time
-11
-12
GMT
Greenwich Mean Time
-1
-2
-3
-4ATL Atlantic
Time
3) Press and release the “
SET”
button to confirm the time zone setting, and to advance to DST (Daylight saving time) setting.
III) DST (DAYLIGHT SAVING TIME) SETTING
Note:
The DST default is “On”, meaning that the WWVB will automatically change the time according to Daylight Saving Time in the
spring and fall. For areas that do not recognize DST changes (Arizona and parts of Indiana) turn the DST “OFF”.
1) Hold down the “
SET”
button for 2 seconds (the selected time zone will flash), press the “
SET”
button once more until “On”
flashes in the time LCD and “DST” flashes where the Weekday normally appears.
2) Press and release the “+” button to turn the DST off, as will be indicated by the display of “OFF” in the time LCD.
3) Press and release the “
SET”
button to confirm the DST setting, and to advance to select the language for the weekday.
3


