WS-7220U-IT
915 MHz
Wireless Weather Station
Instruction Manual
Contents
Language
Page
English
2
French
24
Spanish
48
TABLE OF CONTENTS
Topic
Page
Introduction
3
Inventory of Contents
4
Quick Set Up
4
Detailed Set Up
6
Battery Installation
6
12 or 24 Hour Time Display
8
Time Setting
9
Features
10
Minimum & Maximum Temperature
and Humidity
10
Resetting Minimum & Maximum
Temperature and Humidity
10
Adding Additional Thermo-Hygro
Sensors
11
Viewing & Operating with Multiple
Thermo-Hygro Sensors
13
Mounting
13
Troubleshooting
17
Maintenance & Care Instructions
18
Specifications
18
Warranty Information
19
I N S T A N T
TRANSMISSION
is the state-of-the-
art new wireless
transmission technology, exclusively
designed and developed by
LA CROSSE
TECHNOLOGY.
INSTANT TRANSMISSION
offers you can an immediate update (every 4
seconds!) of all your outdoor data measured
from the transmitters: follow your climatic
variations in real-time!
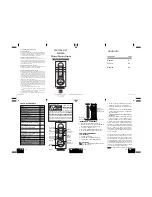
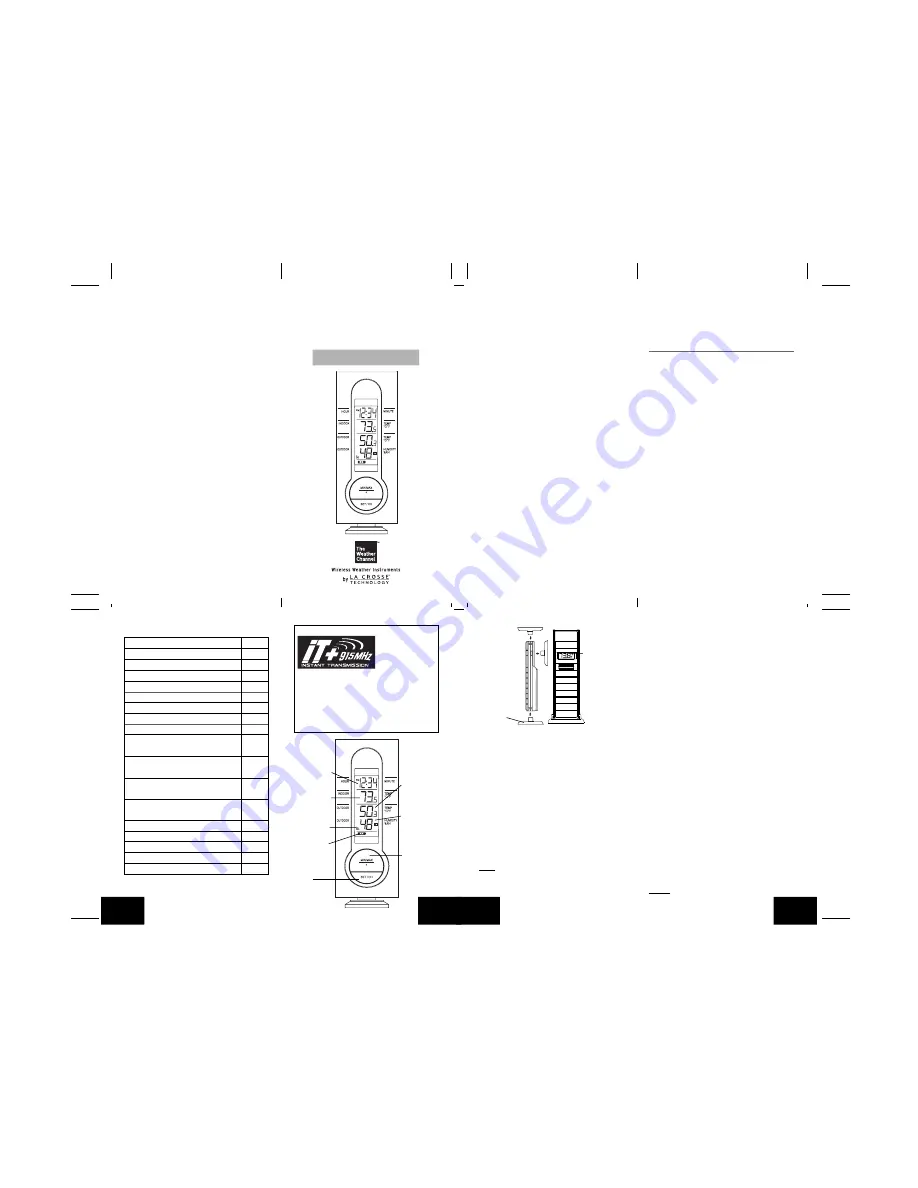
Outdoor
Temperature
(˚F or ˚C)
Indoor
Temperature
(˚F or ˚C)
Connection w/
Sensor Icon
Low Battery
Indicator
12 or 24 Hour
Time Display
Outdoor
Humidity
(%RH)
Minimum/
Maximum &
Plus Button
This product offers:
Figure 1
Set/Channel
Button
Figure 2
Mounting
Bracket
Wireless
Thermo-hygro
Sensor
TX29UD-TH-IT
INVENTORY OF CONTENTS
1. Wireless Weather Station (Figure 1)
2. Wireless Thermo-Hygro Sensor (TX29UD-TH-
IT) and mounting bracket. (Figure 2)
3. 3 each, 1/2" Philips screws.
4. One strip of double sided adhesive tape.
5. Instruction Manual and Warranty Card.
ADDITIONAL EQUIPMENT
(not included)
1. 1 Philips screwdriver.
2. 2 Fresh “AA” 1.5V Alkaline Batteries.
3. 2 Fresh “AAA” 1.5V Alkaline Batteries.
QUICK SETUP
Hint:
Use good quality Alkaline Batteries; avoid
rechargeable batteries.
1. Have the Wireless Weather Station and
thermo-hygro sensor 3 to 5 feet apart.
2. Batteries should be out of both units for 10
minutes.
3. Place the batteries into the
thermo-hygro
sensor first
and next into the Wireless
Weather Station.
4. DO NOT PRESS ANY BUTTONS FOR 15
MINUTES.
In this time the Wireless Weather Station and
the thermo-hygro sensor will begin to
communicate with each other, and the display
will show both the indoor temperature and an
outdoor temperature. If the Wireless Weather
Station does not display both temperatures after
the 15 minutes, please retry the set up as stated
above. After both indoor and outdoor
temperatures are displayed for 15 minutes you
can place your thermo-hygro sensor outdoors,
and set your time.
The thermo-hygro sensor should be placed in a
dry, shaded area (ex: under the eve of a roof).
The thermo-hygro sensor has a range of 330
feet. Any walls that the signal will have to pass
through will reduce distance. An outdoor wall
or window will have up to 20 feet of resistance
and an interior wall will have up to 10 feet of
resistance. Your distance plus resistance should
not exceed 330 feet in a straight line.
NOTE:
Fog and mist will not harm your thermo-
GB
P.2
FCC ID: OMOTX29UTH (transmitter)
RF Exposure mobile:
The internal / external antennas used for this mobile transmitter
must provide a separation distance of at least 20 cm (8 inches)
from all persons and must not be co-located or operating in
conjunction with any other antenna or transmitter.”
Statement according to FCC part 15.19:
This device complies with Part 15 of the FCC Rules. Operation
is subject to the following two conditions: (1) this device may
not cause harmful interference, and (2) this device must accept
any interference received, including interference that may
cause undesired operation.
Statement according to FCC part 15.21:
Modifications not expressly approved by this company could
void the user’s authority to operate the equipment.
Statement according to FCC part 15.105:
NOTE: This equipment has been tested and found to comply
with the limits for a Class B digital device, pursuant to Part 15
of the FCC Rules. These limits are designed to provide
reasonable protection against harmful interference in a
residential installation. This equipment generates, uses and
can radiate radio frequency energy and, if not installed and
used in accordance with the instructions, may cause harmful
interference to radio communications.
However, there is no guarantee that interference will not occur
in a particular installation. If this equipment does cause harmful
interference to radio or television reception, which can be
determined by turning the equipment off and on, the user is
encouraged to try to correct the interference by one or more
of the following measures:
•
Reorient or relocate the receiving antenna.
•
Increase the separation between the equipment and
receiver.
•
Connect the equipment into an outlet on a circuit different
from that to which the receiver is connected.
Consult the dealer or an experienced radio/TV technician for
help
GB
P.3
GB
P.4
GB
P.5

