background image


9

These icons indicate the expected weather change in the next 12 to 24 hours.  The icon does not give 
an exact prediction of the weather, however it should be viewed as a generalization of the expected 
weather change (for example a “sunny” icon indicates the weather is expected to improve). 
 
The weather icons change when the unit detects a change in air pressure. The icons change in order, 
from “sunny” to “partly sunny” to “cloudy” or the reverse. It will not change from “sunny” directly to 
“rainy”, although it is possible for the change to occur quickly. If the symbols do not change then the 
weather has not changed, or the change has been slow and gradual.  


B.  WEATHER TENDENCY ARROWS 

Other possible displays in the FORECAST LCD are 2 weather tendency arrows, one that points up 
(on the left side of the LCD) and one that points down (on the right side of the LCD).  These arrows 
reflect current changes in the air pressure.  An arrow pointing up indicates that the air pressure is 
increasing and the weather is expected to improve or remain good, an arrow pointing down indicates 
that the air pressure is decreasing and the weather is expected to become worse or remain poor. No 
arrow means the pressure is stable. 


II. 

INDOOR TEMPERATURE, HUMIDITY, AND COMFORT LEVEL INDICATOR 

The current indoor temperature and relative humidity are displayed in the INDOOR LCD. 
 
The comfort level indicator is located at the bottom left of the INDOOR LCD.  The indicator will display a 
happy face icon when the temperature is between 68

°

F and 79

°

F (20

°

C and 25.9

°

C), and the humidity is 

between 45% and 64%.  A sad face icon will be displayed when the temperature and humidity are outside the 
mentioned ranges.   


III.  OUTDOOR TEMPERATURE AND HUMIDITY 

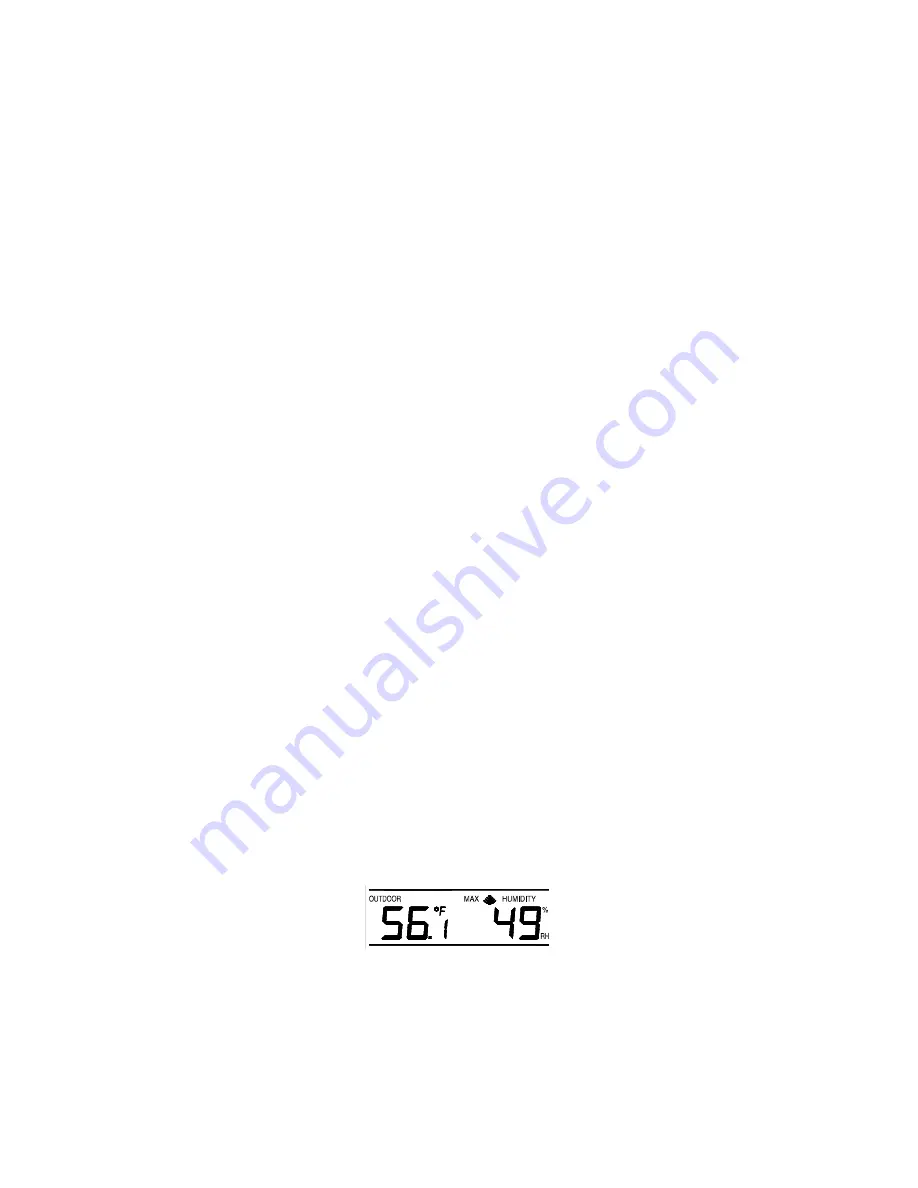
The temperature and humidity received from the remote temperature/humidity sensor is viewed in the 
OUTDOOR LCD. 


IV.  MINIMUM AND MAXIMUM TEMPERATURE RECORDS 

The WS-9035U keeps a record of the MINIMUM and MAXIMUM temperature, and the time and date of their 
occurrence, for both the indoor and outdoor modes.   


A.  VIEWING THE INDOOR TEMPERATURE RECORDS 

2.  Press and release the IN/HR button once.  “MAX” appears to the right of the indoor temperature, 

indicating that the maximum temperature (along with the humidity measured at that time) and the 
time and date of occurrence are displayed.  The maximum records will display for 30 seconds 
before returning to the normal display mode. 

3.  Press and release the IN/HR button again (once while “MAX” is still displayed, twice otherwise).  

“MIN” appears to the right of the indoor temperature, indicating that the minimum temperature 
(along with the humidity measured at that time) and the time and date of occurrence are 
displayed.   

4.  While “MIN” is still displayed press and release the 

IN/HR 

button again to return to the current 

data display.  Or you can wait 30 seconds, during either the minimum or the maximum readings, 
and the unit will automatically return to current data readings. 


B.  VIEWING THE OUTDOOR TEMPERATURE RECORDS 

1.  Press and release the OUT/MIN button once.  “MAX” appears above the outdoor temperature and 

the LCD will flash, indicating that the maximum temperature, and the time and date of occurrence 
are displayed.  The maximum records will display for 30 seconds before returning to the normal 
display mode. 


2.  Press and release the OUT/MIN button again (once while “MAX” is still displayed, twice 

otherwise).  “MIN” appears to the right of the outdoor temperature, indicating that the minimum 
temperature and the time and date of occurrence are displayed. 

3.  While “MIN” is still displayed press and release the 

OUT/MIN 

button again to return to the current 

data display.  Or you can wait 30 seconds, during either the minimum or the maximum readings, 
and the unit will automatically return to current data readings. 


C.  RESETTING THE MIMIMUM AND MAXIMUM RECORDS 

 
To reset the INDOOR records: 
1.  Press and release the IN/HR button to select the record you wish to reset, either MAX or MIN. 

Summary of Contents for WS-9046U

Page 1: ...WS 9046U Wireless 433 MHz Radio controlled Weather Station Instruction Manual...

Page 2: ...y and Month 6 7 Setting the Snooze 7 Setting the Temperature Format 7 Setting the Unit of Rainfall 7 Setting the Forecast Sensitivity 7 8 Features Weather Forecast Icons and Tendency Arrows 8 9 Indoor...

Page 3: ...dity sensor Figure 2 3 One TX15U wind speed sensor Figure 3 4 Mounting hardware 5 Instruction manual and warranty card OPTIONAL SENSOR PURCHASE SEPERATELY Rain Sensor for rainfall information Figure 1...

Page 4: ...nits for 10 minutes 5 Place the batteries into the remote temperature humidity sensor first then into the indoor weather station 6 DO NOT PRESS ANY BUTTONS FOR 15 MINUTES In this time the indoor weath...

Page 5: ...Liquid Crystal Display will flash Within 15 seconds the indoor temperature indoor relative humidity and the weather icons sun and clouds will be displayed If not remove batteries for 10 seconds and re...

Page 6: ...ow in the TIME LCD and the number setting will flash 3 Press and release the SET button again 4 The time zone will flash in the DATE LCD 5 Press and release the ALM button to select your time zone Not...

Page 7: ...ontrol Time This method requires you to do nothing except wait for the signal to be received and to select a time zone Reception usually takes approximately 10 minutes during optimal conditions The be...

Page 8: ...e SET button to confirm and advance to the temperature format setting XI SELECTING F OR C 1 Press and hold the SET button for 5 seconds 2 LCD will show in the time LCD and the number setting will flas...

Page 9: ...floor In areas where the weather is not largely affected by the change of air pressure the sensitivity setting should be set to 1 In areas where the air pressure changes more rapidly such as coastal...

Page 10: ...ECORDS The WS 9035U keeps a record of the MINIMUM and MAXIMUM temperature and the time and date of their occurrence for both the indoor and outdoor modes A VIEWING THE INDOOR TEMPERATURE RECORDS 2 Pre...

Page 11: ...yed below the words DEW POINT in the OUTDOOR LCD 3 After 30 seconds the display will automatically go back to the normal display mode showing the current dew point reading To reset the maximum or mini...

Page 12: ...e following pages is a list of the Beaufort Scale and the wind speeds it corresponds to Wind Speed fort Number or Force mph km hr knots Description Effects Land Sea 0 1 1 1 Calm Still calm air smoke w...

Page 13: ...rs overhanging crests sea becomes white with foam heavy rolling reduced visibility 11 64 72 mph 103 117 kph 56 63 knots Violent Storm Extensive widespread damage Large waves 9 14 meters white foam vis...

Page 14: ...infall is accumulated rainfall volume from the commencement of measurement which is equivalent to the Max rainfall shown in the current rainfall mode To reset the maximum rainfall measurements 1 Press...

Page 15: ...obstacles such as walls concrete and large metal objects can reduce the range Place both units in their desired location and wait approximately 15 minutes before permanently mounting to ensure that t...

Page 16: ...the remote wind speed sensor onto the bracket making sure to lock it in place C MOUNTING WITH THE U SHAPED BOLT 1 Use the U shaped bolt provided and thread it through each of the holder holes 2 Fix th...

Page 17: ...remote temperature humidity sensor and indoor weather station in position so the straight line signal is not passing through more than two or three walls Problem Temperatures do not match if units are...

Page 18: ...nal date of purchase is valid only on products purchased and used in North America and only to the original purchaser of this product To receive warranty service the purchaser must contact La Crosse T...

Page 19: ...hnical support or information contact La Crosse Technology 2809 Losey Blvd S La Crosse WI 54601 Phone 608 782 1610 Fax 608 796 1020 e mail support lacrossetechnology com warranty work sales lacrossete...

Reviews: