
3
z
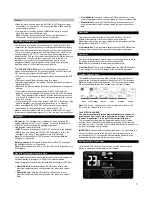
OUTDOOR HIGH
alert will flash. Press the UP or DOWN button to set
the alert value, and press the ALERTS button to confirm. Then press
the ALERTS button again switch to OUTDOOR LOW setting.
z
OUTDOOR LOW
alert will flash. Press the UP or DOWN button to set
the alert value, and press the ALERST button to confirm. Then press
the ALERTS button again switch to INDOOR HIGH setting.
z
INDOOR HIGH
alert will flash. Press the UP or DOWN button to set
the alert value, and press the ALERTS button to confirm. Then press
the ALERTS button again switch to INDOOR LOW setting.
z
INDOOR LOW
alert will flash. Press the UP or DOWN button to
choose the value, and press the ALERTS button to confirm and exit.
Note:
After selecting temperature alert values use the next step to turn
individual alerts ON or OFF.
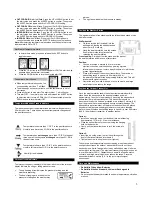
Arm/Disarm Temperature Alerts
z
In normal time mode, press and release the ALERT button to
toggle between:
z
Press the UP button to turn the selected alert ON. The alert icon
appears when each alarm is activated.
z
Press the DOWN button to turn the selected alert OFF.
Temperature Alert Sounds
z
When temperature alert sounds, the
corresponding alert icon will flash.
z
The alert beeps once every minute, until the temperature is out of
alert range.
z
Press any button to stop alert. The alert symbol will still show.
z
Turn alert OFF: In normal mode, hold and release the ALERT button
to select the alert to turn off. With HI or LO alert selected, press the
DOWN button to turn that alert OFF.
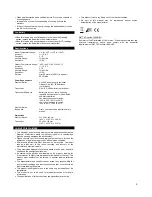
Temperature/Humidity Trend Indicators
The indoor and outdoor temperature trend indicators will update every
30 minutes or less. These trends represent temperature changes over
the past three hours.
Temperature rose more than 1°C/2°F in the past three hours.
Humidity rose more than 3% RH in the past three hours
Temperature has
not changed
more than 1°C/2°F in the past
three hours. Humidity has
not changed
more than 3% RH in
the past three hours.
Temperature fell more than 1°C/2°F in the past three hours.
Humidity fell more than 3% RH in the past three hours
Humidity trend indicator
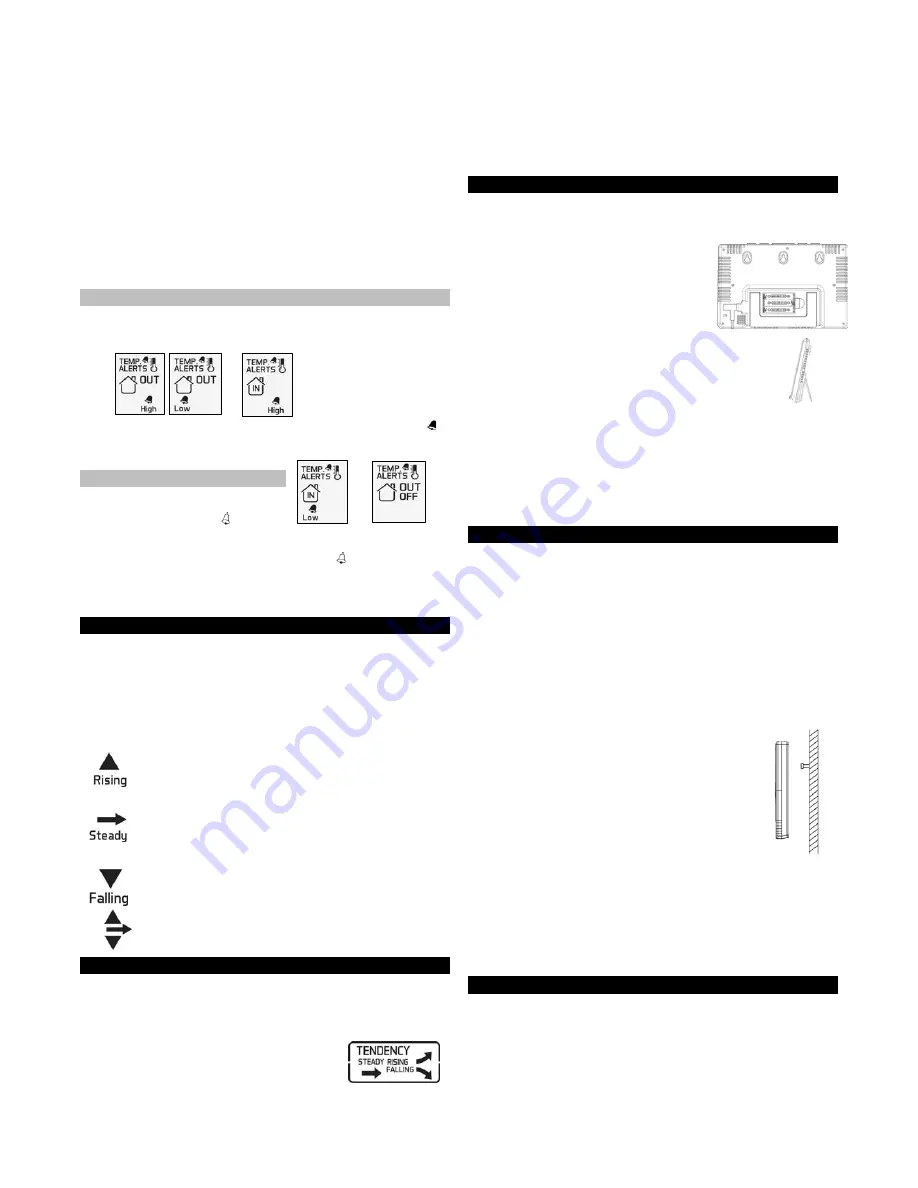
Forecast Trend Indicators
The forecast tendency indicators in the lower left corner of the forecast
display indicate the rising or falling pressure trend.
•
The up trending arrow indicates the pressure is rising and the
weather is improving.
•
The down trending arrow indicates the
pressure is falling and the weather may
worsen.
•
The right arrow indicates the pressure is steady.
Position the Weather Station
The weather station is free standing with the fold out base stand or can
be wall mounted.
Wall mounted:
•
Fix three screws (not included) into the
desired wall, leaving the head extended
about 5mm (0.2 inches).
•
Hang the weather station onto the screws.
Ensure that it locks into place before
releasing the weather station.
Free standing:
Simply pull out the stand from the back of
the weather station and place on a flat surface.
Position:
•
Choose a location 2 meters (6 ft.) or more from
electronics such as cordless phones, gaming systems,
televisions, microwaves, routers, baby monitors, etc., which can
prevent signal reception.
•
Place within range of the outdoor transmitters. The maximum
transmitting range in open air is 90 meters (300 ft.).
•
Be aware of electrical wires and plumbing within a wall. This will
interfere with signal reception.
•
Obstacles such as walls, windows, stucco, concrete, and large
metal objects can reduce the range.
Position the Outdoor Transmitter
Once the weather station shows the outdoor temperature/humidity,
place it and the transmitter in the desired locations and wait
approximately 1-hour before permanently mounting the transmitter to
ensure that there is proper reception. The transmitter should be
mounted vertically, in a shaded, protected area, at least 2 meters (6 ft.)
from the ground to avoid damage and ensure accurate readings. The
transmitter is water resistant, not waterproof and should not be placed
anywhere it will become submerged in water or subject to standing
water or snow. Wireless transmitting range in open air is over 90 meters
(300 ft.) from outdoor transmitter to weather station.
Option 1:
•
Install one mounting screw (not included) into a wall leaving
approximately 12.7mm (½ of an inch) extended.
•
Place the transmitter onto the screw, using the hanging
hole on the backside.
•
Gently pull the transmitter down to lock the screw into
place.
Option 2:
•
Insert the mounting screw (not included) through the
front of the transmitter and into the wall.
•
Tighten the screw to snug (do not over tighten).
To achieve a true temperature/humidity reading, mount where direct
sunlight cannot reach the outdoor transmitter. Mount the outdoor
transmitter on a North-facing wall or in any well shaded area. Under an
eave or deck rail work well. The maximum transmitting range in open air
is over 90 meters (300 ft.). Obstacles such as walls, windows, stucco,
concrete, and large metal objects can reduce the range. Place the
transmitter at least 2 meters (6 ft.) in the air to improve signal
transmission.
Care and Maintenance
•
Do Not Mix Old and New Batteries
•
Do Not Mix Alkaline, Standard, Lithium or Rechargeable
Batteries
•
Do not expose the weather station to extreme temperatures, vibration
or shock.


