


13
5.
Press and release again the
ALM
key to exit the Alarm
setting mode or wait for 15 seconds automatic timeout.
TO DEACTIVATE THE ALARM:
The alarm will be automatically ON when the alarm time is set.
To deactivate the alarm (OFF), press and release once the
ALM
key in normal mode display. The alarm icon will
disappear, the alarm is now off.
SNOOZE SETTING
The snooze can only be activated during alarm time for a
snooze duration of 10 minutes by pressing the
SNZ
key on the
back of the clock.
POSITIONING THE RADIO-CONTROLLED SOLAR
CLOCK:
Before permanently mounting, ensure that the radio-controlled
solar clock is able to receive WWVB signals from the desired
location. Also, extreme and sudden changes in temperature will
decrease the accuracy of the solar clock, and changes in
elevation will result with inaccurate temperatures readings for
the next 12 to 24 hours. These changes will require a 12 to 24
hour wait before obtaining reliable data.
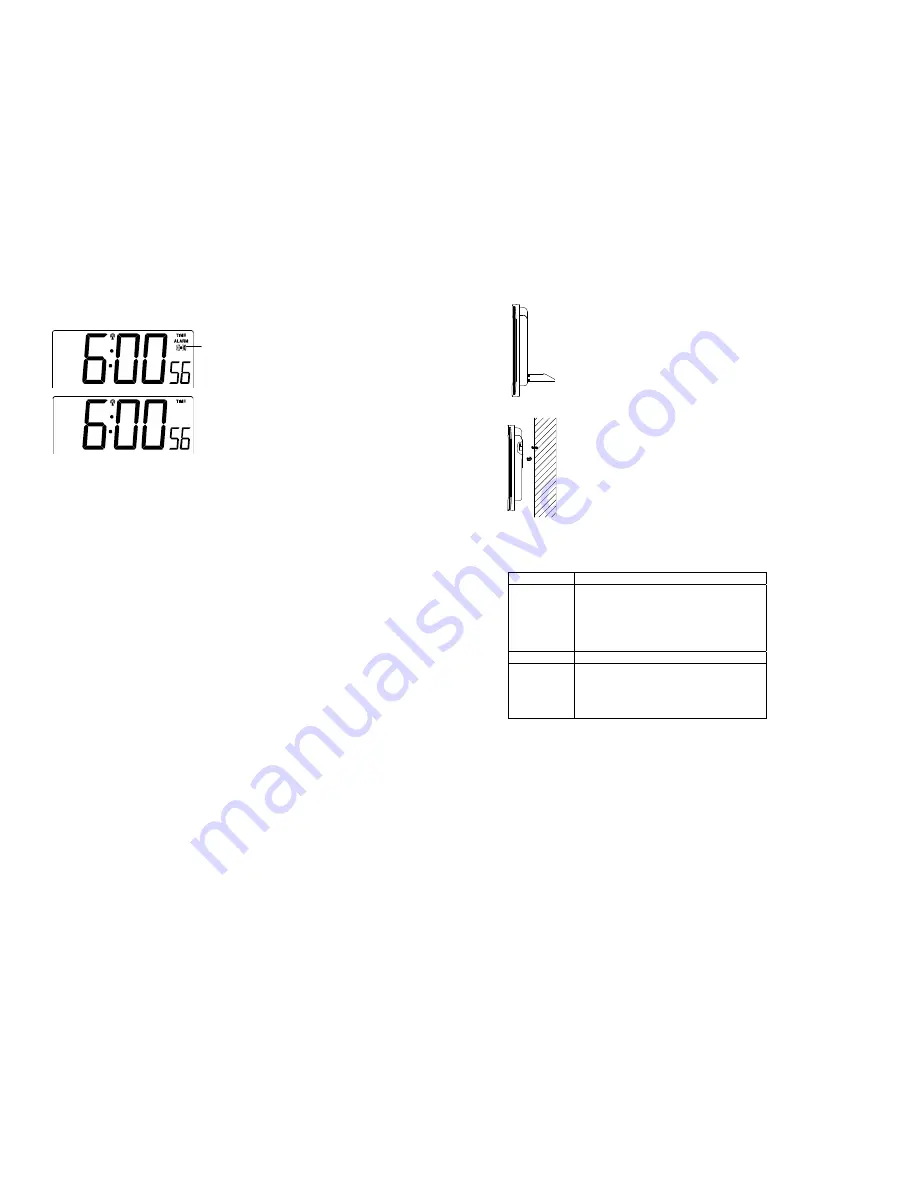
There are two possible ways to mount the solar clock:
use of the foldable table stands, or
wall
mounting
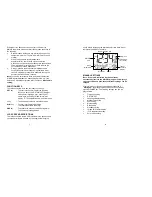
Alarm icon (((
))) (ON)
14
FOLDABLE TABLE STANDS
The foldable table stands legs are located on
the backside. Unfold the stands out, below
the battery compartment. Once the foldout
table stands are extended, place the radio-
controlled solar clock in an appropriate
location.
WALL MOUNTING
1.
Install a mounting screw (not included)
into a wall—leaving approximately 3/16
of an inch (5mm) extended from the wall.
2.
Place the radio-controlled solar clock
onto the screw, using the hanging hole
on the backside. Gently pull the radio-
controlled clock down to lock the screw
into place.
Note:
Always ensure that the radio-controlled clock locks onto
the screw before releasing.
TROUBLESHOOTING:
Problem:
The LCD is OFF.
Solution:
1) Move the solar clock to a brighter
environment.
2) Check that the solar panel is not
covered.
3) Replace the battery if using Alkaline
battery.
Problem:
No reception of WWVB signal
Solution:
1) It may help reception to face the front
of the radio-controlled clock in the
general direction of Ft. Collins,
Colorado.
2) Wait overnight for signal.


