background image


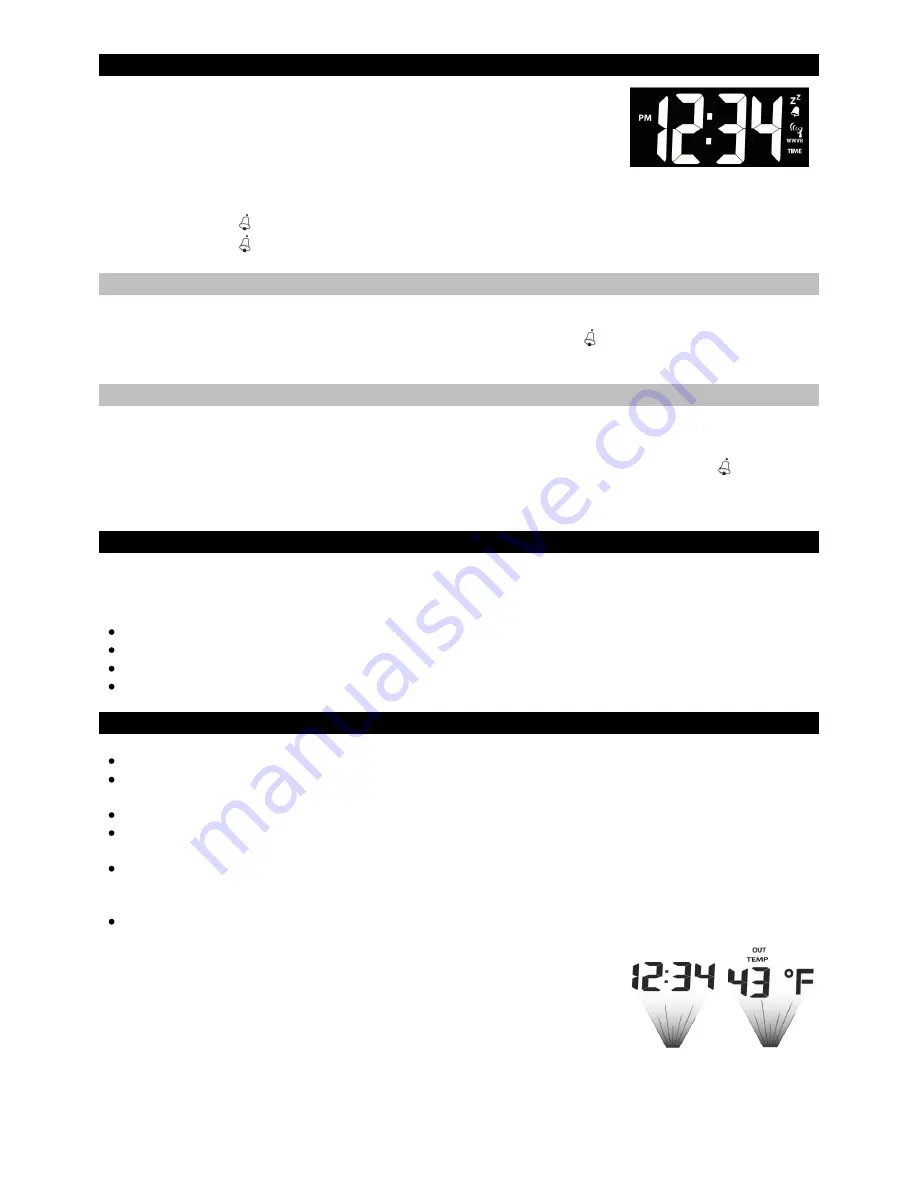
Alarm Set 


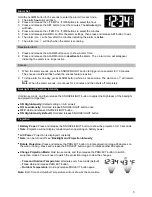
Hold the ALARM button for 5 seconds to enter the alarm time set mode. 
1.  The alarm 

hour

 digit will flash. 

2.  Press and release the +/TEMP or -/TIME buttons to select the hour.  
3.  Press and release the SET button to set the minutes. The 

minute

 digits 

will flash. 

4.  Press and release the +/TEMP or -/TIME


buttons


to select the minutes. 

5.  Press and release ALARM to confirm the alarm settings, then press and release SET button to exit. 
6.  The alarm icon 


will show after the minutes indicating the alarm is 

active.


7.  The alarm icon    will flash when the alarm is sounding.  
 
Deactivate Alarm


1.  Press and release the ALARM button once to show Alarm Time.  
2.  Press and release the ALARM button to 

deactivate 

the Alarm. The 


alarm icon will disappear 

indicating the alarm is no longer active.  

 
Snooze 


1.  When the alarm sounds, press the SNOOZE/LIGHT button to trigger snooze alarm for 10 minutes.  

The snooze icon 

Zz 

will flash when the snooze feature is active.


2.  To stop alarm for one day, press ALARM button, while in snooze mode. The alarm icon   will remain 

solid. 

Note:

 When the alarm sounds, it continues for 2 minutes and then shuts off completely. 


Backlight and Projection Intensity


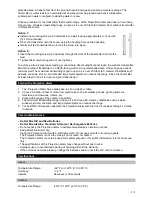
Hold two seconds, and then release the SNOOZE/LIGHT button to adjust the brightness of the backlight 
and projection (together):


ON High


intensity: 

(default setting on A/C power)                                           


ON Low intensity:

 Hold and release SNOOZE/LIGHT button once  


OFF:

 Hold and release SNOOZE/LIGHT button 


ON High intensity (default):

 Hold and release SNOOZE/LIGHT button 


Projection


Battery Power: 

Press and release the


SNOOZE/LIGHT button to


show the projection for 10 seconds. 


Note: 

Projection will not display constantly when operating on battery power. 


A/C Power:

 Projection is displayed constantly 


Note:


can be turned off see “

Backlight and Projection Intensity

”  


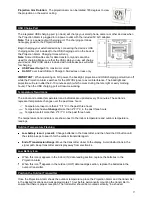
Rotate Projection:

 Press and release the PROJECT button to rotate projection image 90 degrees on 

the wall or ceiling. Press and release the PROJECT button again to rotate another 90 degrees. 


Change Projection Mode: 

Hold two seconds, and then release the PROJECT button to switch 

projection modes. You will need to watch the projection image to view the changes. 
 

o


Time and Outdoor Temperature: 

alternate


every 5 seconds (default) 

o


Time

: Hold and release PROJECT button 

o


Outdoor Temperature:

 Hold and release PROJECT button again


Note: 

Both Time and Outdoor Temperature will not show at the same time. 


Summary of Contents for 616-146

Page 1: ...time accuracy indoor and outdoor temperature on a stylish colorful and easy to read display Time and or outdoor temperature can be projected on a wall or ceiling Use the integrated USB charging port to charge your devices when the Projection Alarm is plugged into a power outlet Atomic Projection Alarm Outdoor Temperature Transmitter TX141 ...

Page 2: ... On Off 6 Time Zone 6 Daylight Saving Time Indicator 7 12 24 Hour Time Format 7 Set Time 7 Set Calendar 7 Fahrenheit Celsius 7 Alarm Set 8 Deactivate Alarm 8 Snooze 8 Backlight and Projection Intensity 8 Projection 8 Battery Operation 8 A C Power 8 Rotate Projection 8 Change Projection Mode 8 USB Charge Port 9 Temperature Trend Icons 9 Low Battery Icon 9 Position Outdoor Transmitter 9 Position Pro...

Page 3: ...sert 2 AAA batteries not included into the display see Power the Atomic Projection Alarm The Projection Alarm will light up and display time and indoor temperature 2 Insert 2 fresh AA batteries into the transmitter observing the correct polarity see Install Batteries in the Outdoor Transmitter 3 Keep the transmitter 5 10 feet from the Projection Alarm for 15 minutes to establish a good connection ...

Page 4: ...he Outdoor Transmitter 1 Slide the battery cover down then lift off the front of the transmitter Note Be careful not to break the tabs on the battery cover 2 Insert two fresh AA batteries into the transmitter Observe the correct polarity see markings inside battery compartment 3 Keep transmitter 5 10 ft from the Projection Alarm during setup 4 After 15 minutes if the outdoor temperature shows on t...

Page 5: ...he receiver will only be on for 2 minutes If the signal is good it may catch a signal in ABOUT 2 3 minutes If the signal is marginal it will try to catch a signal for up to 10 minutes IMPORTANT When operating on A C power the backlight projection and USB charging port will turn off while the Projection Alarm searches for the WWVB signal to avoid interference The backlight and projection will retur...

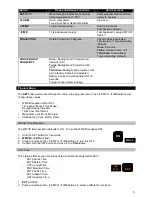
Page 6: ...Activate backlight for 10 seconds Trigger snooze alarm ringing Program Menu The SET button will moves through the items in the program menu The TEMP or TIME buttons will change these values WWVB reception ON or OFF Time Zone Seven Time Zones Daylight Saving Indicator 12 24 hour time format Manual time set Hour Minutes Calendar set Year Month Date WWVB Time Reception The WWVB time reception default...

Page 7: ... select the hour 3 Press and release the SET button to set the minutes 4 The minutes digit will flash 5 Press and release the TEMP or TIME buttons to select the minutes 6 Confirm with the SET button and move to Set Calendar Set Calendar The date default of the Projection Alarm is 1 1 2010 To set the calendar 1 The year will flash 2 Press and release the TEMP or TIME buttons to set the year between...

Page 8: ...inutes and then shuts off completely Backlight and Projection Intensity Hold two seconds and then release the SNOOZE LIGHT button to adjust the brightness of the backlight and projection together ON High intensity default setting on A C power ON Low intensity Hold and release SNOOZE LIGHT button once OFF Hold and release SNOOZE LIGHT button ON High intensity default Hold and release SNOOZE LIGHT b...

Page 9: ...e USB charging port will resume working Temperature Trend Icons The indoor and outdoor temperature trend indicators are updated every 30 minutes These trends represent temperature changes over the past three hours Temperature rose more than 2 F 1 C in the past three hours Temperature has not changed more than 2 F 1 C in the past three hours Temperature fell more than 2 F 1 C in the past three hour...

Page 10: ... least 6 feet in the air to improve signal transmission Position the Projection Alarm 1 The Projection Alarm has a wide base to sit on a desk or table 2 Choose a location 6 feet or more from electronics such as cordless phones gaming systems televisions microwaves routers etc 3 Place within range of the outdoor transmitter 4 The maximum transmitting range in open air is 200 feet 60 meters Obstacle...

Page 11: ... W x 4 33 H x 1 96 D 133 x 110 x 50mm TX141 Transmitter 1 57 L x 0 79 W x 5 12 H 40 x 20 x 130 mm Accuracy Indoor Temperature Operating temperature range 32 F to 122 F 0 C to 50 C Accuracy 2 F 32 F to 122 F 0 C to 50 C Resolution 0 1 F When above 122 F 50 C the temperature sensor should continue to read the correct temperature as long as the LCD display continues to function When below 32 F 0 C th...

Page 12: ...y Ltd warranty covers all defects in material and workmanship with the following specified exceptions 1 damage caused by accident unreasonable use or neglect including the lack of reasonable and necessary maintenance 2 damage occurring during shipment claims must be presented to the carrier 3 damage to or deterioration of any accessory or decorative surface 4 damage resulting from failure to follo...

Page 13: ...ICATIONS TO THIS EQUIPMENT SUCH MODIFICATIONS COULD VOID THE USER AUTHORITY TO OPERATE THE EQUIPMENT All rights reserved This handbook must not be reproduced in any form even in excerpts or duplicated or processed using electronic mechanical or chemical procedures without written permission of the publisher This handbook may contain mistakes and printing errors The information in this handbook is ...

Reviews: