29
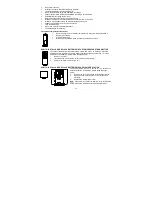
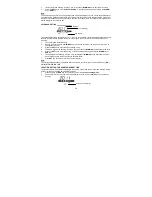
Weekday
Year (flashing)
Day. Month.
4.
The minute will be flashing. Use the + key to increase or MIN/MAX key to decrease the value.
5.
Press the SET key to enter “Calendar Setting” or exit the setting mode by pressing the ALARM
key or SUN key.
Note:
The unit will still try and receive the signal despite it being manually set. When it does receive the signal,
it will change the manually set time into the received time. During reception attempts the DCF tower icon
will flash. If reception has been unsuccessful, then the DCF tower icon will not appear but reception will
still be attempted the following day.
CALENDAR SETTING
The default date of the weather station is 1. 1. 2011. Once the radio-controlled time signals are received,
the date is automatically updated. However, if the signals are not received, the date can also be set
manually:
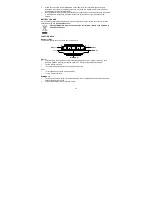
1.
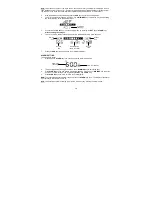
The year digits will start flashing.
2.
Use the + key to increase or MIN/MAX key to decrease the value. The range runs from 2011 to
2025 (default is 2011).
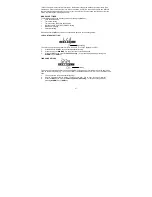
3.
Press the SET key to enter the month setting mode.
4.
The month digit will be flashing. Use the + key to increase or MIN/MAX key to decrease the value.
5.
Press the SET key to enter day setting, or exit the setting mode by pressing the ALARM key or
SUN key.
6.
The day digit will be flashing. Use the + key to increase or MIN/MAX key to decrease the value.
Keep holding the key allows the value to advance faster.
7.
Press SET key once more to return to normal display.
Note:
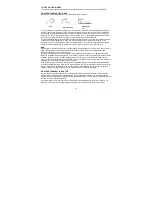
The corresponding weekday is displayed above the time in short form (from Monday to Sunday): MO /
TU / WE / TH / FR / SA / SU
LOCATION SETTNG FOR SUNRISE/SUNSET TIME
The weather station will automatically update the sunrise, sunset and sun duration time at 00:00, based
on the city location, the date, time and DST settings.
1.
Press and hold the SUN key for 2 seconds to enter the Location setting mode.
2.
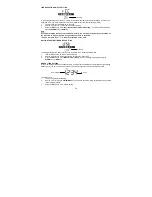
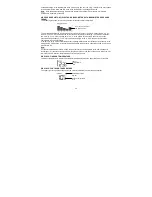
The short form of Country name will start flashing. Use the + key or MIN/MAX key to select the
Country.
Country Code
(flashing)


