29
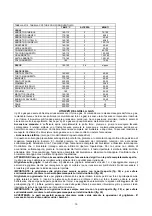
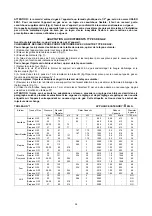
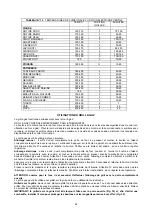
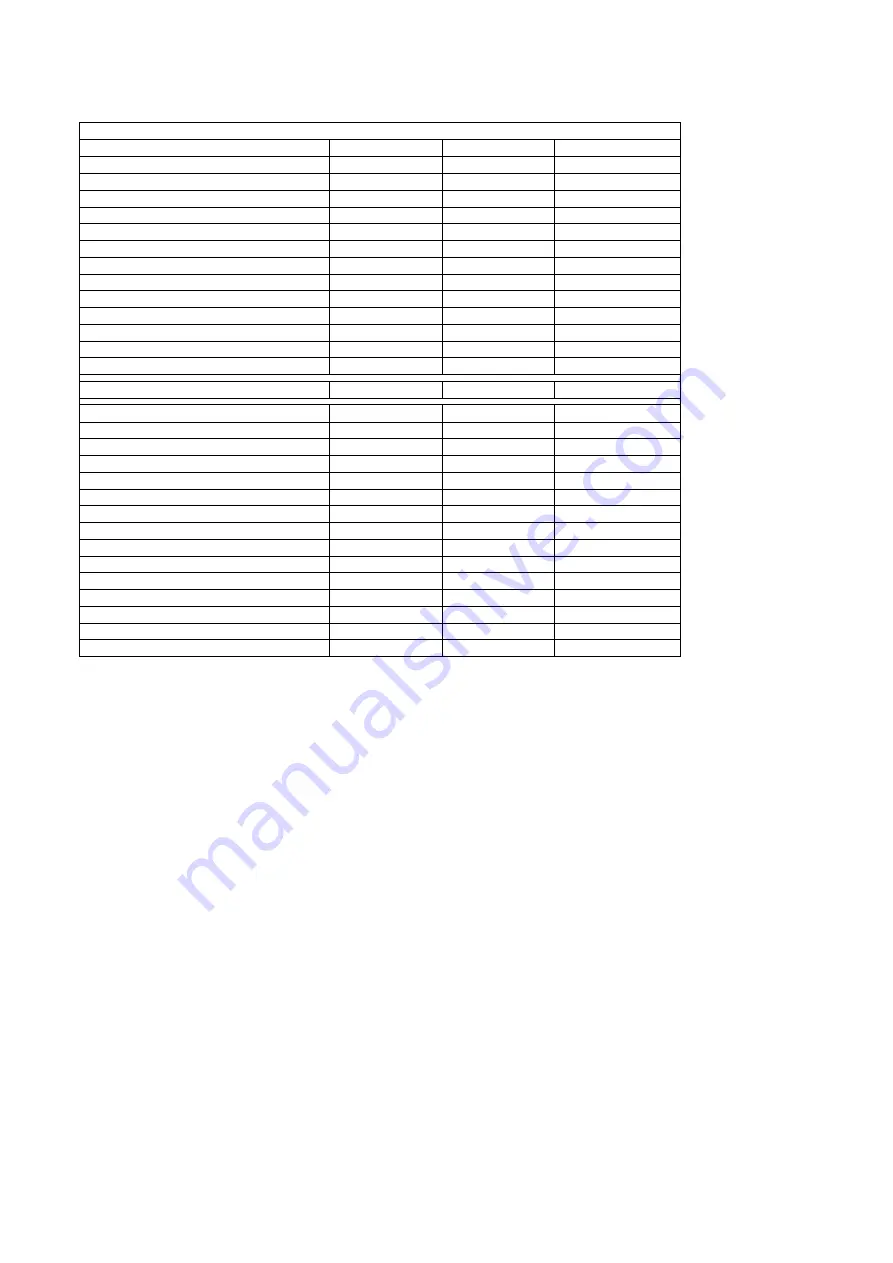
TABLE N° 10
VENTILATED OVEN COOKING TABLE
TEMP
°C
HEIGHT
MINUTES
MEAT
PORK ROAST
160-170
3
70-100
BEEF ROAST (YOUNG STEER)
170-180
3
65-90
BEEF ROAST
170-190
3
40-60
VEAL ROAST
160-180
3
65-90
LAMB ROAST
140-160
3
100-130
ROAST BEEF
180-190
3
40-45
ROAST HARE
170-180
3
30-50
ROAST RABBIT
160-170
3
80-100
ROAST TURKEY
160-170
3
160-240
ROAST GOOSE
160-180
3
120-160
ROAST DUCK
170-180
3
100-160
ROAST CHICKEN
180
3
70-90
FISH
160-180 3-4 s/peso
PASTRY
FRUIT PIE
180-200
3
40-50
TEA CAKE
200-220
3
40-45
BRIOCHES 170-180
3
40-60
SPONGE CAKE
200-230
3
25-35
RING CAKE
160-180
3
35-45
SWEET PUFF PASTRIES
180-200
3
20-30
RAISIN LOAF
230-250
3
30-40
STRUDEL 160
3
25-35
SAVOIA COOKIES
150-180
3
50-60
APPLE FRITTERS
180-200
3
18-25
SAZOIARDI SANDWICH
170-180
3
30-40
TOAST SANDWICH
230-250
3
7
BREAD 200-220
3
40
PIZZA 200-220
3
20
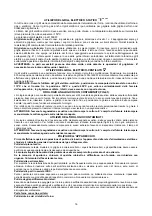
USING THE GAS GRILL
The gas grill can be combined only with the gas oven. It is controlled with the same gas oven knob, but turning it
clockwise instead of counterclockwise (see the gas oven use instructions), matching the symbol with the indicator. The
grill burner always operates at maximum and therefore there is no minimum position. In addition, it is equipped with a
safety device to prevent the flame from going out. The gas grill can also be ignited in different ways:
- Manual lighting
: Just completely open the oven door, push and turn the knob so that the relative symbol matches the
indicator, while pressing the knob, and, at the same time, put a lit match next to the burner. Make sure that the burner is
completely lit and after about 10 seconds release the knob. Make sure that the burner remains on, otherwise repeat the
operation.
- Electric ignition
: In this case, completely open the oven door, push and turn the knob so that the relative symbol
matches the indicator, then press the thermostat knob (models with ignition trough knob). Wait about 10 seconds after
the burner has been completely lit and then release the knob. Make sure that the burner remains on, otherwise repeat the
operation. As for cookers without ignition trough knob, press the thermostat knob and the key with the spark symbol, wait
about 10 seconds after the burner has been completely lit and then release the knob. Make sure that the burner remains
on, otherwise repeat the operation.
WARNING: As with the oven, the grill must be lit with the door completely open.
The gas grill can be used to grill foods on the oven shelf or using the rotisserie.
Grilling on the shelf
: In this case, the shelf supplied is placed on level 1 or 2 and the foods to be grilled are placed on
top, while the tray is inserted on the lower levels to collect the cooking juices.
Then light the grill burner according to the instructions described above.
IMPORTANT: grill foods on the shelf always with the door open (fig. 38) and, to avoid overheating, mount the
handle guard on the relative latches (fig. 39).
Grilling with the rotisserie
: This is used to grill with the rotating skewer. Therefore, insert the skewer holder on the side
shelves at level 4. Insert the food on the skewer and insert everything into the oven, inserting the point of the skewer into
the spindle that projects out from the rear of the oven and resting the front of the skewer into the skewer holder support
(Fig. 40). Then, insert the tray into one of the lower guides and press the button that starts the rotisserie. Then light the
grill burner according to the instructions described above.
IMPORTANT: grill foods with the rotisserie always with the door open (fig. 38) and, to avoid overheating, mount
the handle guard on the relative latches (fig. 39).
WARNING: the accessible parts may become very hot while grilling. Keep children away from the appliance
while cooking.
Summary of Contents for AMN805GEVSWE
Page 47: ...47 Fig 3 Fig 4 Fig 5 Fig 6 Fig 7 Fig 8 Fig 9 Fig 10 Fig 11 Fig 12...
Page 48: ...48 Fig 13 Fig 14 Fig 15 T Fig 16 Fig 17 Fig 18 Fig 19 Fig 20 Fig 21 Fig 22 Fig 23 Fig 24...
Page 50: ...50 Fig 41 Fig 42 Fig 43 Fig 44 Fig 45 Fig 46 Fig 47 Fig 48 Fig 49 Fig 50...

