background image

13

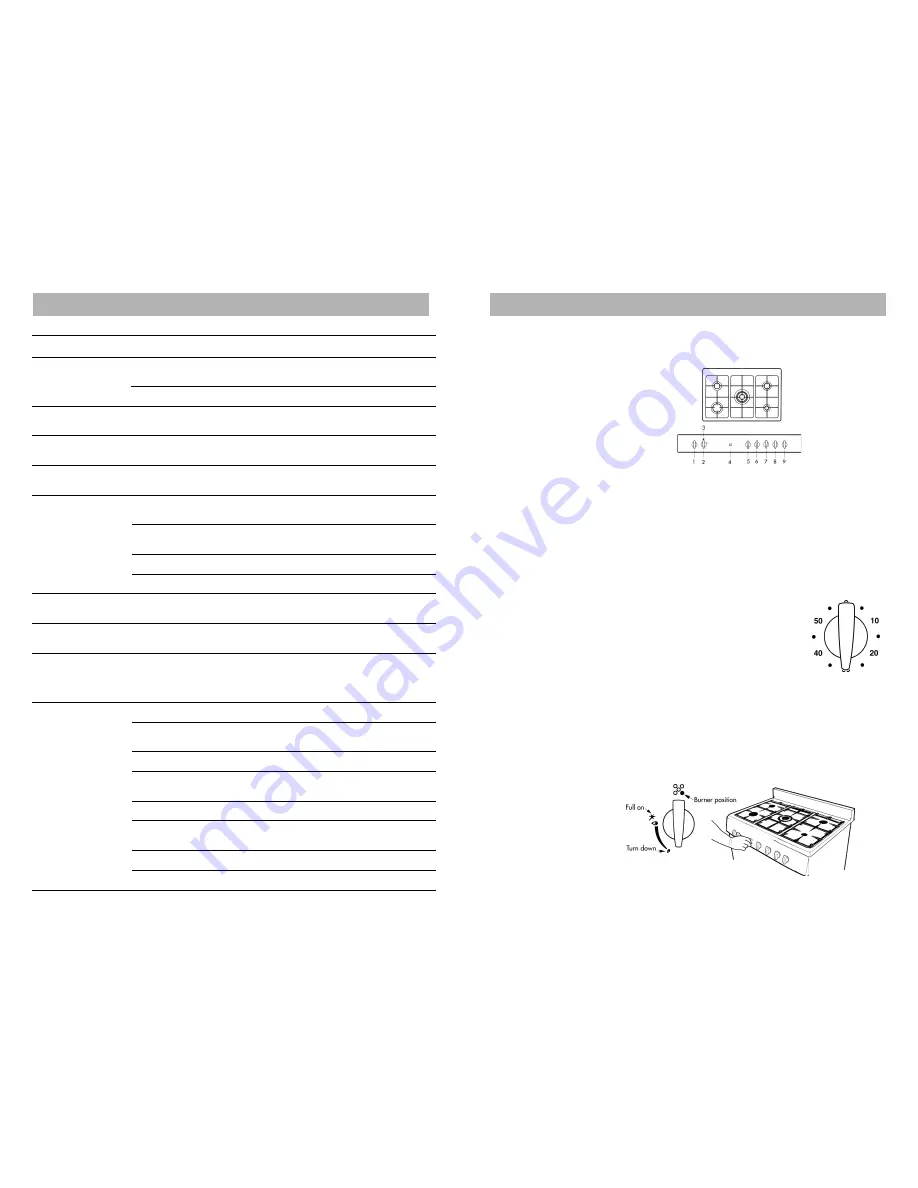
Control panel lay-out

This model is equiped with electronic ignition to all burners.

1. Minute minder
2. Oven/grill combination

control knob

3. Oven/grill ON indicator

light

4. Oven light button
5. Left front burner control

knob

6. Left rear burner control

knob

7. Wok burner control knob

8. Right rear burner control

knob

9. Right front burner control

knob

Cooktop operation

Minute minder

The minute minder control knob is positioned
on the left hand side of the control panel.
To activate the timer, rotate the knob
clockwise through 360

°

, then return the knob

anti-clockwise to required cooking time.

First time use

Thoroughly clean cooktop with warm soapy water prior to first
use.

Cooktop burner operation

The individual burner position on the cooktop is indicated by a
graphic placed above the burner control knob. Two further

graphics indicate the ‘full on’ and ‘turn down‘ positions.


For cookers fitted with
the glass lid please
note that the lid must
always be in the open
position when the
cooktop burners are
operating.

20

Trouble shooting guide

Problem

Possible cause

Action

Burners don’t light

Power to appliance turned off

Turn on power supply

Oven burner difficult

Oven control not turned on fully

Turn to mark 8 (270) and hold in until

 to light

or held depressed for long enough

ignited

Fault in igniter

Phone service number for service or advice

Oven going out just after

Control knob not depressed long

Depress control knob until burner remains

ignition

enough

alight

Oven goes out during

Phone service number for service or advice

cooking

Oven goes out when

Door closed too fast

Close door gently

closing door

Hotplate burner difficult

Burner cap damp or incorrectly

Dry and reposition cap

to light

positioned

Spark ignitor clogged with grease

Clean ignitor

Burner ports blocked

Clean ports

Spark igniter does not function

Phone service number for service or advice.

Grill element/browner

Power to appliance turned off

Turn power on

does not come on

Grill element/browner

Top of oven compartment soiled

Clean top of oven compartment

smoking when on

Food is not cooking to

User may still be using settings

Check cooking chart - consumer will

expectation

of previous cooker - all ovens have

become familiar with use

different characteristics

If problem persists phone service number
for advice

Food burning on base

Using black or dark coloured pans

Use light coloured metal pans

Cooking time too long

Check oven cooking chart - check with
other foods

Temperature too low

Raise temperature

Incorrect shelf position - too low

Use higher shelf

in oven

Opening oven door too frequently

Avoid opening and minimize time opened

Oven overloaded

Use single shelf cooking and ensure a 5 cm
airflow around the pans.

Oven not preheated sufficiently

Allow longer pre-heat time

Heat loss from oven

Phone service number for service or advice

Summary of Contents for LUG03-90-S

Page 1: ...er is approved for use with Natural and Propane gases Leave instructions with the owner MODEL LUG03 90 S UPRIGHT COOKER Installation instructions User instructions LUG03 90 S 32 Part No W1435 1 Revisi...

Page 2: ...ic Gas connection 8 9 Electric connection Gas regulator If using a flexible connection If using copper connection Gas connection Gas inlet position Nat Gas LPG Gas inlet position with different leg he...

Page 3: ...ers fitted with an upstand Access to under hob area To replace the gas control valves or gas manifold To clean or replace a cooktop burner injector To replace cooktop burner electronic spark electrode...

Page 4: ...g spare parts or requesting a service Notes on disposal Old appliances still have some residual value An environmentally friendly method of disposal will ensure that valuable raw materials can be reco...

Page 5: ...e and knowledge unless they have been given supervision or instruction concerning use of the appliance by a person responsible for their safely Children should be supervised to ensure that they so not...

Page 6: ...se shall the clearance between the top of the highest burner of the cooking appliance and the underside of a range hood be less than 600 mm or an overhead exhaust fan 750 mm 27 To replace electronic i...

Page 7: ...e 3 phillips head screws at the rear flange of the panels 2 Remove the screw either side at front securing side panels to fascia support plate 3 Remove phllips head screws down front flange of panels...

Page 8: ...ocated If satisfactory performance can not be obtained contact SampfordIXL or the local gas utility For service contact number refer page 9 To clean or replace a cooktop burner injector 1 Remove pan s...

Page 9: ...NEVER use a naked flame to check for leaks To remove glass lid for cookers fitted with a glass lid 1 Place lid in the open position 2 Lift the lid out of the hinge brackets 3 Store in a safe place To...

Page 10: ...23 Cleaning oven glass door The oven door may be removed for cleaning To remove the oven door follow these steps 1 Open the door fully 2 Lift the two levers forward as shown in figure below left 3 Clo...

Page 11: ...The high temperatures generated by using the wok burner may cause the stainless steel hob of your hotplate to become discoloured over time THIS IS NORMAL Clean the hob with a product suitable for clea...

Page 12: ...ature cooking Temperature set too low Check chart and or raise temperature Food was chilled or partially frozen Allow to thaw completely or allow longer time for cooking Heat loss from oven Phone serv...

Page 13: ...rvice number for service or advice Oven going out just after Control knob not depressed long Depress control knob until burner remains ignition enough alight Oven goes out during Phone service number...

Page 14: ...r this reason make sure that the room is properly ventilated Keep ventilation openings such as windows open or provide a mechanical ventilation device e g a range hood or overhead exhaust fan Use of c...

Page 15: ...l and the oven simultaneously Oven grill operation For cookers fitted with the glass lid please note that the lid must always be in the open position when the grill is in operation Food being grilled...

Page 16: ...at the procedure 4 Gently close the door Manual ignition 1 The oven is fitted with automatic ignition However if required manual ignition can be affected by depressing the control knob and turning it...

Reviews: