7
Installation
Components list:
Set up
This Gas Firepit must be installed on flat, stable surface, away from any combustible materials or construction.
1.
Remove firepit from the packaging, place on a level, non-combustible surface.
2.
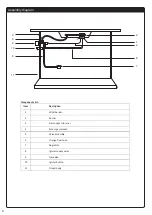
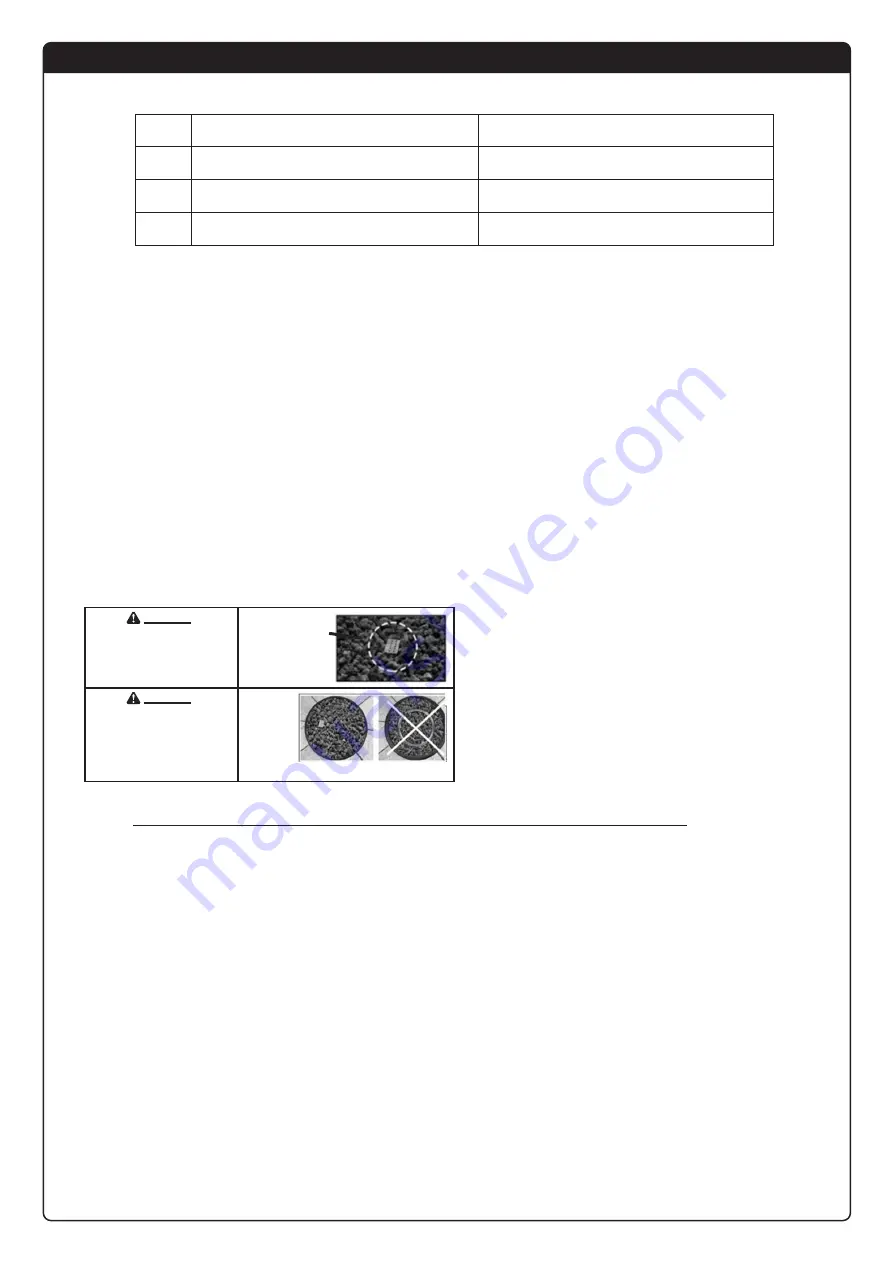
Place the 3.5kg lava rocks (B) around the burner (2) evenly ensuring you do not cover the burners.
3.
Unscrew the igniter switch (10), insert 1 x AAA battery (not provided) negative end first, then screw the igniter
switch back on.
CAUTION: Do not kink flexible gas hose. If it is kinked, a gas leak could occur.
Instruction for connecting gas circuit to LPG cylinder:
•
Before assembly, make sure all protection packing material has been removed
•
You need to purchase one LPG cylinder (recommended 5kg).
•
Be careful: do not kink flexible gas rubber pipe (6).
1.
Make sure the appliance gas knob is turned "OFF" before assembling the gas.
2.
Connect the regulator inlet to the top of the LPG cylinder by hand.
OPERATING INSTRUCTIONS
Lighting
Before igniting the appliance, perform “Leakage Testing” in a well-ventilated area (outdoor).
1.
Turn the cylinder valve on the gas tank counter clockwise to open the gas supply.
2.
Close the storing door on the body for the gas cylinder.
3.
Press and hold the electric igniter (10).
4.
Push and turn the control knob counter clockwise to the "LOW" position.
5.
Keep pushing the control knob to light the burner.
6.
After ignition, release the electric igniter.
7.
Continue to push and hold the control knob for 45 seconds.
8.
If ignition does NOT take place in seconds, push and turn the control knob clockwise to "OFF". Wait 5 minutes,
then repeat the lighting procedure as above.
Note: Flame should be yellow/blue colour.
To Extinguish
1.
Turn appliance control knob clockwise up to “OFF” position.
2.
Turn the LPG cylinder valve to the “OFF” position.
3.
Allow the appliance to cool before moving it (at least 1hr).
Re-Lighting
1.
Turn control knob to “OFF” position.
2.
Wait at least 5 minutes, to let gas dissipate, before attempting burner re-light.
3.
Repeat the “Lighting” steps.
Item
Description
Quantity
A
Firepit
1 pc
B
Lava rocks
3.5 kg
C
Rain cover
1pc
Screen
DO NOT PLACE
LAVA ROCKS ON
THE SCREEN, KEEP
SCREEN CLEAR
WARNING
WARNING
The screen must be clear and free
of any obstructions at all times to
ensure proper operation.
The burner of the firebowl must be
covered by lava rocks completely.
Otherwise the flame may be
extinguished. See the figure for
the CORRECT and INCORRECT
methods for reference.
CORRECT
INCORRECT


