NeoTherm Boilers and Water Heaters
Page 65
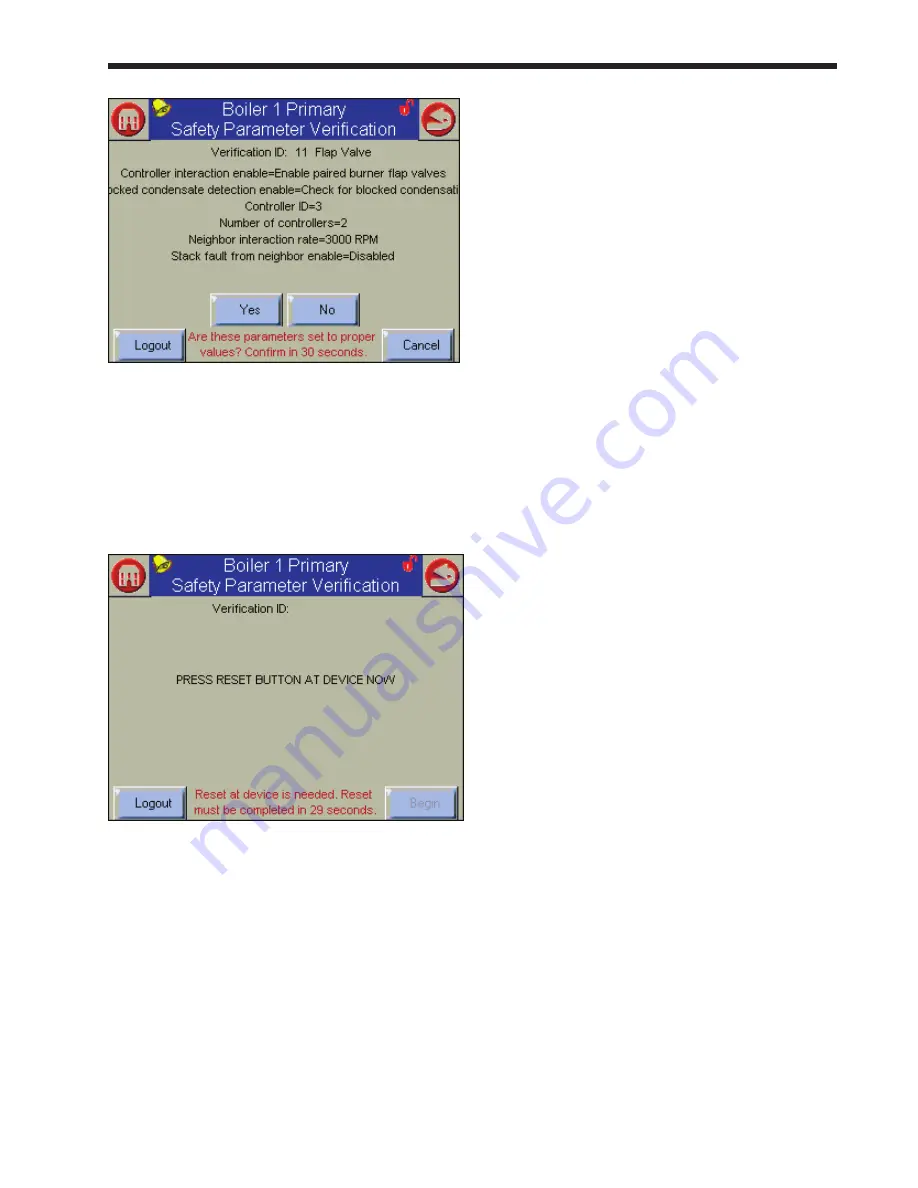
Fig. 78 – Safety Parameter Confirmation
Check the list carefully. Press Yes if all of
the parameters in the group have been entered
correctly.
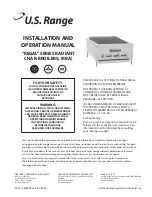
11. The system will tell you to reset the control
system.
fig. 79 – Safety Parameter reset
You must press the Reset button within 30
seconds, or the verification will be cancelled.
12. At this point, you have set the flap valve
address for one of the controllers in the
boiler. The next job is to set the flap valve
identification for the other control on this
boiler. (In this example, this would be the
Secondary control on Boiler 1). Press the
Home button in the upper left-hand corner of
the display.
13. Press the icon for the Secondary control. Repeat
steps 3 through 12 for the Secondary control for
Boiler 1. (From Table 15, you can see that the
address for this control should be “2.”)
14. At this point, you have set the flap valve ID’s
for both controllers on one of the boilers.
Now you must repeat the process for all of the
controllers on each of the other boilers.
Job G – Disconnect Unused operator
Interfaces
Once a Lead/Lag system is set up and operating, the
control and monitoring functions will all be handled
from one Operator Interface – the one connected to
the boiler which includes the Lead/Lag Master. The
other Operator Interfaces will not have any function,
and should be disconnected from the system.
So that there is no confusion, we want to emphasize
this:
• The Modbus connections between the
controllers must remain connected. These
form the “daisy chain” which allows the Lead/
Lag Master to communicate with the rest of
the system. The Modbus connections use
connectors MB1 and MB2 on each controller.
Be sure all of the controllers remain connected
via MB1 and MB2.
• Also, do not disconnect the wiring to the
Operator Interface on the boiler which includes
the Lead/Lag Master.
In this section, we are talking just about the
connections between each unused Operator Interface
and the primary controller in its boiler.
1. Turn off the power to the boiler which has an
unused Operator Interface.
2. Open the front door to get access to the
electronics panel. The Primary controller is
located on the right. See Fig. 52.
3. On the Primary controller, find the connections
for MB2. See Fig. 19. There are two sets of
wires running to each MB2 connection. One
set of wires goes to the Operator Interface, and
the other set runs to the other controllers in the
system.
Disconnect just the three wires which
run to the operator interface.
4. Close the front door and turn on power to the
boiler.
Summary of Contents for NTV1000
Page 2: ......
Page 35: ...NeoTherm Boilers and Water Heaters Page 31 Fig 20 Ladder Diagram...
Page 36: ...LAARS Heating Systems Page 32 Fig 21 Wiring Diagram...
Page 37: ...NeoTherm Boilers and Water Heaters Page 33...
Page 51: ...NeoTherm Boilers and Water Heaters Page 47 Fig 52 Connection Terminals...
Page 130: ...LAARS Heating Systems Page 126 Fig 140 Machine Frame and Rear Panel 13 3 PARTS ILLUSTRATIONS...
Page 131: ...NeoTherm Boilers and Water Heaters Page 127 Fig 141 Front Panel and Covers...
Page 132: ...LAARS Heating Systems Page 128 Fig 142 Burners and Combustion Chambers...
Page 134: ...LAARS Heating Systems Page 130 Fig 145 Electronic Components...
Page 135: ...NeoTherm Boilers and Water Heaters Page 131 Fig 146 Condensate Trap Fig 147 Control Bezel...
Page 136: ...LAARS Heating Systems Page 132 Fig 148 Flow Switch...
Page 137: ...NeoTherm Boilers and Water Heaters Page 133 This page intentionally left blank...


