12
Min/Max Temperatures
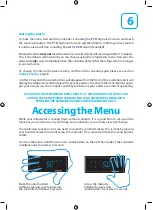
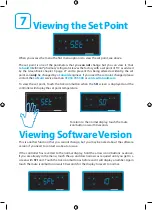
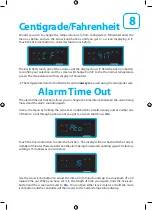
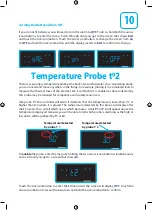
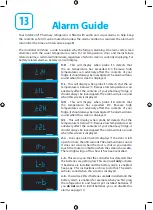
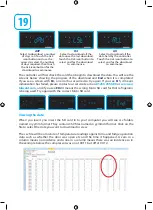
To view your high/low temperature make the icons/buttons are visible by putting your hand
on the controller as described in page 6. Touch the high/low icon and the controller
will display the minimum and maximum temperatures recorded by probe
to1
and repeat this
process for probe
to2
(if enabled)
. You can tell which probe the high and low temperatures
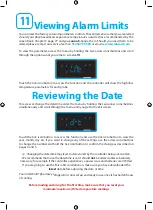
relate to because
to1
or
to2
will display above the temperature.
H/L
H/L
P
°
C
t
°
1
H/L
P
°
°t
1
C
H/L
P
°
°t
1
C
H/L
P
H/L
P
H/L
P
°
°t
t
°
1
2
C
H/L
P
H/L
P
°
°t
t
°
1
2
C
H/L
P
After showing the temperatures, the controller will revert to the normal display and the icons/
buttons cease to be active.
The temperatures recorded by the two probes may differ because they are taking readings
from different parts of the fridge, especially if probe
to2
is placed in a simulated load.
Min/Max Reset
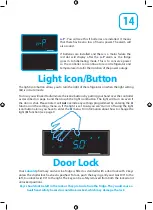
To reset the minimum/maximum temperatures to conform with DH Green Book Guidance
page 29-30, hold the high/low icon/button until
CFП
flashes on the display
.
Hold the tick
icon/button until the display reverts to the normal temperature screen and the minimum/
maximum temperatures will be reset. Repeat this for probe
to2
(if enabled)
.
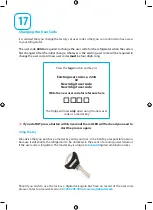
However, if you
don’t want to reset the temperatures, touch the mute icon/button and you will be returned to
the normal temperature display.
H/L
H/L
P


