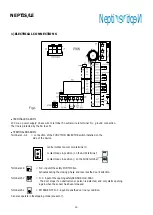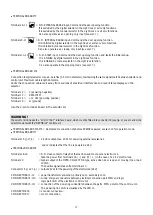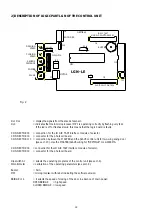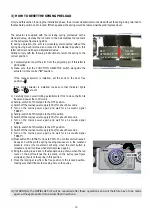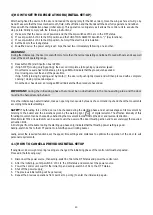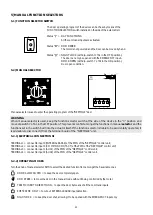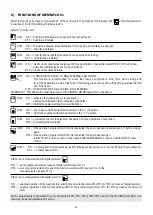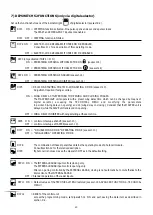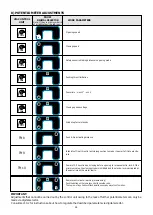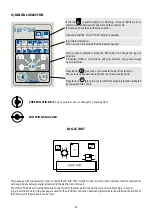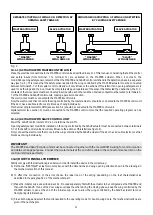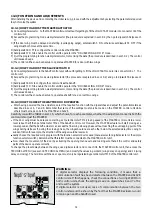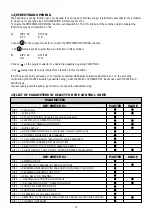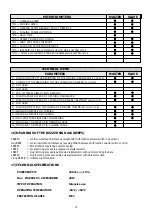
7) DIP SWITCH S2 FUNCTIONS (only via digital selector)
Set up the functions by means of the indicator light of digital selector (see sect.9.2).
DIP 1 ON = STEPPING function activated. One pulse opens and a seconde pulse closes
The START and EMERGENCY inputs anre enabled.
DIP 1 OFF = STEPPING function inhibited.
DIP 2 ON = ELECTRO-LOCK RELEASE WITH FREE DOOR ENABLED.
Consult sect. 11 for a description of this operating mode.
OFF = ELECTRO-LOCK RELEASE WITH FREE DOOR DISABLED
DIP 3 (only activated if DIP 4 = ON)
ON = PEDESTRIAN OPENING WITH SELECTOR ON (see sect.14)
OFF = PEDESTRIAN OPENING WITH SELECTOR ON (see sect.14)
DIP 4 ON =
PEDESTRIAN OPENING ENABLED (see sect.14)
OFF = PEDESTRIAN OPENING INHIBITED (see sect.14)
DIP5
= DELAY ON STARTING FOR TWO-WING SWING DOOR (see sect.13).
Adjustment required if wings overlap.
ON = WING DELAY ACTIVATED IN BOTH OPENING AND CLOSING PHASES.
The MASTER/SLAVE units operate with a preset wing delay time which can be changed by means of
digital selector, accessing the TECHNICAL MENU and modifying the parameters
in points 13 (wing delay on opening) and 14 (wing delay on closing). Consider that the MASTER unit is
delayed, while the SLAVE unit is delayed on opening.
OFF = WING DELAY INHIBITED with wings starting at the same time.
DIP6
ON = control unit set up as SLAVE (see sect. 13).
OFF = control unit set up as MASTER (see sect. 13).
DIP7
ON = “DOUBLE WING DOOR” OPERATING MODE (see sect. 13).
OFF = “SINGLE WING” OPERATING MODE.
DIP 8
The combination of these dip switches obtains the operating mode of photocell module.
Consult section 12 for the relative description.
DIP9
If photocell is not used, keep the dipswitch OFF as in the default setting.
DIP 10 ON = The INTERNAL RADAR input controls closing only.
The EXTERNAL RADAR input controls opening only.
After an opening controlled by the EXTERNAL RADAR, closing is not automatic but occurs thanks to the
intervention of the INTERNAL RADAR.
OFF = Standard operation of the radar inputs.
DIP 11 ON = Default values of the TECHNICAL MENU restored
(see sect.18 ADVANCED FUNCTIONS - TECHNICAL
MENU)
DIP 12 = RESET of the control unit:
access the programming mode, set dipswitch 12 ON and quit, saving the data item as described in
section 9.2.
3
2
23
L1
AUX
AUX
E
I
1
Summary of Contents for NEPTIS/LE
Page 4: ...MECHANICAL SECTION NEPTIS LE 550 110 120 Nepti N e p t i S ...
Page 14: ...notes ...
Page 15: ...ELECTRONIC SECTION NEPTIS LE Nepti N e p t i S ...
Page 38: ...notes ...
Page 39: ......

