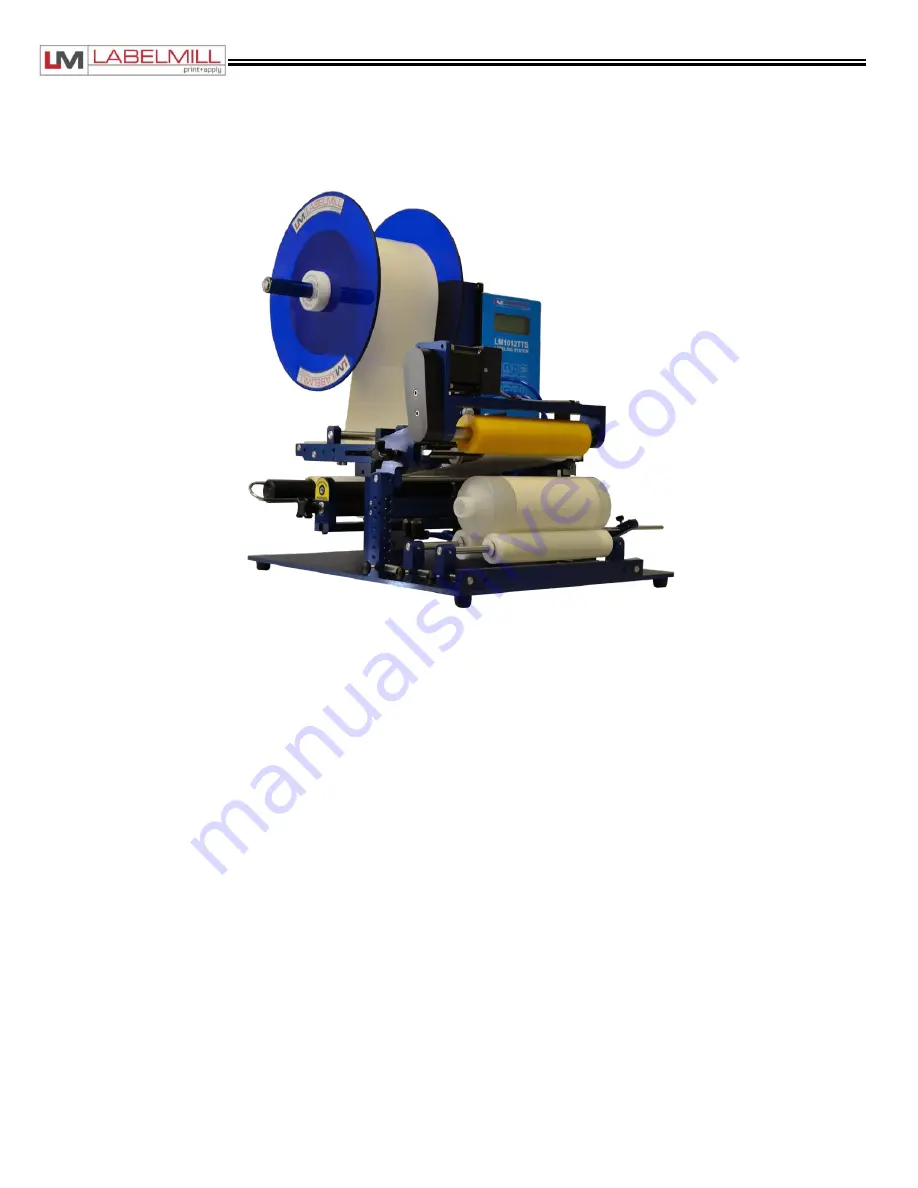
LM1012TTS Table-Top Label Applicator System
USER'S MANUAL
Made in the U.S.A.
© 2022 LABELMILL
01/01/2022 Model LM1012TTS
Page 43
Round Product Applicator Module Installation
The Round Product Applicator Module shown below can be installed in a few minutes to the existing LM1012 system
dispenser unit.
ACTIONS TO INSTALL ROUND PRODUCT MODULE
1. Set the main power switch to the OFF position.
2. Disconnect the AC power cable from the rear of the console.
3. Remove any installed module or photoeye mounted to the guide rails.
4. Carefully slide the round product module on to the rails until the unit is in the proper position.
5. Install and tighten the mounting knobs through the slotted holes on either side of the mounting rails.
6. Install the cable from the round product module into the connector on the accessory panel of the control box tagged
“Round Module”.
7. Install the cable from the valve assembly into the connector on the accessory panel of the control box tagged
“SOLENOIDS”, if it is not already connected.
8. Install the cable from the round product module limit switch into the connector on the accessory panel of the control box
tagged “HEAD UP/AUX”.
9. Install the two (2) airlines fitted with quick disconnect style fittings on the manifold plate above the solenoids. They are
marked 3 and 4
.
10.
Install the cable into the connector on the accessory panel of the control box tagged “REMOTE TRIGGER” (Foot Switch,
Palm Button, or Trigger Switch).
11. Adjust the roller cradle up or down for the product. There should be enough room to get the product in and out, but not
more than 1" of gap between the product and yellow roller.
12. Adjust the rollers on the cradle so the centerline of the product and the yellow roller are lined up.
13. Connect the power cable and turn it on.
14. Program the control Cycle Type for Round Module
15. Adjust the label sensor, and label speed until both are functioning properly
16. Adjust the Round Module Setup settings as needed.


