No Description Function
➀
LCD Screen Video display
➁
Change the frequency point or
cursor up
➂
Switch settings in menu or
cursor left
➃
OK
Confirm the current operation
➄
Change the frequency point or
cursor down
➅
Switch settings in menu or
cursor right
➆
MENU
Return to submenu save settings
3
Before you start check what frequencies or channels are being used for local off-air
transmissions and other devices on the system and decide which un-used channel you are
going to use. (As shown below)
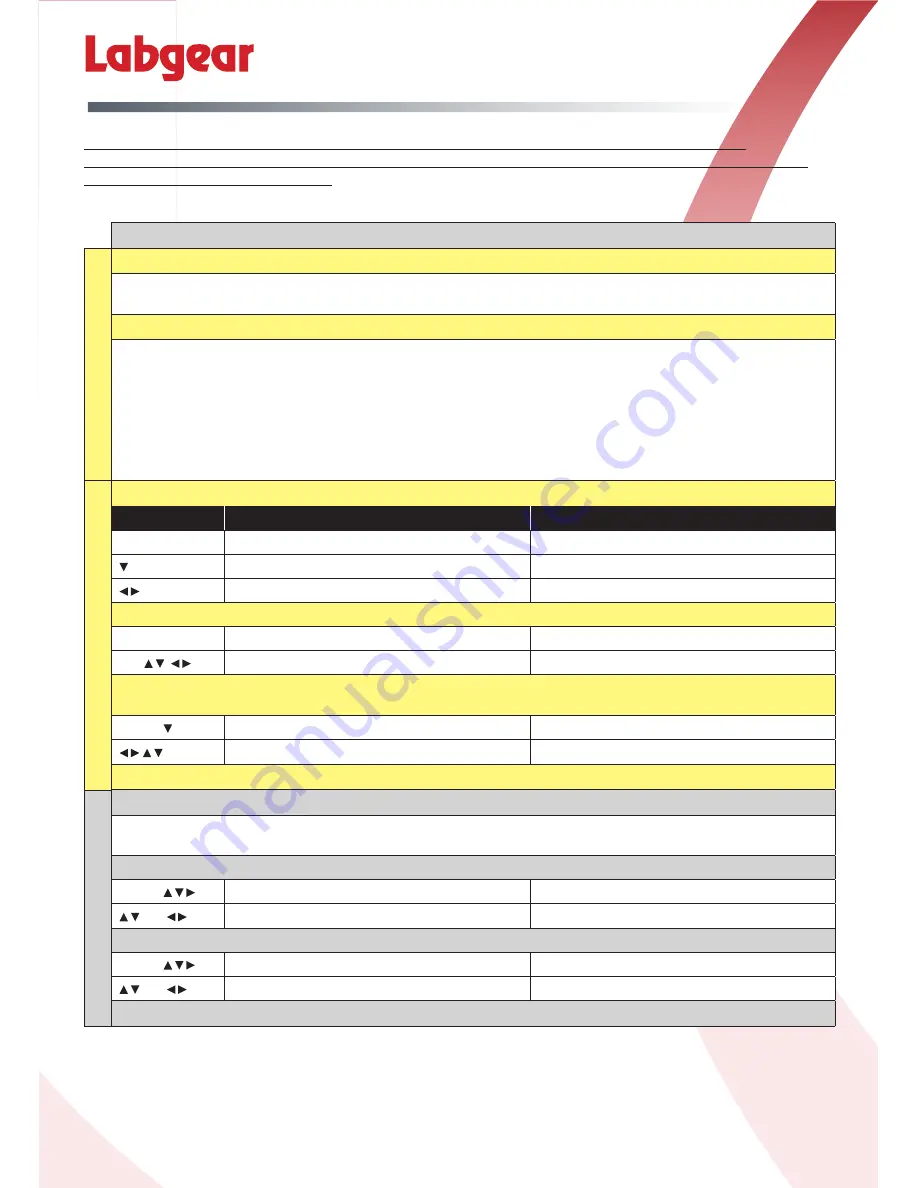
EM1000 HDMI-toDVB-T Encoder Modulator
Before you start
Check the Channels used by your local TV transmitter(s) and decide which available Channel you are
going to use for the new signal.
Connections
* Connect your HDMI source to the HDMI input
* To combine the new signal with off-air transmissions either
a) Connect your aerial to RF IN and then connect the RF OUT to your TV system or
b) Connect your aerial and the RF OUT to a signal combiner/splitter and the combined signal to your TV
system
Option b) is recommended when adding multiple new signals
* Plug Power Supply into mains and switch ON
Unit will display factory preset Channel Name and output Channel and frequency
Set the output Channel/Frequency
Press
Notes
Display
MENU
To Access Main Menu
Channel Name CH21 474.0MHz
OK
To select option
3. Channel
OK
To set output Channel
Give your new signal a Name (optional)
MENU
To Access Main Menu
1. ProgramName
OK
OK
To select each letter in the Name
XXXXXXXXX
Set a Logical Channel Number for TV Remote Control (optional)
(Before setting LCN check which numbers are available)
MENU
OK
To select option
6. LCN
OK
To select each digit in the LCN
0XXX
Done!
Adding multiple signals
When adding more than one new signal we recommend 2 further steps to ensure that each TV recognises each new signal as
unique and displays properly
Change TS ID
MENU
To select option
4. TS ID
OK
To select each digit in the LCN
XXXX
Change Program Num
MENU
To select option
6. Program Num
OK
To select each digit in the LCN
XXXX
Done!
EXTRA STEPS FOR MUL
TI UNITS
QUICK SET
-UP
QUICK SET
-UP
EM1000 HD Encoder Modulator


