- 41 -
8.4.1. Auto Calibration Setting and Adjustment
1.
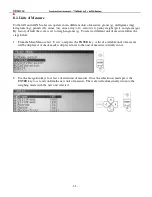
From Main Menu select
“Calibration”
and press the ENTER key. Available calibration options will
be displayed.
2.
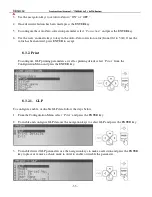
To adjust the internal calibration mass value with an external calibration weight that has a traceable
class certification select
“External Calibration”
and press the ENTER key.
3.
After pressing the ENTER key follow the prompts displayed on the LCD screen.
4.
To use a calibration weight that is smaller than the scale’s capacity select external load and press
ENTER, then use the navigation keys to select the desired load.
5.
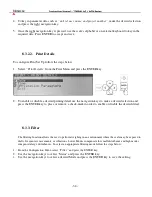
To disable automatic internal calibration use the navigation keys to select
“Status”
and press the
ENTER key. Use the navigation keys once again to enable or disable automatic internal calibration.
Once the desired selection is made press the ENTER key.
When disabled calibration will not initiate automatically, it can be performed only by initiating
internal calibration with a calibration key.
6.
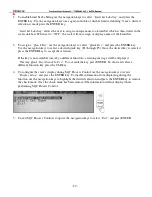
Internal calibration can be configured to calibrate automatically with change of temperature. To set a
calibration temperature intervals use the navigation keys to select
“Temperature”
and press the
ENTER key. Use the navigation keys once again to select a desired temperature interval (none, 0.5C,
1C, 1.5C, 2.0C).
When set to none, automatic internal calibration will not initiate due to change in temperature.
7.
Internal calibration can be also configured to calibrate automatically with change of time. To set a
calibration time interval use the navigation keys to select
“Time”
and press the ENTER key. Use the
navigation keys once again to select a desired time interval (none, 1h, 2h, 3h, 4h, 5h, 6h).
8.
To exit the Calibration Menu, use the navigation keys to select
“Exit”
and press ENTER.


