Hydraulic System 123
7.
Remove the dump valve (if equipped).
N
OTE
:
The dump valve is usually, but not necessarily, located atop the pump.
N
OTE
:
Always reinstall the dump valve and its components (shims, block assembly) as they were
before uninstallation. Make sure you do not invert them.
8.
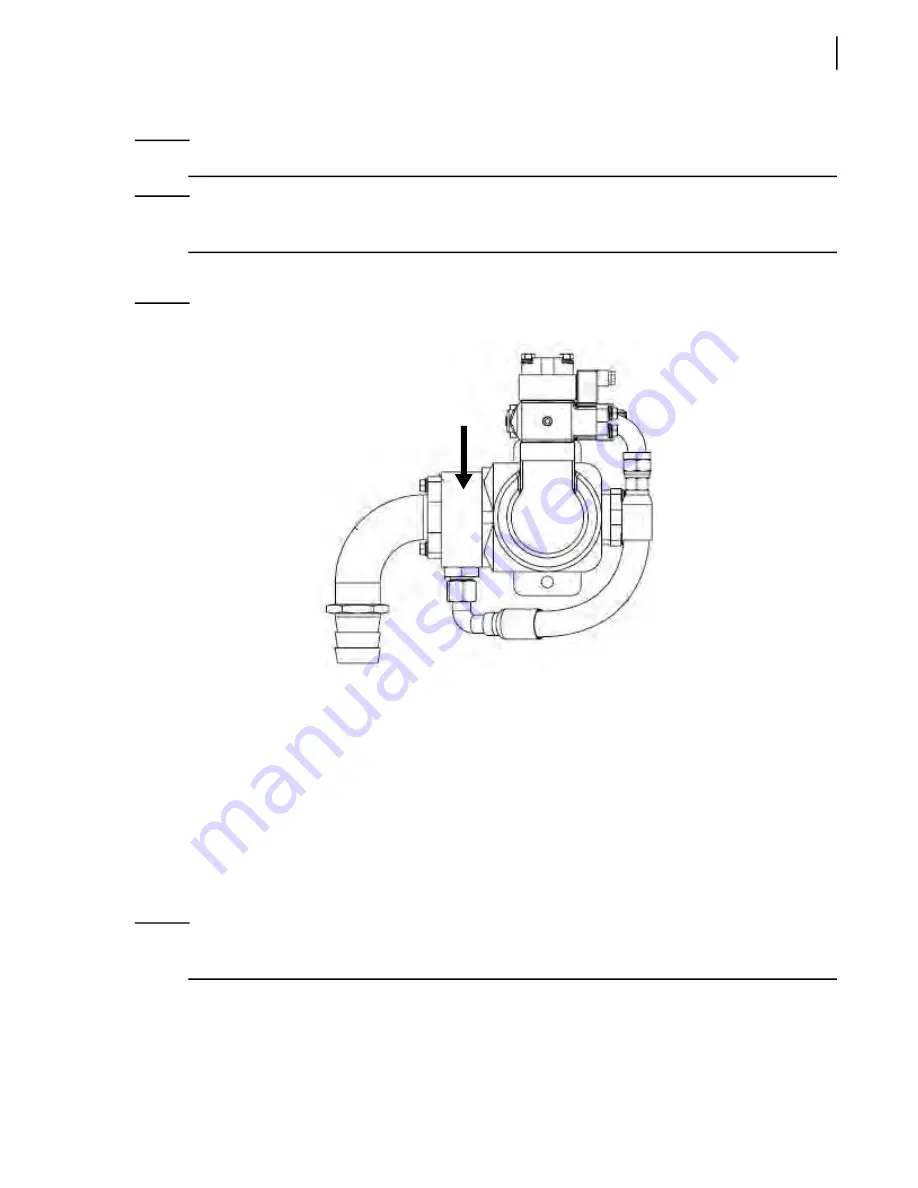
Remove the suction block (see Figure 5
14) and save it for the new pump.
Figure 5
-
14 Suction block
9.
Attach the pump to a suitable lifting device and remove all 5/8” bolts that hold the pump to the
PTO extension shaft.
10.
Remove the pump.
11.
Install the new pump using a suitable lifting device.
Before attempting to install the new pump, it is very important to check the port configuration on
that pump; the ports on the replacement pump must be positioned the same way as on the old
pump. If they are not, proceed with the indexing of the new pump.
The replacement pump must be oriented in such a way to facilitate reconnection to the hydraulic
system and attachment to the chassis frame.
Go to
page 115 to know how to index the new pump; procedure begins with Step 13 a.
N
OTE
:
If the old pump had an o-ring on the front cap, the replacement pump must have a new o-ring
installed. Make sure this is done before installing the pump.
Summary of Contents for AUTOMIZER FULL EJECT
Page 1: ...AUTOMIZERTM FULL EJECT MAINTENANCE MANUAL ...
Page 2: ......
Page 3: ...AUTOMIZERTM FULL EJECT MAINTENANCE MANUAL ...
Page 36: ...28 Safety ...
Page 112: ...104 Lubrication ...
Page 139: ...Hydraulic System 131 Figure 5 23 Strainer assembly Strainer ...
Page 144: ...136 Hydraulic System Figure 5 27 Detecting cylinder internal leaks 1 2 3 4 5 A A A ...
Page 160: ...152 Hydraulic System 0 1 2345 62789 ELECTRO HYDRAULIC VALVE HD RH ARM ...
Page 161: ...Hydraulic System 153 0 1 2345 62789 ELECTRO HYDRAULIC VALVE CRUSHER PANEL HD RH ARM ...
Page 164: ...156 Hydraulic System ...
Page 176: ...168 Electric System Cab Console Control Wiring ...
Page 177: ...Electric System 169 Control Box ...
Page 178: ...170 Electric System Chassis ...
Page 179: ...Electric System 171 Tailgate Lighting ...
Page 180: ...172 Electric System Left Body SideWiring ...
Page 181: ...Electric System 173 Right Body Side Wiring ...
Page 182: ...174 Electric System Camera s Switchpack s Layout Option s AUTO 10 SEC INHIBIT AUTO ...
Page 204: ...196 Troubleshooting ...
Page 205: ...Troubleshooting 197 ...
Page 206: ...198 Troubleshooting ...
Page 230: ...222 Multiplexing ...
Page 254: ...246 Lifting Arm Figure 10 27 Standard lifting arm ...
Page 255: ...Lifting Arm 247 ...
Page 256: ...248 Lifting Arm ...


