124 Hydraulic System
12.
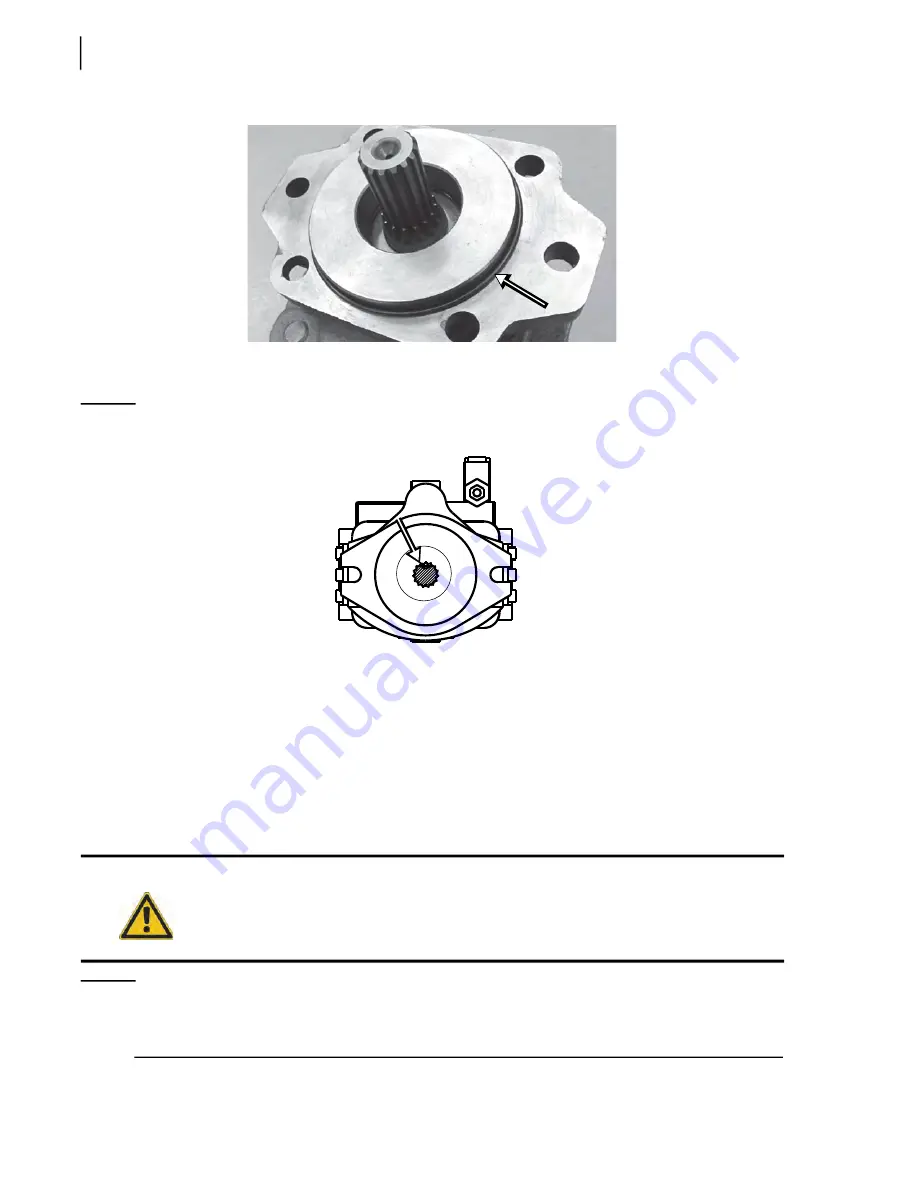
Connect the pump to the PTO extension shaft. Align the splines on the PTO to those on the
pump for ease of connection.
Figure 5
-
15 Splines on pump
13.
Put all 5/8” bolts back in to secure the pump to the shaft.
14.
Go through Steps 5 to 8 in reverse order to reinstall the various components of the pump
assembly.
15.
Fill the pump housing with new oil.
16.
Retighten the breather cap (if applicable).
17.
Open the shut-off valve (see Figure 2
13).
18.
Prime the new pump (see
Priming a New Pump on page 126).
N
OTE
:
Labrie Enviroquip Group strongly recommends you change the filter element and the
hydraulic oil as well as clean the hydraulic tank before starting a new pump (see Replacing
Filter Elements on page 132 and Replacing Hydraulic Oil on page 133).
Caution!
Check the level of hydraulic oil in the tank. Add oil if needed.
Also check the transmission oil level.
Summary of Contents for AUTOMIZER FULL EJECT
Page 1: ...AUTOMIZERTM FULL EJECT MAINTENANCE MANUAL ...
Page 2: ......
Page 3: ...AUTOMIZERTM FULL EJECT MAINTENANCE MANUAL ...
Page 36: ...28 Safety ...
Page 112: ...104 Lubrication ...
Page 139: ...Hydraulic System 131 Figure 5 23 Strainer assembly Strainer ...
Page 144: ...136 Hydraulic System Figure 5 27 Detecting cylinder internal leaks 1 2 3 4 5 A A A ...
Page 160: ...152 Hydraulic System 0 1 2345 62789 ELECTRO HYDRAULIC VALVE HD RH ARM ...
Page 161: ...Hydraulic System 153 0 1 2345 62789 ELECTRO HYDRAULIC VALVE CRUSHER PANEL HD RH ARM ...
Page 164: ...156 Hydraulic System ...
Page 176: ...168 Electric System Cab Console Control Wiring ...
Page 177: ...Electric System 169 Control Box ...
Page 178: ...170 Electric System Chassis ...
Page 179: ...Electric System 171 Tailgate Lighting ...
Page 180: ...172 Electric System Left Body SideWiring ...
Page 181: ...Electric System 173 Right Body Side Wiring ...
Page 182: ...174 Electric System Camera s Switchpack s Layout Option s AUTO 10 SEC INHIBIT AUTO ...
Page 204: ...196 Troubleshooting ...
Page 205: ...Troubleshooting 197 ...
Page 206: ...198 Troubleshooting ...
Page 230: ...222 Multiplexing ...
Page 254: ...246 Lifting Arm Figure 10 27 Standard lifting arm ...
Page 255: ...Lifting Arm 247 ...
Page 256: ...248 Lifting Arm ...


