1-31
GENERAL MAINTENANCE
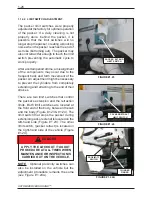
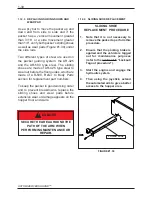
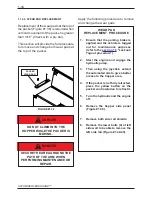
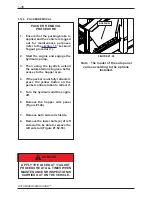
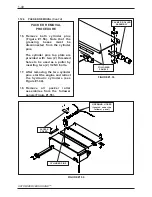
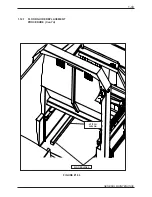
FIGURE #1.33
RETAINING
BOLTS
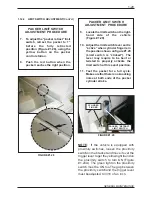
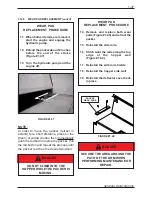
NOTE:
In order to move the packer (retract or
extend) for a short distance, press on the
green (or yellow) button and then push
immediately the red button to stop the
packer. Pull out the red button and repeat
the process until the packer reaches the
desired position.
SLIDING SHOE
REPLACEMENT PROCEDURE
5.
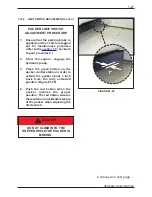
If the packer is not fully retracted,
press the yellow button on the
packer control station to retract it.
6.
Turn the hydraulic pump and the
engine off.
7.
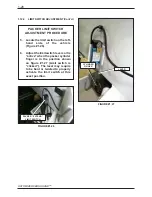
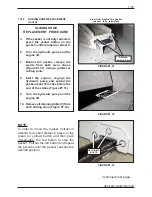
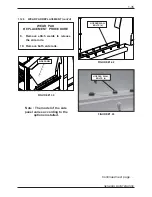
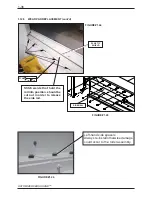
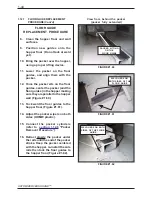
Behind the packer, remove the
welds from both wear shoes
(Figure #1.31), using a grinder or
cutting tools.
8.
Start the engine; engage the
hydraulic pump and extend the
packer about 18 inches before the
end of the stroke (Figure #1.31).
9.
Turn the hydraulic pump and the
engine off.
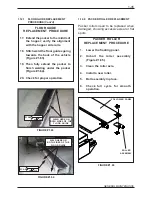
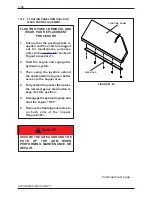
10. Remove all retaining bolts (3) from
each sliding shoe (Figure #1.33).
1.12.4
SLIDING SHOE REPLACEMENT
(cont’d)
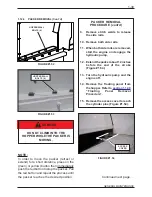
18”
FIGURE #1.32
FIGURE #1.31
View from behind the packer
(packer fully retracted)
Remove
welding here
Continued next page. . .
18”
Summary of Contents for Automizer Versa Hand
Page 2: ...AUTOMIZER VERSA HANDTM 1 2...
Page 4: ...AUTOMIZER VERSA HANDTM 1 4...
Page 8: ...AUTOMIZER VERSA HANDTM 1 8...
Page 58: ...AUTOMIZER VERSA HANDTM 1 58 FIGURE 1 81 INPUT OUTPUT COVER ELECTRICAL COILS...
Page 69: ...1 69 GENERAL MAINTENANCE FIGURE 1 89A Strainer Seal...
Page 77: ...1 77 GENERAL MAINTENANCE A B C BEHIN D D F MAIN RELIEF B E...
Page 105: ...1 105 GENERAL MAINTENANCE NOTES...

