AUTOMIZER
VERSA HAND
TM
1-32
SLIDING SHOE
REPLACEMENT PROCEDURE
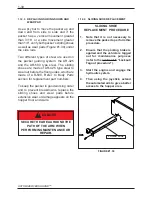
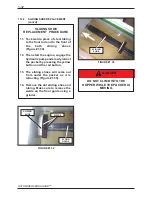
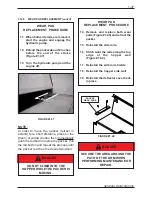
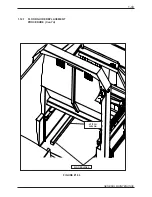
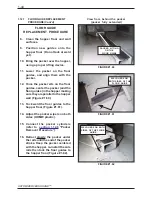
11. Tack weld a piece of steel tubing
to the floor rail and to the front of
the both sliding shoes
(Figure #1.34).
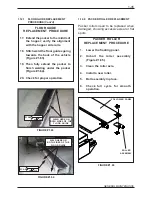
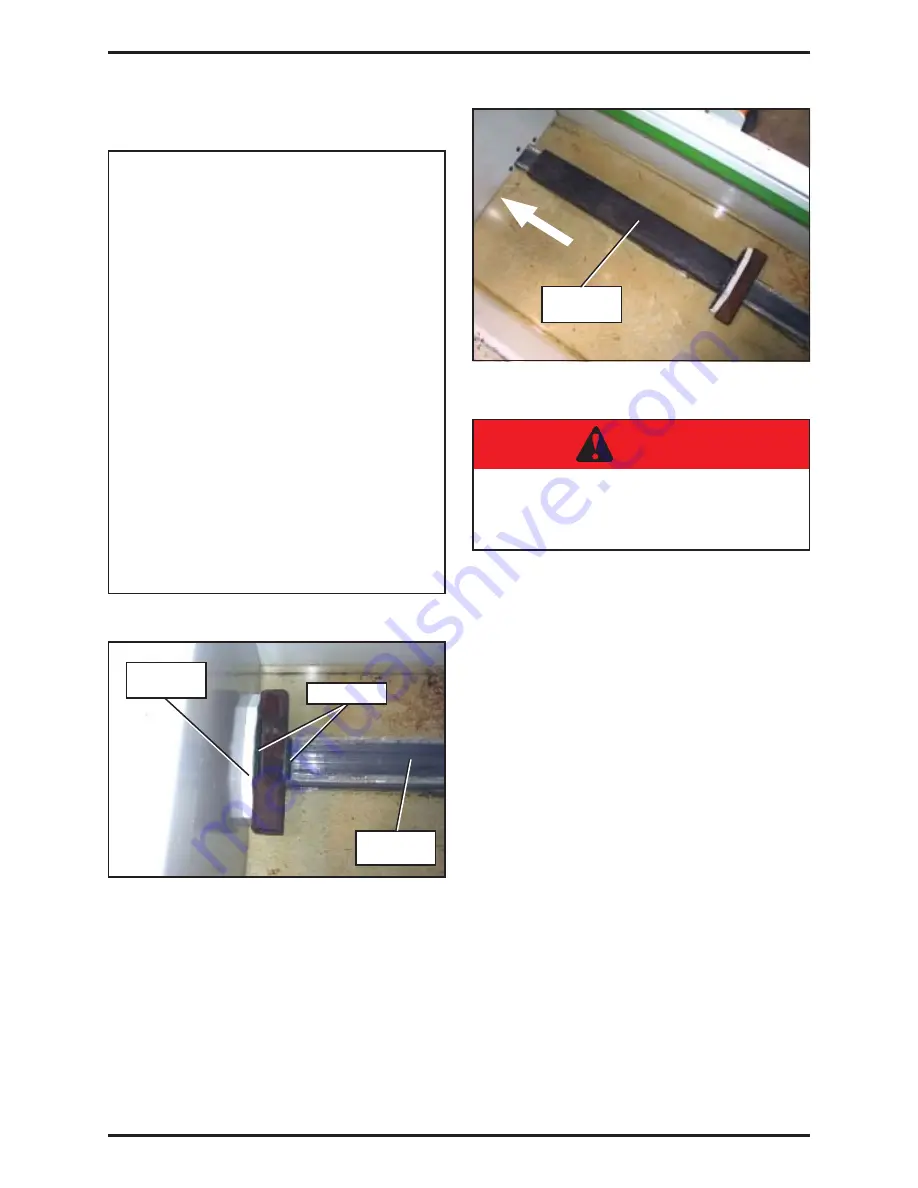
12. Then start the engine, engage the
hydraulic pump and slowly retract
the packer by pressing the yellow
button and the red button.
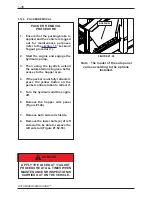
13. The sliding shoes will come out
from under the packer as it is
retracting (Figure #1.35).
14. Remove the old sliding shoe and
tubing. Make sure to remove the
welds on the floor guide using a
grinder.
FIGURE #1.34
WELDS
FLOOR
GUIDE
SLIDING
SHOE
FIGURE #1.35
SLIDING
SHOE
DANGER
DO NOT CLIMB INTO THE
HOPPER WHILE THE PACKER IS
MOVING.
1.12.4
SLIDING SHOE REPLACEMENT
(cont’d)
Summary of Contents for Automizer Versa Hand
Page 2: ...AUTOMIZER VERSA HANDTM 1 2...
Page 4: ...AUTOMIZER VERSA HANDTM 1 4...
Page 8: ...AUTOMIZER VERSA HANDTM 1 8...
Page 58: ...AUTOMIZER VERSA HANDTM 1 58 FIGURE 1 81 INPUT OUTPUT COVER ELECTRICAL COILS...
Page 69: ...1 69 GENERAL MAINTENANCE FIGURE 1 89A Strainer Seal...
Page 77: ...1 77 GENERAL MAINTENANCE A B C BEHIN D D F MAIN RELIEF B E...
Page 105: ...1 105 GENERAL MAINTENANCE NOTES...

