1-33
GENERAL MAINTENANCE
SLIDING SHOE
REPLACEMENT PROCEDURE
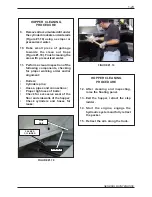
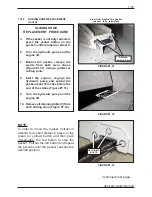
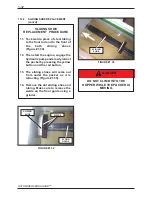
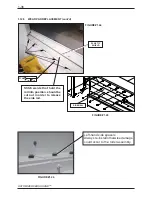
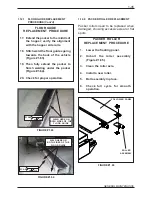
15. Align the new sliding shoe in front
of the packer and slowly extend
the packer to make the sliding shoe
go under the packer.
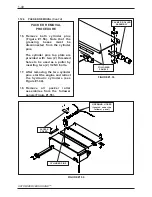
16. When the sliding shoes are back
in place, tighten all retaining bolts
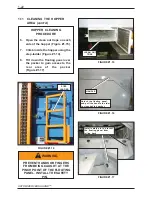
(Figure #1.36).
17. If the wear pads at the top of the
packer need to be replaced, refer
to
section 1.12.5
“Wear Pad
Replacement”.
FIGURE #1.36
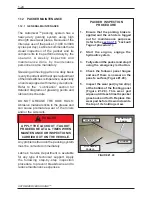
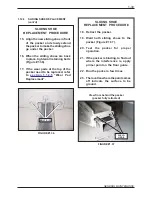
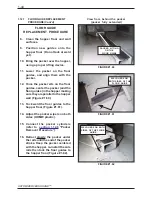
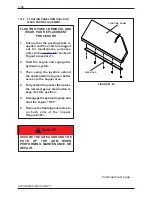
FIGURE #1.37
View from behind the packer
(packer fully retracted)
WELD
HERE
SLIDING SHOE
REPLACEMENT PROCEDURE
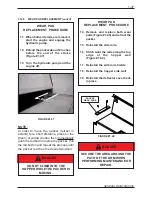
18. Retract the packer.
19. Weld both sliding shoes to the
packer (Figure #1.37).
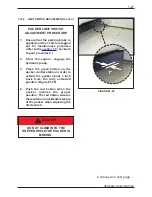
20. Test the packer for proper
operation.
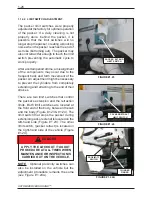
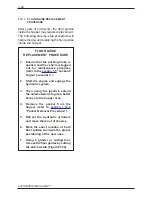
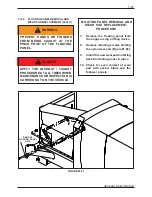
21. If the packer is binding, to find out
where the interference is, apply
primer paint on the floor guide.
22. Run the packer a few times .
23. The location where the paint comes
off indicate the surface to be
ground.
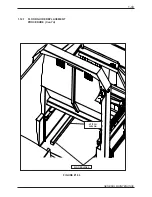
BOLTS (3)
1.12.4
SLIDING SHOE REPLACEMENT
(cont’d)
Summary of Contents for Automizer Versa Hand
Page 2: ...AUTOMIZER VERSA HANDTM 1 2...
Page 4: ...AUTOMIZER VERSA HANDTM 1 4...
Page 8: ...AUTOMIZER VERSA HANDTM 1 8...
Page 58: ...AUTOMIZER VERSA HANDTM 1 58 FIGURE 1 81 INPUT OUTPUT COVER ELECTRICAL COILS...
Page 69: ...1 69 GENERAL MAINTENANCE FIGURE 1 89A Strainer Seal...
Page 77: ...1 77 GENERAL MAINTENANCE A B C BEHIN D D F MAIN RELIEF B E...
Page 105: ...1 105 GENERAL MAINTENANCE NOTES...

