1-93
GENERAL MAINTENANCE
1.17.3
GRABBER AUTO-CLOSING (cont’d)
To make sure the “Grabber Auto-Closing”
is working properly, apply the following
procedure.
GRABBER AUTO-CLOSING
INSPECTION PROCEDURE
1.
Make sure the vehicle is parked on
a safe and level ground.
2.
Secure the area around the path of
the arm.
3.
Start the engine and engage the
hydraulic pump.
4.
Lower the grabber arm and fully
open the grabber.
5.
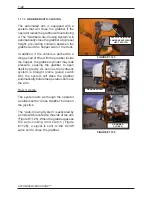
Close the grabber a few inches or
extend the arm in order to release
the limit switch (Figure # 1.123).
Lift the arm and see if the grabber
closes automatically. If the
grabber does not close, refer to
section 1.17.4 “Adjusting The
Grabber Auto-Closing System”.
1.17.4
ADJUSTING THE GRABBER AUTO-
CLOSING SYSTEM
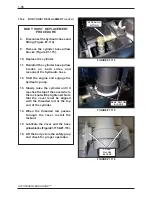
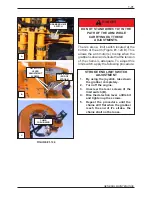
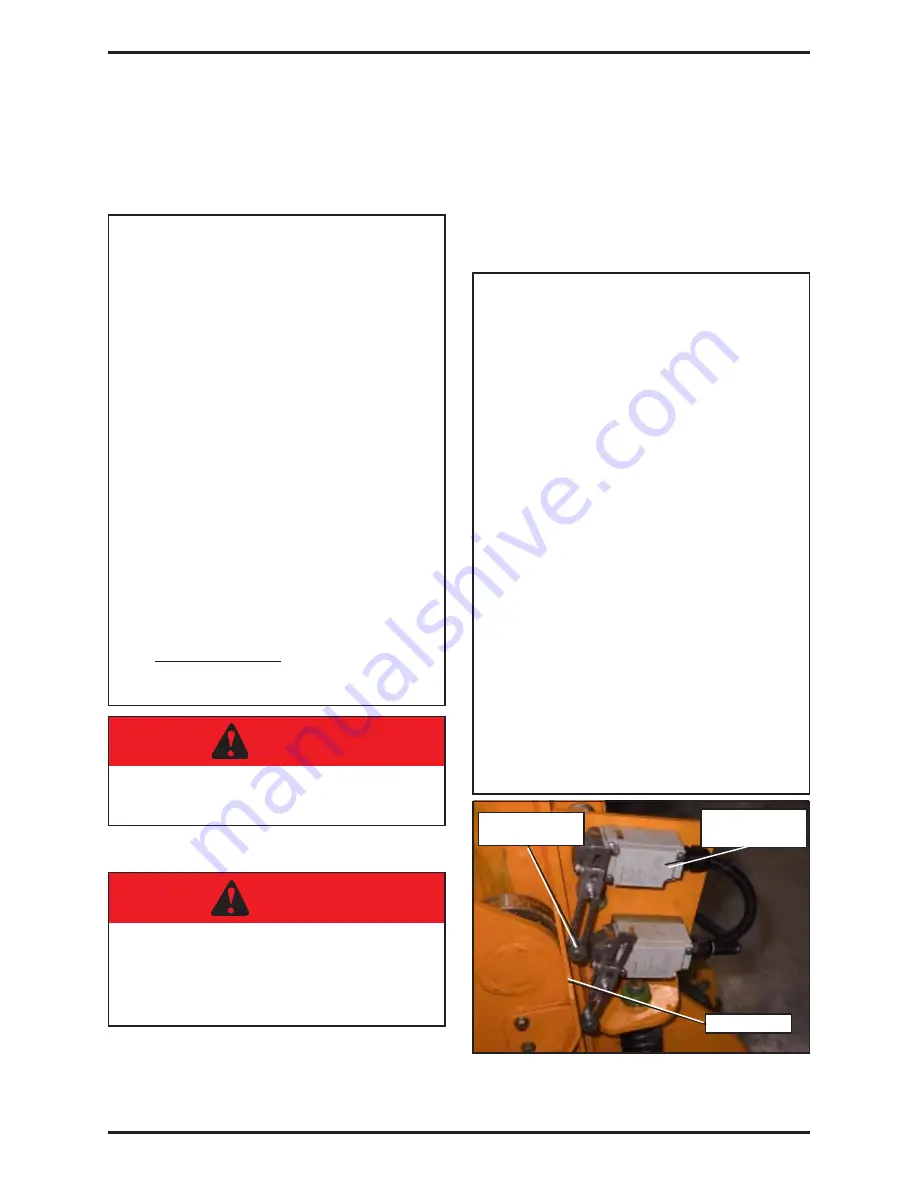
The Grabber Auto-Closing system is
controlled by a limit switch located on the
side of the arm (figure 1.128). To adjust
the system apply the following procedure.
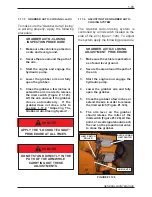
DANGER
APPLY THE “LOCKOUT/TAGOUT”
PROCEDURE AT ALL TIMES.
DANGER
DO NOT STAND DIRECTLY IN THE
PATH OF THE ARM WHILE
CARRYING OUT THESE
ADJUSTMENTS.
GRABBER AUTO-CLOSING
ADJUSTMENT PROCEDURE
1.
Make sure the vehicle is parked on
a safe and level ground.
2.
Secure the area around the path of
the arm.
3.
Start the engine and engage the
hydraulic pump.
4.
Lower the grabber arm and fully
open the grabber.
5.
Close the grabber a few inches or
extend the arm in order to release
the limit switch (Figure #1.123).
6.
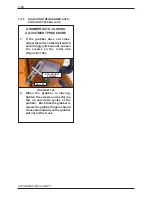
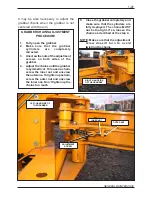
The arm lever on the grabber
should release the roller of the
limit switch (Figure #1.128). At this
point, a 12-volt signal should reach
the coil on the proportional valve
to close the grabber.
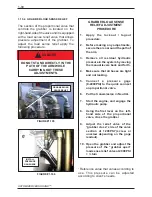
FIGURE #1.128
ARM LEVER
LIMIT SWITCH
ROLLER
AUTO-CLOSING
LIMIT SWITCH
Summary of Contents for Automizer Versa Hand
Page 2: ...AUTOMIZER VERSA HANDTM 1 2...
Page 4: ...AUTOMIZER VERSA HANDTM 1 4...
Page 8: ...AUTOMIZER VERSA HANDTM 1 8...
Page 58: ...AUTOMIZER VERSA HANDTM 1 58 FIGURE 1 81 INPUT OUTPUT COVER ELECTRICAL COILS...
Page 69: ...1 69 GENERAL MAINTENANCE FIGURE 1 89A Strainer Seal...
Page 77: ...1 77 GENERAL MAINTENANCE A B C BEHIN D D F MAIN RELIEF B E...
Page 105: ...1 105 GENERAL MAINTENANCE NOTES...

