40
C
HAPTER
3
Maintenance
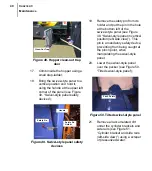
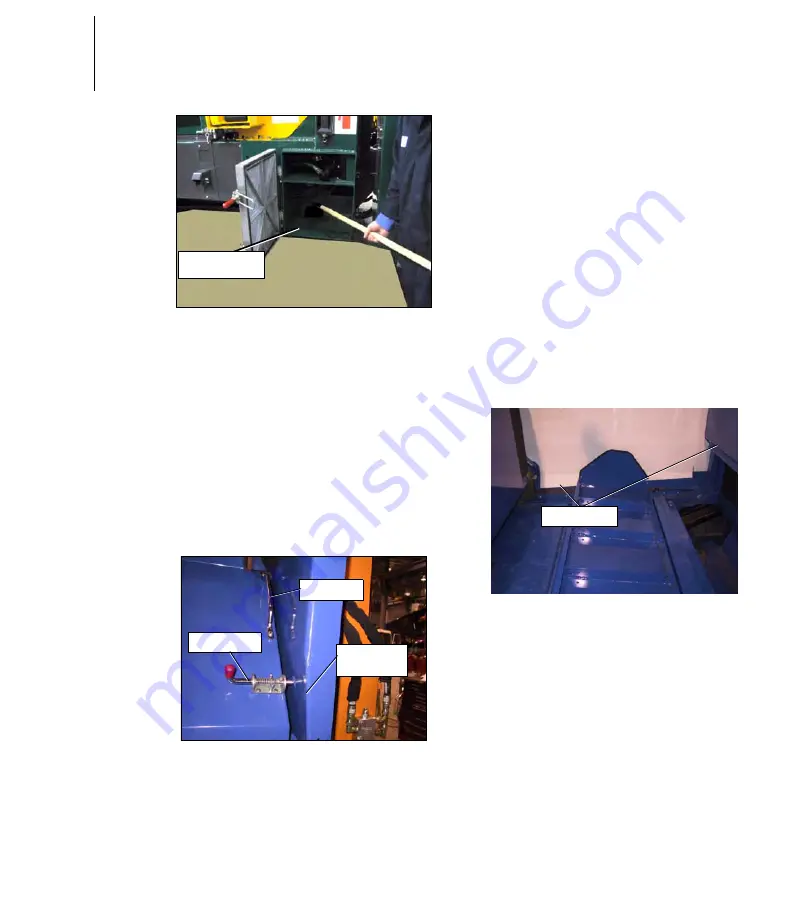
Figure 48. Hopper clean-out trap
door
17.
Climb inside the hopper using a
small step-ladder;
18.
Bring the swivel-style panel to a
vertical position and hold it,
using the handle at the upper left
corner of the panel (see Figure
49. “Swivel-style panel safety
devices”);
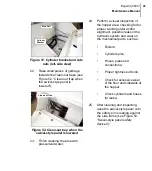
Figure 49. Swivel-style panel safety
devices
19.
Remove the safety pin from its
holder and put the pin in the hole
at the bottom left of the
swivel-style panel (see Figure
49. “Swivel-style panel in vertical
position (left-side view)”). This
pin is a mandatory safety device,
preventing from being caught at
the pinch point, when
manipulating the swivel-style
panel;
20.
Lower the swivel-style panel
over the packer (see Figure 50.
“Tilted swivel-style panel”);
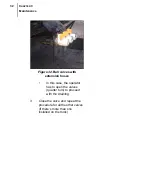
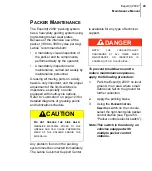
Figure 50. Tilted swivel-style panel
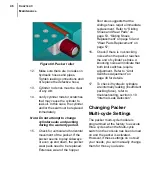
21.
Remove all accumulated dirt
under the cylinder brackets and
side rails (see Figure 51.
“Cylinder bracket and side rails
(left-side view)”) using a scraper
or pressurized water;
Clean-Out Trap
Handle
Safety Pin
Safety Pin
Holder
Pinch Points
Summary of Contents for expert 2000
Page 1: ......
Page 2: ......
Page 3: ...MAINTENANCE MANUAL 12 14 2006 Part 55379 ...
Page 4: ......
Page 10: ...viii Table of Contents ...
Page 96: ...86 CHAPTER 3 Maintenance Figure 141 Proximity switch front view ...
Page 118: ...108 CHAPTER 3 Maintenance Figure 170 Ball valve in closed position ...
Page 140: ...130 CHAPTER 4 Lubrication PACKER ...
Page 141: ...131 Expert t 2000TM Maintenance Manual BODY CHASSIS HINGES ...
Page 142: ...132 CHAPTER 4 Lubrication HOPPER SECTION STANDARD VERSION ...
Page 143: ...133 Expert t 2000TM Maintenance Manual CRUSHER PANEL ...
Page 144: ...134 CHAPTER 4 Lubrication FULL WIDTH TAILGATE ...
Page 154: ...144 CHAPTER 5 Troubleshooting ...
Page 156: ...146 Appendix CONNECTORS Commonly used Electrical Connectors Deutsch AMP ...
Page 168: ...158 Appendix ...
Page 170: ...160 Appendix ...
Page 171: ......
Page 172: ......


